
Use our guide to estimate your fireplace repair costs, based on the type of fireplace you have—and what part is broken.
Lay on the charm with this DIY project

While tiling a fireplace hearth can be an exciting DIY adventure, you’ll want to make sure you’re doing so safely. Choosing the wrong materials, failing to prepare the surface, and not extending the hearth the correct amount could not only be damaging to your home, but it could also cause a house fire or burns.
Once you’ve made sure your plan is a safe one, you can start removing existing tiles and choosing materials. When you remove existing tiles, scrape off any previous grout or adherents. If you need to, sand the surface down until it’s uniform, taking care not to remove any of the underlying base.
General guidelines to follow are to use materials that are heat-resistant. This includes the grout and adhesive you use to adhere the tiles to the underlying surface as well as the tiles themselves. Once you have your materials ready and the surface is prepped, you can begin laying your new hearth by following the steps below.
Because this area in front of your firebox protects the floor from ash and embers, you’ll want to make sure you comply with local building codes. The codes might require the hearth material to be a specific thickness, such as 1/2-inch. They may also dictate the hearth dimensions, such as 16 inches deep and eight inches from both sides of your firebox.
Place plastic sheeting and painter’s tape around the hearth’s perimeter to protect your floor. Then make sure your hearth has an even and level non-combustible substrate.
If your home has a concrete slab, you might need to level it out. With the unnotched edge of a trowel, apply a thin coat of thin-set mortar with latex additive to smooth the surface. Let it dry before moving on.
If you have a plywood subfloor, use a utility knife to cut two pieces of cement backer board to fit your hearth dimensions. Apply mortar to the subfloor, then embed one of the boards in it. Apply mortar and place metal lath on top of the embedded board. Apply mortar to one side of the other board. Lay the other board on the embedded board mortar side-down. Make sure the boards line up and let it set for 48 hours.
Decide on a pattern for your tile, such as grid or herringbone. Divide the hearth into quadrants. Beginning at the front of one, set down a line of tiles, working from the center to the edge. Leave room between tiles for grout and mark any edge tiles that you’ll need to cut. Fill in that quadrant.
Repeat with the remaining quadrants until you fill in the entire hearth. Carefully move all the tiles in the correct order to a board.
When you actually get to cutting the tiles, you’ll want to use a tool called—appropriately—a tile cutter. You can buy these tools or rent them from some home improvement stores. Remember the old adage before you begin: Measure twice, cut once.
The general procedure to cut your tiles is:
Measure and mark the tiles where you want them cut.
Place the tile on the cutter, aligning the mark with the wheel.
Run the wheel across the tile to score it. You don’t want to cut all the way through as snapping the tiles will lead to a cleaner line. Cutting can sometimes result in a cracked tile or chipped, uneven edges.
Use the lever to snap the tile along the line.
Sand the edges when finished.
Before you even place a tile on the cutter, make sure you’re wearing safety goggles. Even the best cutters in the world need to take precautions in case a tile snaps or a piece of the cutter breaks off.
Thinset is the mortar that you use to glue tiles. If you’ve ever seen someone making pleasing lines in a gray spackling with a flat tool, almost like a zen garden, that’s thinset. It used to be made of cement, sand, and water, and is called thinset because it’s thinner than normal mortar. Because this is for a hearth, you will need heat-resistant thinset.
The steps to mixing and spreading thinset are:
Prepare the surface by thoroughly cleaning it.
Mix the thinset per instructions, ensuring there are no lumps.
Spread the thinset on the prepped surface using a notched trowel.
This is not a terribly complicated step but make sure you do not apply the thinset too thick or thin. It should be a uniform layer just under 1/8th of an inch thick.
Now that your surface is prepped and ready, you can get to the fun part. Setting the tiles is the most crucial step because once they’re set, you won’t want to deal with the hassle of removing and placing them a second time. Make sure you have them all aligned correctly and ready to place before you begin.
You should have a troweled surface of thinset that appears ridged. This is where you will place your tiles. Many people use tile spacers when they place their tiles. These spacers are placed between the tiles and result in a clean, even look. Some types of spacers are:
X-shaped spacers
TAVY spacers
T-shaped spacers
U-shaped spacers
Wedge spacers
Using spacers has many advantages. Firstly, you will be able to plan your entire design without adhering to anything. Another benefit is they eliminate any errors you may make with spacing as they are all the same. Start from a straight edge—usually a wall—and work your way outwards when using tile spacers.
Ideally, you will have used the spacers when you laid out your tiles and before you started prepping the surface. However, if you still have the tile cutter, you can make last-minute adjustments to tiles if needed.
Once you are sure your design is laid out correctly, you can start pressing your tiles into your thinset. You don’t need much pressure when pressing the tile down. Doing so is actually a mistake, as it can spread the thinset which results in an uneven surface.
However, you don’t want to press too lightly either. If you want a general guide, think of squeezing the brake on a bicycle. This is about the same amount of pressure you’ll apply to each tile as you set them.
Once you press a tile into the mortar, you’ll look for a few things. Make sure the tile is aligned, remove any excess thinset that is squeezed out from the sides of the tile, and generally keep the space clean. You don’t need to work super fast, but moving too slowly can result in the mortar drying out.
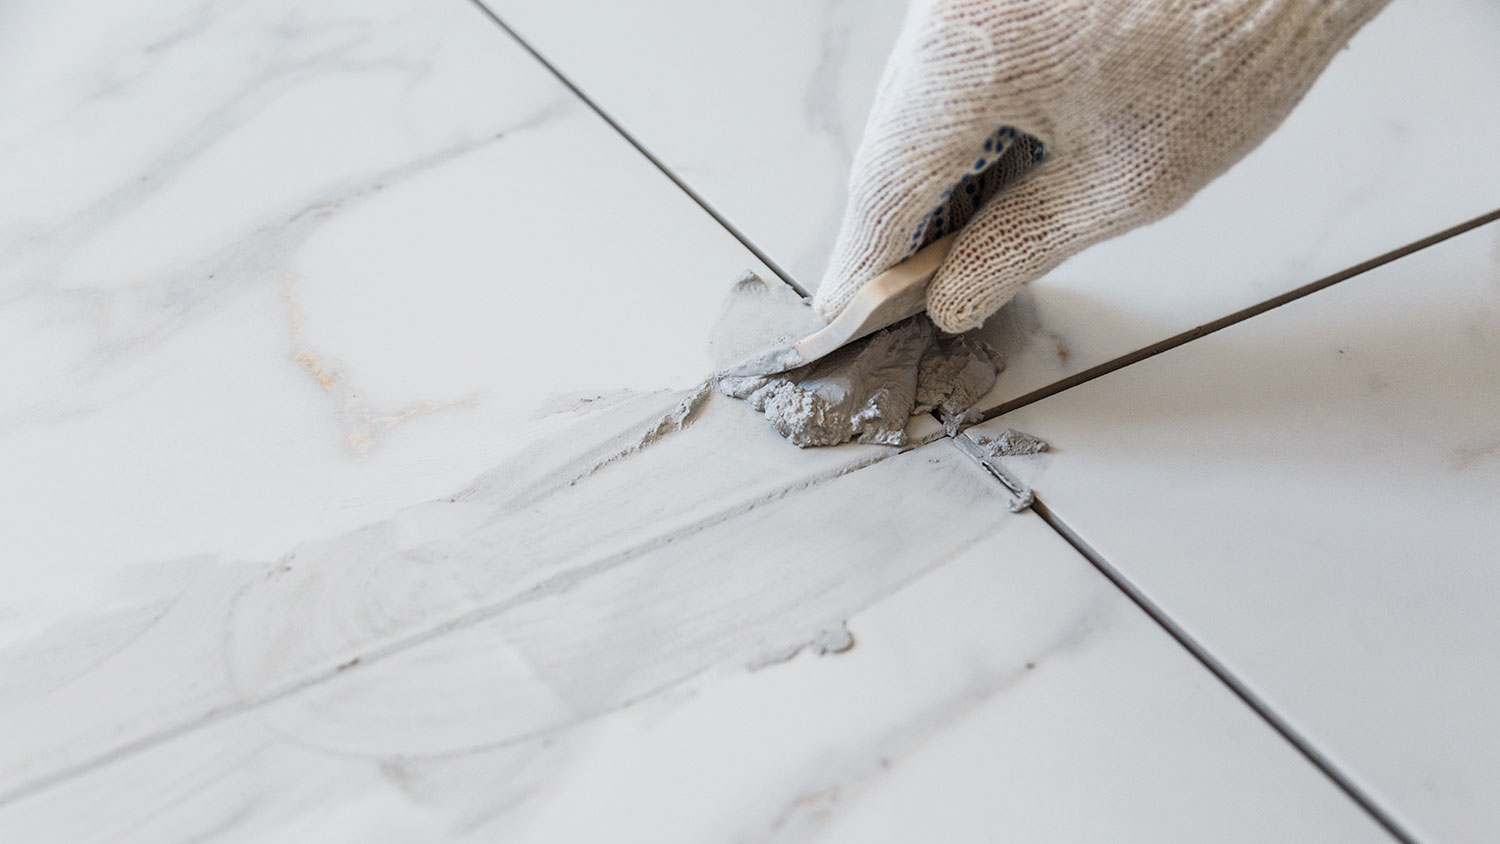
Using unsanded grout and a grout float and sponge, grout the joints, removing excess grout and haze. Let it dry for 24 hours. Caulk the joints and let everything set for two or three days. Then, if necessary, seal the tiles.
Once everything has set, it’s a good idea to seal the tiles. This extra step may seem unnecessary, but it protects the tiles against stains, cracks, and moisture damage. Hearths tend to see lots of action and unsealed hearths will look weathered much sooner than sealed ones.
Seal your hearth with a clear sealant. Make sure to check the glossiness as some sealants can make the stones look “wet,” which you may or may not want, depending on the look you’re going for. If you find the tile you purchased looks a little bland, there are stone sealants that can enhance the look of your tile. No matter the reason, sealing your hearth protects both the tile and your investment.
Because the fireplace is usually the focal point of a room, the hearth is a very visible spot. For this reason, you might want to only take on this project if you have tiling experience and feel confident that you can lay tiles symmetrically. A local professional tile installer might be able to tackle this project in a day or two, but it could take novices closer to three days.
Hiring a pro will cost between $13.50 and $83 per square foot. If you choose to DIY this project, you’ll only pay between $9.50 and $51 per square foot.
Dina Cheney contributed to this piece.
Terrible experience. Walls/trim/floors/cabinets/doors all have drip marks, overspray, etc. Tiling at the fireplace had to be redone by another vendor due to incorrect and shoddy install by Profect. Contractor had his children in our house while he was on site without prior authorization or...
 Profect painting & exteriors
Supreme Brick & Chimney did a great job with a cleaning and inspection of the fireplace! He was efficient, on time, and very pleasant. The space was kept very clean, and the fireplace was spotless when he was done. He also performed a thorough inspection, and did a great job talking us...
 Supreme brick & chimney
Ace Fireplace Services came to the rescue for my chimney repair. They were quick to pinpoint the issue and worked their magic to fix it. My chimney is now in excellent shape, and I'm a satisfied customer.
 Ace Fireplace Services
Custom Paint Jobs LLCs custom murals brought life to our childrens rooms. They love it!
 Custom Paint Jobs, LLC
Storms Mobile Welding was great to work with. They were prompt, professional and did an overall excellent job on the project. I highly recommend.
On time, clean and finished fast. Windows seem sturdy and the finish is good. Caulking was done with no smudges. Would recommend.
 Window Depot USA of Central Ohio
The team is awesome!! I can generally pick up and clean throughout the week, but they CLEAN! Windows, stair rails, microwave. All the things I can’t ever seem to get to regularly. The house looks and smells great after they leave.
Bought a half a cord of firewood from Pitzer with stacking last month. I waited to report so I could see how the wood burned. <br /> <br /> I have three pet peeves regarding landscapers, but Pitzer scored "A"s regarding all three. First, rather than having customers "leave a message" and...
 Pitzer Landscaping
We decided to update our partially finished basement, with a budget. Gerald worked with me on the lighting and chair rail selections, and produced an end product that was everything we wanted and within our budget. The work was done quickly, and he and his crew were always prompt and...
Outstanding! The granite and the installation went so well that we had the remaining slabs of the granite put into our new house. The 2ND kitchen/wet bar installation went as well as the 1ST, so we had them put granite on our master bath counter top, shower seat, ledge and kick plate for...
 LIND STONEWORKS
From average costs to expert advice, get all the answers you need to get your job done.
Use our guide to estimate your fireplace repair costs, based on the type of fireplace you have—and what part is broken.
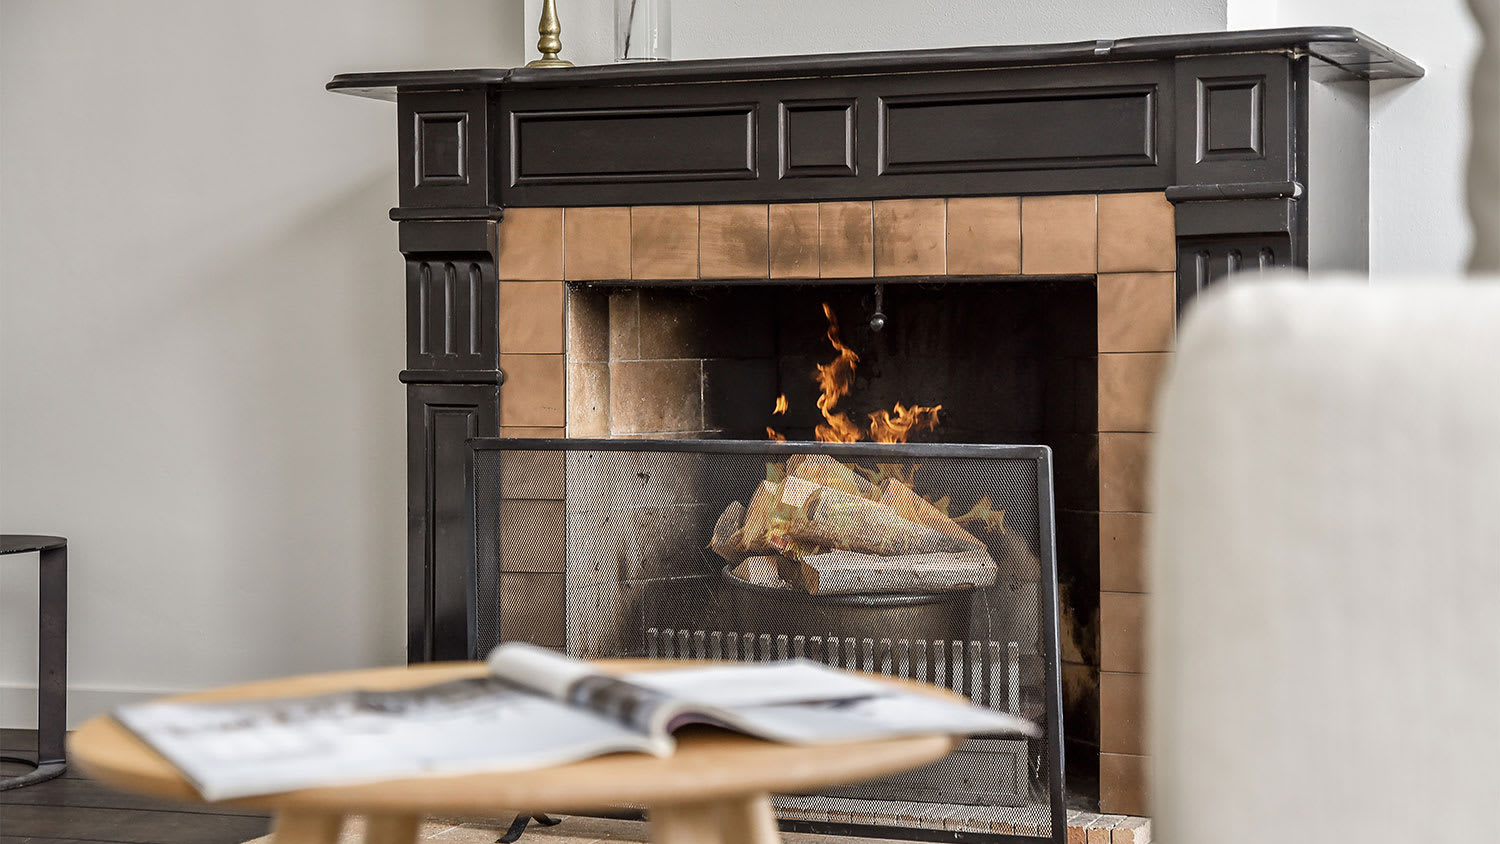
A fireplace remodel cost depends on the extent of the remodel and the materials you choose. Use this guide to calculate your costs and budget accordingly.
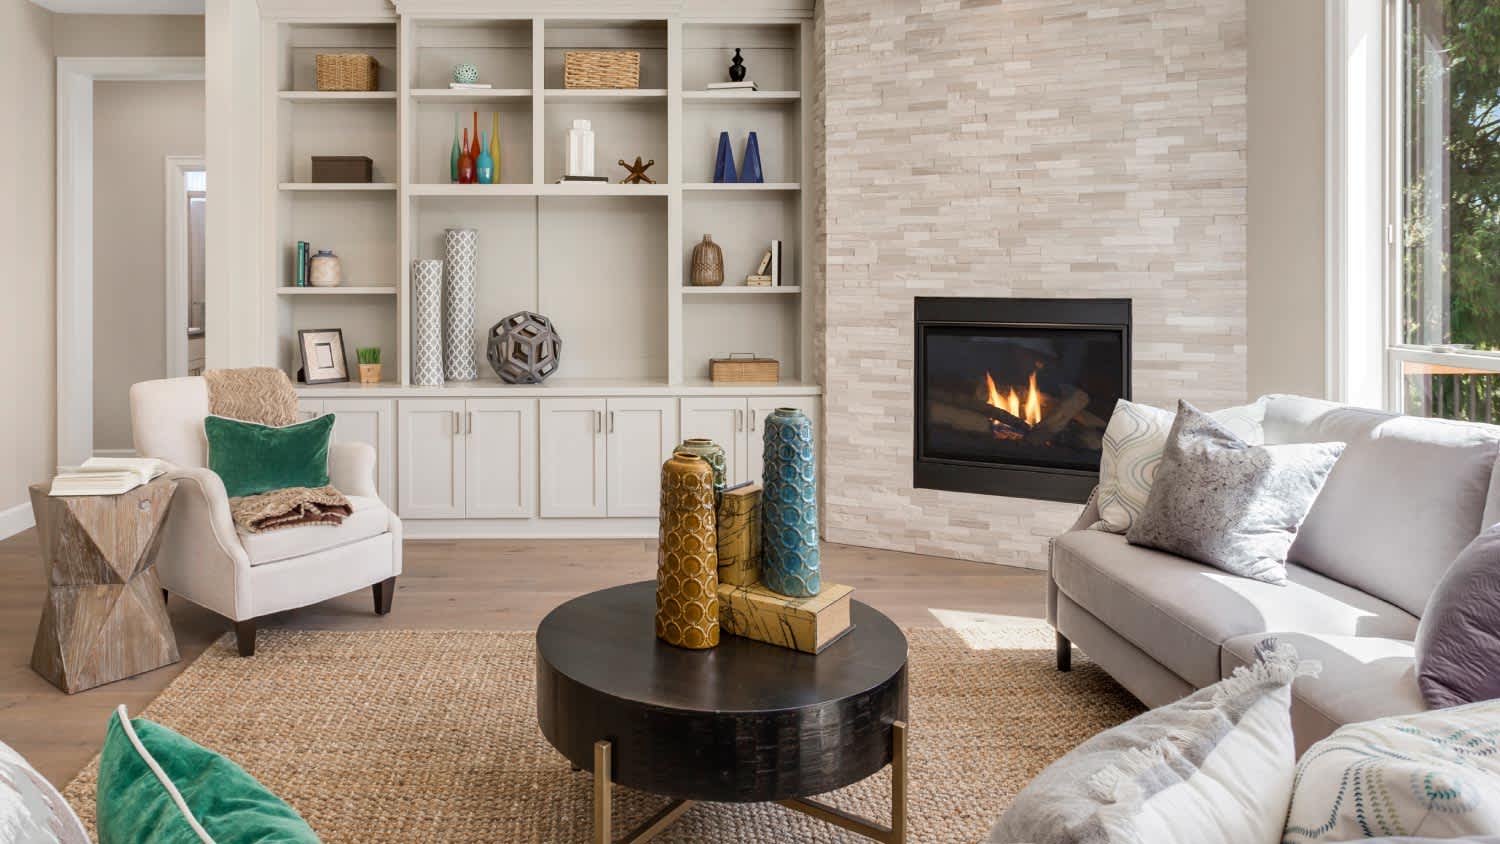
The firebox handles the brunt of the work in your fireplace. If your firebox is wearing down, check out the average costs of repairs and replacements.
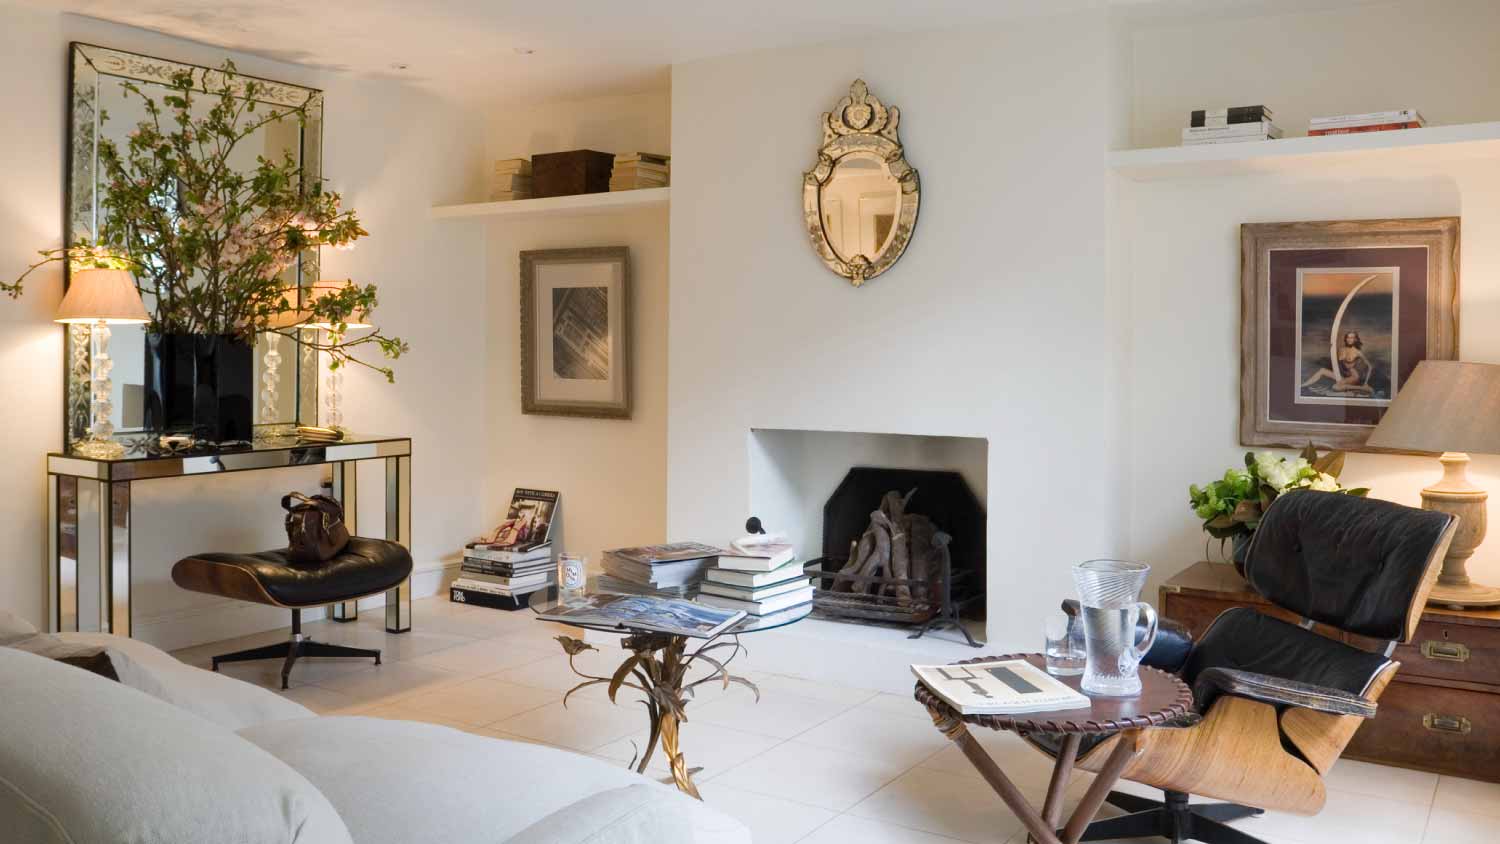
There are many working parts of a fireplace, and a basic understanding of their functions can help homeowners properly maintain all of them over time.
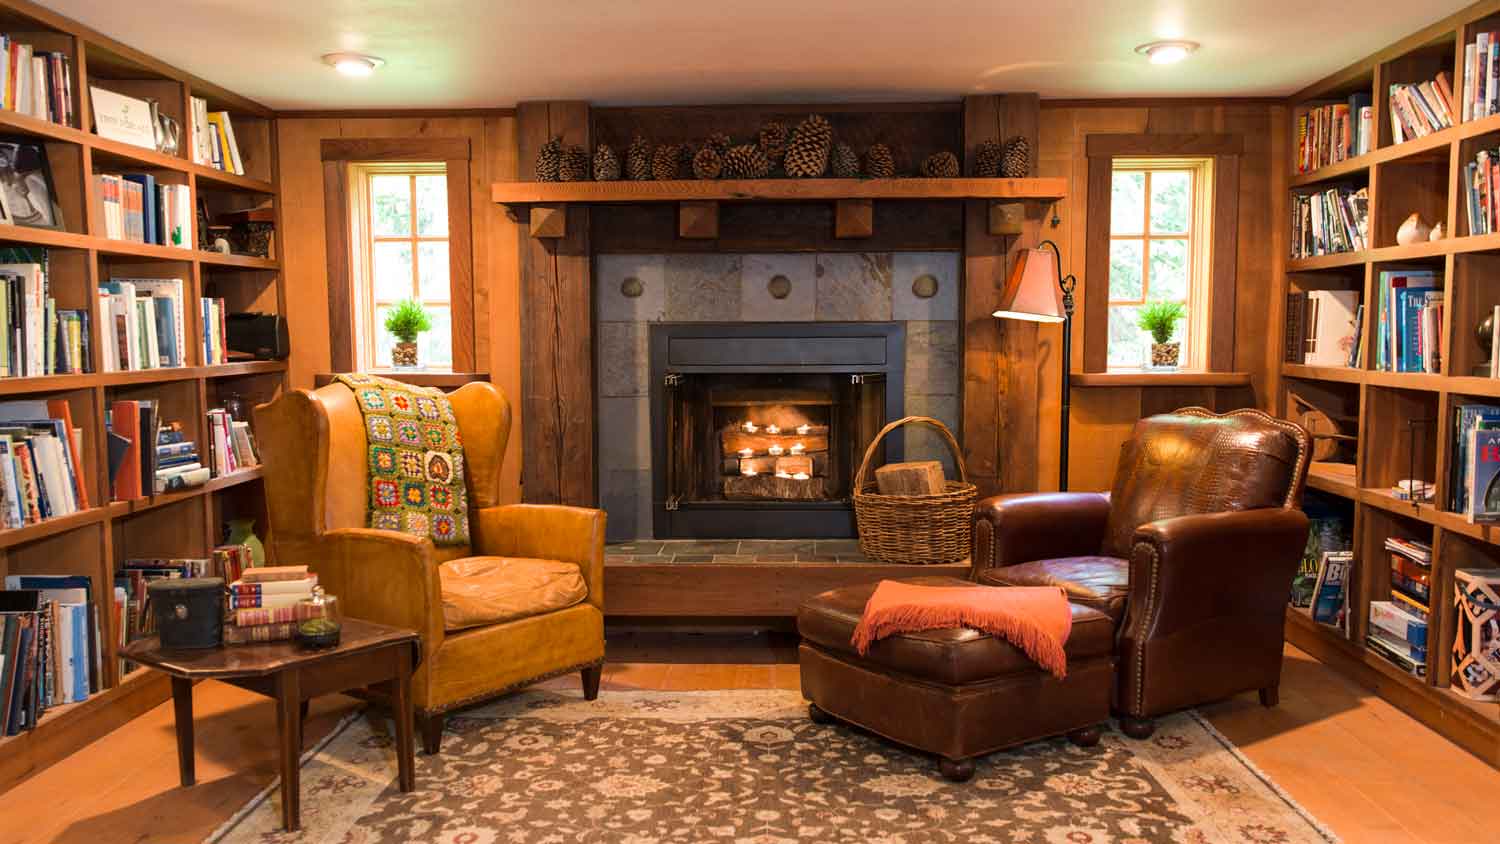
Understanding what a fireplace hearth is can help you determine what type you want in your home or how to remodel an existing fixture for optimal results.

Learn how to hire a fireplace repair pro, compare quotes, check credentials, and keep your fireplace safe, efficient, and cozy all season long.