How Many Coats of Mud on Drywall Do You Need for a Seamless Result?
Learn some smooth moves for your new walls

Most visible walls need at least three coats of drywall mud.
One or two coats of drywall mud can work in hidden or utility spaces.
Skim coating before mudding adds a smooth, paint-ready finish.
You’ll need fewer coats of drywall mud if you’re adding tile or panels over the drywall.
Drywall mudding takes a lot of patience for a pro-level look, so consider hiring a pro.
When tackling DIY drywall installation, one of the most common questions is how many coats of mud on drywall you actually need. The short answer is three coats for most walls. The long answer is that it depends on where the wall is and how it will be used when it’s done. Most visible interior walls need a minimum of three coats of mud—and then an additional skim coat if you want a truly flawless finish. However, for less public areas or utility spaces, you may be able to get away with fewer coats. Let’s dig into the details.
What Is Drywall Mudding?
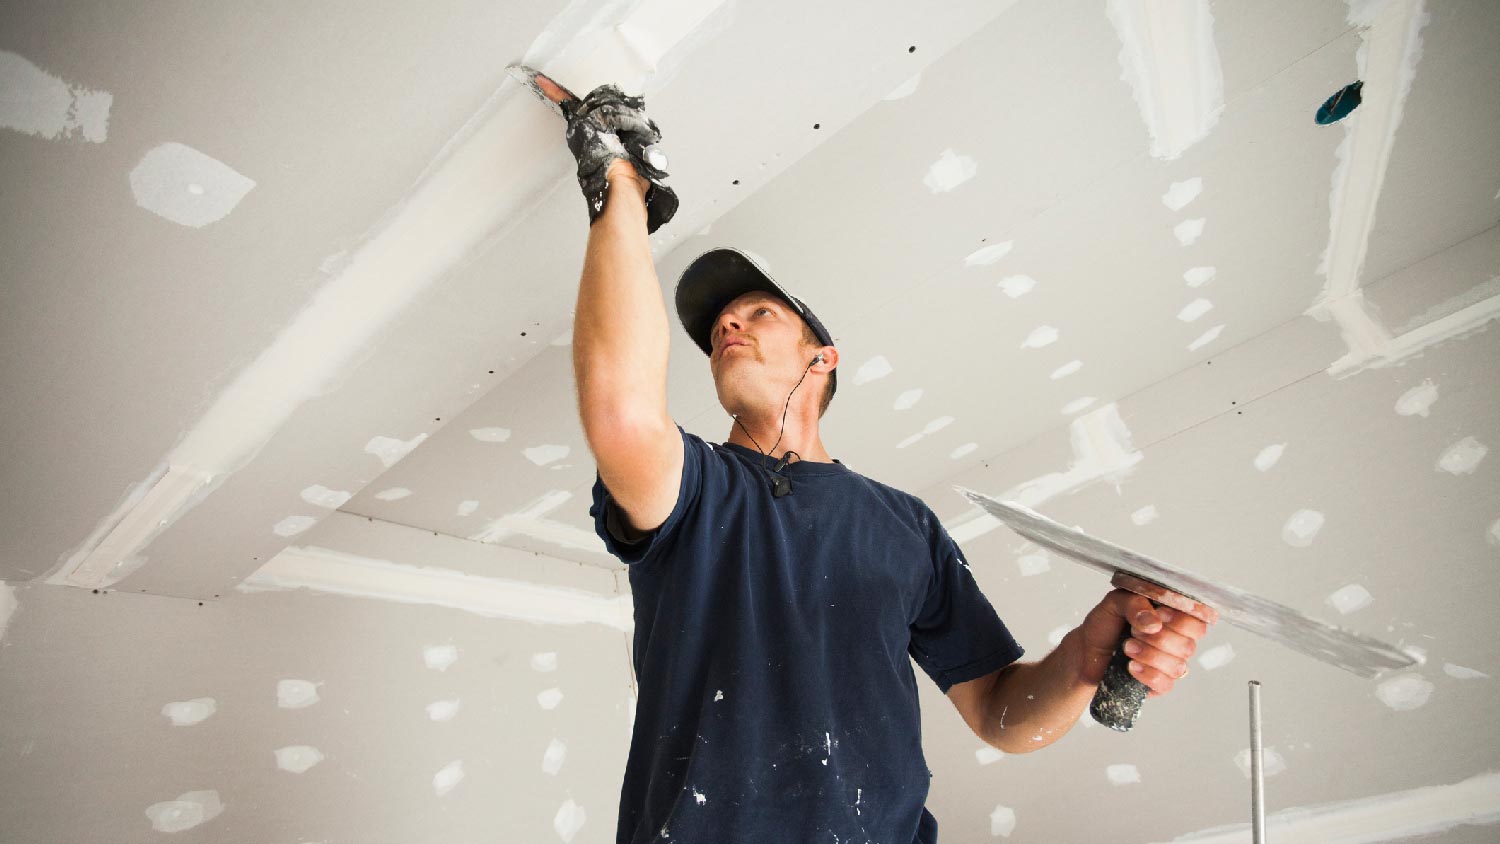
“Drywall mudding” refers to the process of applying joint compound, aka “mud,” over drywall seams, screw holes, and imperfections. Mudding is an important part of drywall installation since it leads to a smooth, seamless finish. It hides joints and fasteners and blends those individual drywall panels into one smooth and uniform-looking wall.
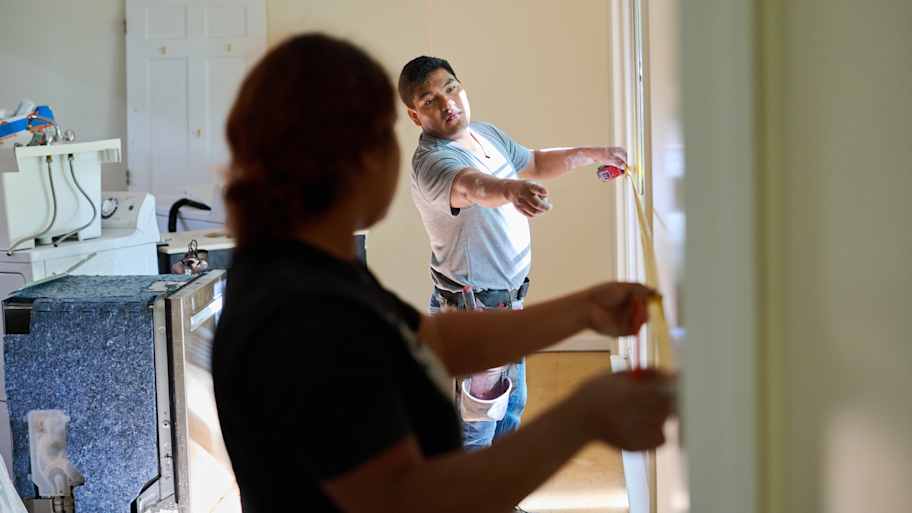
If you want a good finish on your wall, it's absolutely worth it to pay for professional taping and mudding. Many DIYers are tempted to pay someone to hang the drywall and do the rest themselves, but this is one area where a skilled contractor can make a huge difference.
The drywall mudding process involves multiple coats, sanding between coats, and careful feathering of the edges for a gorgeous, professional finish.

Factors That Determine How Many Coats of Mud on Drywall You Need
While three coats of mud is standard, certain factors in your project can change that number. The visibility of the space, the purpose of the room, other construction materials involved, and your desired finish all impact how many coats of drywall mud you should use.
Is the Space Visible?
If you're working on an attic, crawl space, or other infrequently-seen area, a single coat of mud could suffice. In these hidden spaces, function is the most important thing, while aesthetics take the back seat.
However, if the wall you’re working on is in a main living area, hallway, or other high-visibility room, you’ll want to plan for three full coats of mud—and potentially a skim coat on top. This will give the walls a smooth, professional-looking appearance.
What Is the Space Used For?
Some spaces—including utility areas like garages and workshops—don’t need a showroom finish. In these areas, you can often get away with two coats of mud to conceal nails, screw holes, and joints.
Of course, you still want a somewhat smooth surface, but perfection isn’t crucial if the area is meant more for function than aesthetics.
What Other Construction Materials Will Be Used?
Will the wall eventually be covered with another material like tile or paneling? If so, you can use fewer mud coats since these materials will mask any small imperfections in the drywall beneath. This is especially true if the surface is structurally sound and level enough to support the added wall materials. If it is, you can skip the final polishing coat.
What Type of Finish Do You Want?

If you want a smooth wall that looks professionally done, use three mud coats and a final skim coat. The skim coat is a thin, final application of drywall mud that smooths over any visible imperfections and creates a flawlessly finished surface.
A skim coat is especially important when you’re preparing a wall for painting. With paint, the smallest blemishes can become glaring under a fresh coat of color.
The Three Basic Coats
There’s a method to the madness when it comes to mudding drywall, and each coat of mud serves a distinct purpose. Here are the three basic coats and what you should know about their purposes:
Bedding the tape (coat one): This first layer embeds the joint tape over all the seams and also covers screw holes and nail heads. It’s the thickest coat and sets the foundation for all of your additional coats.
Covering the tape (coat two): The second mud coat covers the joint tape and widens the joint to blend it into the wall. This layer helps eliminate sharp edges and visible ridges in the panels.
Skim coating (coat three): The final coat smooths out any remaining imperfections and feathers out the edges. This thin, wide coating is key for achieving a seamless, professional finish—especially before painting.
Tips for a Professional-Looking Drywall Finish
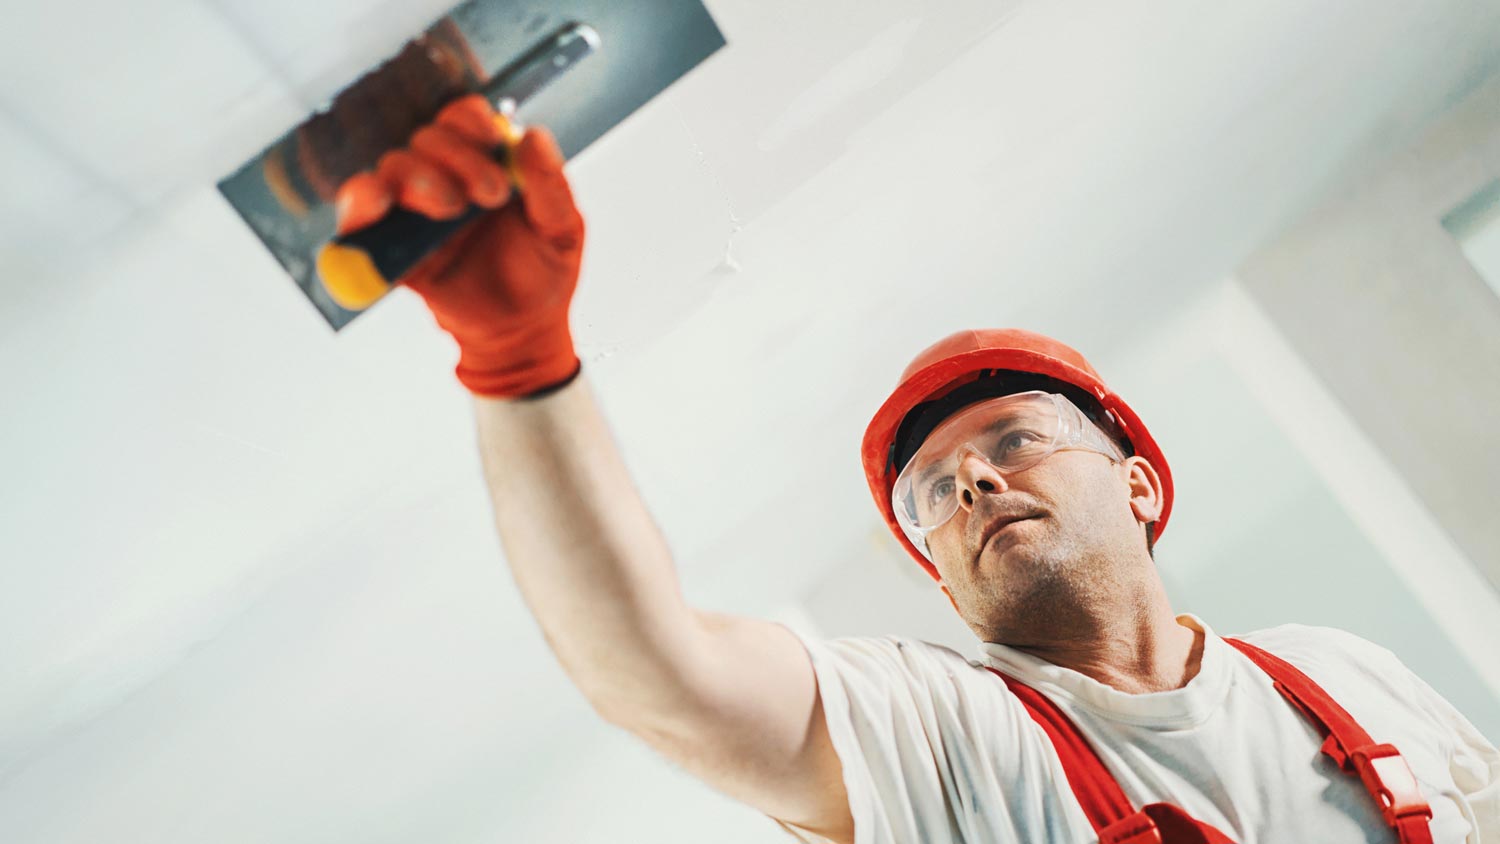
If you're aiming for that clean, smooth, polished look for your new wall, attention to detail is critical. Here are some tips to get the best product possible after your drywall mudding:
Use a wide drywall knife for the final coats to make it easier to feather the edges.
Sand between each mud coat to get rid of bumps and ridges.
Let each coat dry completely before sanding or applying the next coat.
Don't skimp on the skim coat. This last coat can make or break the final appearance.
When in doubt, hire a local drywall installer instead of DIYing your drywall mudding project. These pros have the tools and experience to get your wall perfect the first time.
Frequently Asked Questions
You should wait at least 24 hours between each coat of drywall mud before sanding and adding another coat. This ensures the mud dries completely, although drying time depends on temperature, humidity, and the type of compound used. Lightweight muds dry faster, while heavier all-purpose compounds take longer. Always check for firmness and dryness before sanding or applying the next layer.
Mudding drywall is a DIY-friendly project, but patience and practice are required for perfection. If you’re working in a highly visible area and want the best possible finish, hiring a professional drywaller is worth the cost. Pros have the tools and know-how to ensure a smooth surface with fewer sanding sessions and less cleanup.


Get our Angi-powered app


