How to Hang Drywall for Simple Projects Yourself
Transform your room and save money on labor by installing drywall yourself


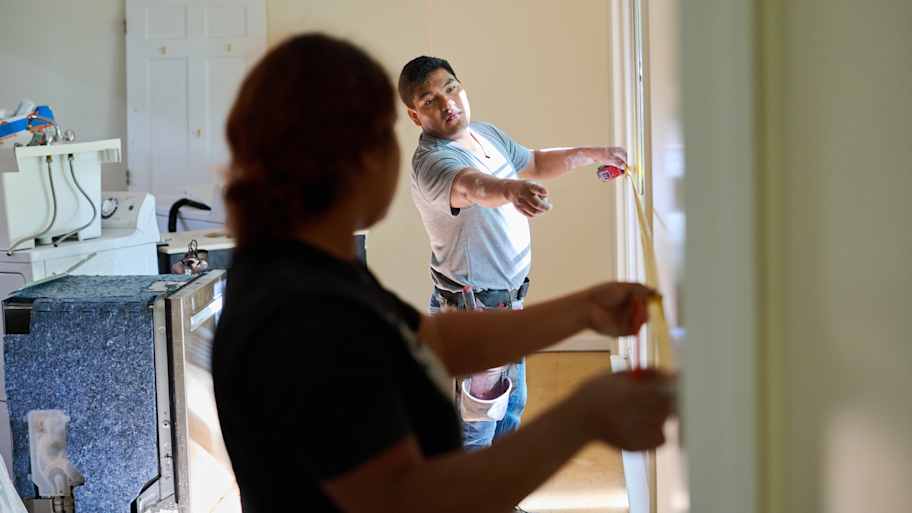
This project can take a long time to complete if you’re doing it in your off-time. Hiring a pro ensures a job done well and a quicker turnaround—plus you get your weekends back.
- Tape measure
- Utility knife
- Safety goggles
- Dust mask
- Work gloves
- Nail protector plates
- Drywall sheets
- Construction adhesive (optional)
- Drywall screws
- Ring drywall nails (optional)
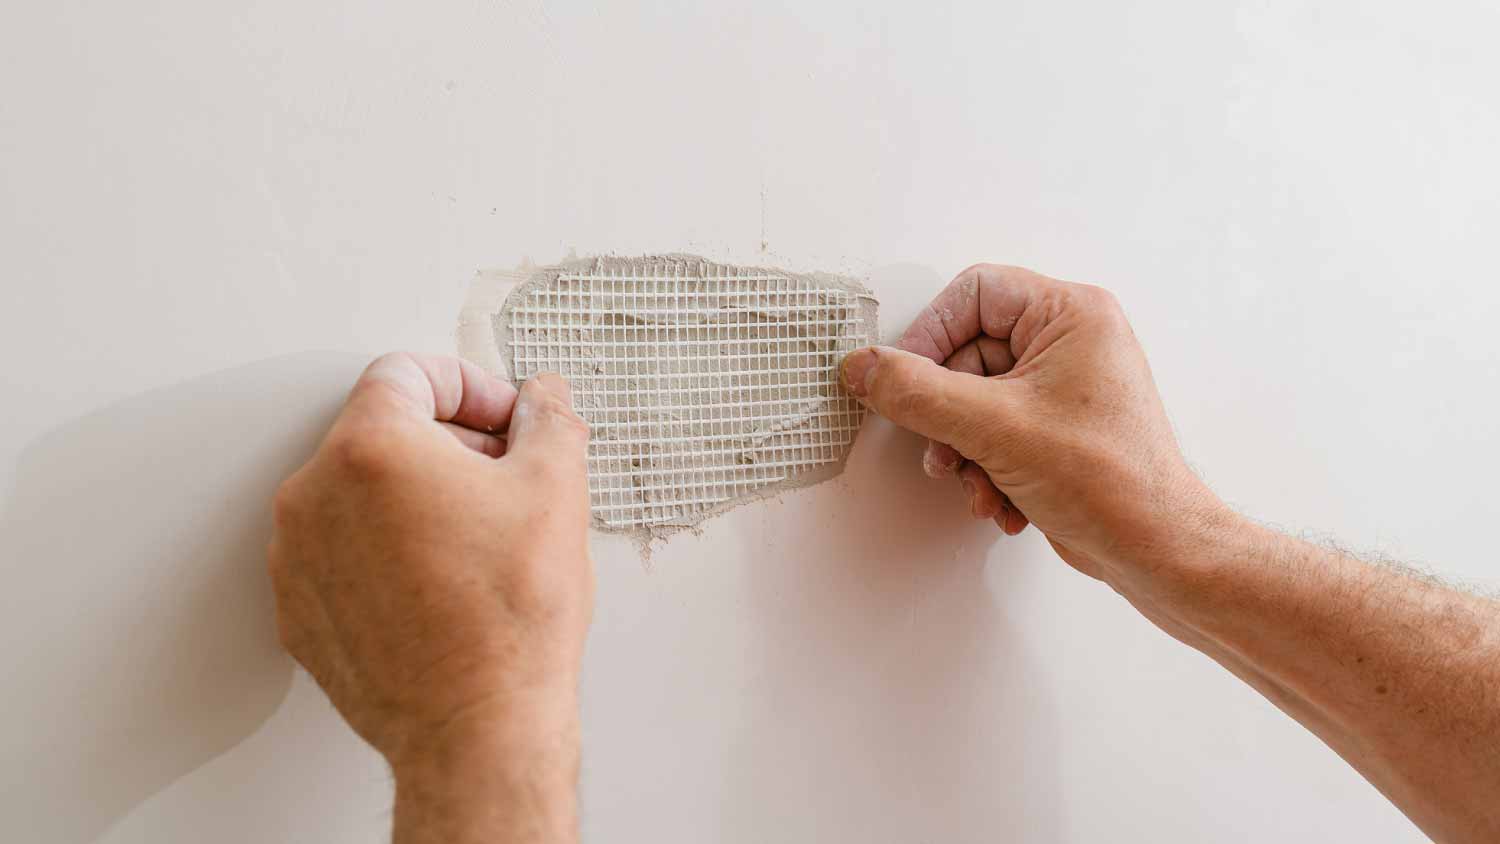
Whether you’re finishing a basement, taking on a remodel, adding a pony wall, or repairing a damaged section of wall, learning how to install drywall can complete the look of a room and save you hundreds or even thousands on a professional installation.
Hanging drywall—also known as gypsum board, greenboard, wallboard, plasterboard, and Sheetrock, which is actually a brand of drywall—requires some prior DIY skill, but is an achievable project for most handy homeowners. Use this guide to learn how to hang drywall sheets from the studs of your walls to either remodel an entire room or update a specialized area within the space.
Prepping for Drywall Installation
Before you dive in and start screwing drywall sheets to your studs, it’s worth it to take some time to prepare for the job to minimize how long it takes you overall.
Most importantly, you need to take care to keep yourself and your family safe. Cutting and drilling sheetrock creates crystalline silica dust, which can irritate your eyes, nose, and throat, and even cause cancer, according to the Centers for Disease Control and Prevention. In addition to the below tips, make sure you wear protective gear, including a dust mask and eye protection while you work.
There are different types of drywall, such as water-resistant drywall, enhanced soundproof drywall, and fire-resistant drywall. What’s more, there are various thicknesses to choose from depending on your specific home improvement project. As a general guide, ¾ inch is the thickest and most soundproof, ⅝ inch is best for ceilings to reduce sag, ½ inch is the most common for walls, ⅜ inch is most commonly used to drywall over existing walls, and ¼ inch is used for curved walls or for arches.
There are different brands of drywall to choose from, but Sheetrock is one of the more notable options. Make sure you know about the differences between standard drywall and Sheetrock before purchasing.
Turn off the AC within the room, and cover any door openings leading to another room with plastic sheeting to minimize drywall dust dispersing throughout the home.
Crystalline silica is a toxic dust that's often generated during drywall installation, which can cause respiratory issues if exposed over time. A professional drywall installation company has the right tools to protect your home and ensure safe air quality after your project is completed.


Protect Utility Lines
Your first order of business is to prevent damage to your utility lines down the road. With your studs and utilities exposed, it’s easy to see where you shouldn’t drill into studs to prevent hitting a wire or pipe, but your new sheetrock will soon obscure the view.
To prevent accidents down the road, take some time to nail or screw in protective metal plates over all areas of your studs through which your electrical or plumbing lines run. If you or someone else does end up drilling into one of these plates, the resistance will let you know you’ll need to move the drill site to an exposed stud.
Plan the Drywall Placement Carefully
Planning how you’ll put up your drywall is one of the most crucial steps because good prep work here can minimize drywall waste, damage to your walls in the future, and even how often you need to cut your drywall sheets. This step is more of an art than a science, but you can use the tips below to get started.
Optimize for full sheets of drywall wherever possible.
Measure where outlets, windows, doors, and other wall openings sit before hanging your drywall, and then cut out the openings on the wall to reduce error. Use an outlet cutout tool or something similar to cut holes for outlets in the drywall.
Always sit the end of a piece of drywall halfway over a stud. This provides even support for all sections of the wall to prevent damage later on.
Plan to install sheets horizontally, or perpendicular to your studs. This will help add strength to the wall and reduce the risk of cracks along the seams.
Stagger butt joints between sheets.
Install Drywall Backers
In many cases, the drywall in certain parts of your room won’t have a surface to which you can nail or screw it to keep it secure. Modern home construction often includes what are called “California corners,” which are additional pieces of framing that provide a place to screw in drywall in the corners of your room. You still might need to install drywall backers around door or window frames, or where your ceiling meets your walls.
Check the corners between walls and where the walls meet the ceiling. If you don’t have backing, you should take some time to install drywall backers so that there’s something to attach the drywall to. You’ll need to plan out where these go based on your measurements around doors and windows, as well.
Measure and Cut the First Drywall Panel
 Photo: artursfoto / Adobe Stock
Now you can measure and cut your first piece of drywall. Identify any areas that need to be cut out, such as light fixtures or outlets, and mark them with a pencil and straight edge (more on that below).
Wearing safety goggles, a dust mask, and work gloves, cut the first sheet of drywall along any marks that were made using a utility knife. When cutting the drywall, use a utility knife to first score along the marked line on the front, then snap the panel and cut along the paper on the back of the sheet. Alternatively, you can make the cuts using a drywall knife, although these won’t be as neat.
Finally, smooth the cut edge with a drywall rasp.
Position and Hang the First Row of Drywall
Starting with the first row, apply construction adhesive to the studs to prevent popped nail heads down the road. This step is optional, but it can help maintain flat walls over time.
Enlist the help of a friend or family member when positioning the drywall, as the sheets can be heavy. If that’s not feasible, you can also use a drywall lift to keep the panels in place. Position the first sheet horizontally against the studs in the top corner of your first wall, and tap a few ring drywall nails through the panel into the studs to keep the drywall secure. You can also use drywall screws and a power drill for this step, which is recommended especially for hanging drywall on the ceiling.
Measure and mark the next piece, making it ¼ inch short to allow for enough room when hanging the subsequent sheet. Score and cut along the marked line, then smooth the cut edge with a drywall rasp.
Apply construction adhesive to the studs, and then position the next piece of drywall next to the suspended piece of drywall. Drive the drywall nails through the panel into the studs to hold it in place.
Mark the location of the studs to better identify where to place the screws once you hang the panels.
Drive Screws Into the Drywall Panels

Next, drill the drywall screws into the studs to firmly secure the panels into place. Drill the screws into the center stud, working your way outwards as you secure each panel. Space the screws 16 inches vertically apart from each other.
As you drill the screws into the panels, the screw heads should sit just below the surface of the panel to fully secure the sheets. Don’t worry about the indentation—you’ll fill it in with joint compound later. For a uniform fit each time, you can use a specialized drywall drill for this step.
Install Subsequent Rows
 Photo: schankz / Adobe Stock
After the first row has been hung, repeat the same steps as above for each subsequent row, and remember to always work from top to bottom. Doing so will avoid unsightly gaps that may not get covered by baseboard trim. Continue working around the room, accounting for windows, doors, and electrical boxes. Also, be mindful of outer and inner corners (more on this below).
Once you reach the final rows, be sure to leave ½ inch gap between the bottom drywall panel and the floor—the baseboards will cover this space later.
Cut Sheets to Account for Electrical Outlets, Fixtures, Windows, and Doors
You’ll eventually get to a section of the room that requires you to cut the sheetrock around a window or door. The #1 thing to remember is never to line up seams with the frames of wall openings. Doing so not only requires you to make unnecessary cuts and increases waste, but it can also make spackling more challenging and promote cracking in your drywall down the road.
The best course of action is to install full sheets over wall openings and then cut off the portion that hangs over the opening. Stagger the seams between drywall sheets and the seams between drywall and wall openings.
Below are some tips for cutting out openings in your drywall, whether they’re for electrical outlets, doors, or windows.
Electrical outlets and fixtures: For electrical outlets and other fixtures in the room, you can make cuts using a spiral saw or an electrical box cutout tool. Turn off the power to the electrical box in the circuit breaker before making adjustments. Start by identifying the height and width of the outlet box or fixture. Measure from the above panels and transfer these measurements to the sheet of drywall that will cover the outlet or fixture. Cut along the marked lines using a spiral saw. Always make the cut after the drywall is hung for perfect edges and to reduce errors in your measurements.
Windows and doors: The process is similar for cutting out around windows and doors. Hang your first piece of drywall so that it overhangs into the wall opening. Make sure the end of your drywall doesn’t line up with the studs around the wall opening. Use a spiral saw to cut the overhanging sheetrock off, and then repeat the process until you have drywall all around the opening.
Install Corner Beads
When working around the room, note any outside and inside corners, as they require a more specialized technique when installing the drywall.
Outside Corners: Position the panel so that it’s hanging over the edge of the corner on one side, and tack it into place with some nails. Hang the adjacent panel so it’s touching the paper-backed side of the drywall sheet, and secure this piece into place. Cut away the excess drywall, and smooth over any rough edges with a rasp. To protect outside corners, you can install drywall corner beads. Measure it to length, leaving half an inch of wiggle room, and cut it to size using tin snips. Tack it into place with nails at the indicated holes on the corner bead, or every nine inches.
Inside Corners: Measure where the inner corner meets the adjacent wall, and transfer this measurement to the drywall sheet, leaving ⅛ inch extra room so the panel isn’t forced into place to prevent cracking. You can use the inside corner bead if your gap is too large, but drywall tape and spackle should suffice since the corner isn’t prone to damage like an outside corner would be.
Drill in Any Protruding Screws and Prep for Finishing
Before you continue to spackle, it’s imperative that you check each and every nail head and screw head to ensure that it sits below the surface of the drywall. Failing to do so will make your spackling job significantly harder, and you may end up with permanent imperfections in your finished wall.
You can also take this time to sand down any imperfections in your walls using a drywall sanding block. Make sure you wear a dust mask and eye protection for this part, as you’ll be creating quite a lot of dust.
Your drywall is now officially hung! The last step is to tape and spackle, which you can do yourself or hire a professional for to make your job a bit easier.
DIY vs. Hiring a Pro
Hanging drywall is a relatively advanced and time-consuming project, so it’s best for experienced DIYers only. The cost of drywall installation by a professional is between $1.50 and $3 per square foot, and between 50% and 75% of that cost goes toward the labor. For a standard bedroom, you could save between $250 and $800 by doing the work yourself.
Keep in mind, though, that getting drywall to look good once it’s hung, spackled, and painted, can be a real challenge. If you’re unsure if you have the skill and patience required to get your drywall even, flat, and adequately supported on all sides, it’s best to hire a professional.
Additionally, if you don’t have the drywall tools required to get the job done, you may want to defer to a drywall installer near you. The tools alone can cost a few hundred dollars, and if you don’t plan on using them again in the future, you could end up spending about the same on hiring professionals as you would on buying all the tools and doing the work yourself.


Get our Angi-powered app


