Why Is My Drywall Bubbling? 6 Common Reasons
These bubbles are nothing to play with

Drywall tape may bubble if it doesn’t adhere to the wall properly.
Moisture is the main cause of bubbling drywall or paint.
Underlying mold causes drywall to bubble.
There’s nothing quite like a freshly painted wall to bring new life to a room, but if the surface starts to bubble, it’s an indication that something’s wrong. Typically, this issue is a result of the drywall or paint coming into contact with moisture either behind the paint or on its surface, but there can be other reasons as well. Read on to find out three common reasons why your drywall is bubbling.
1. Not Enough Mud under Drywall Tape
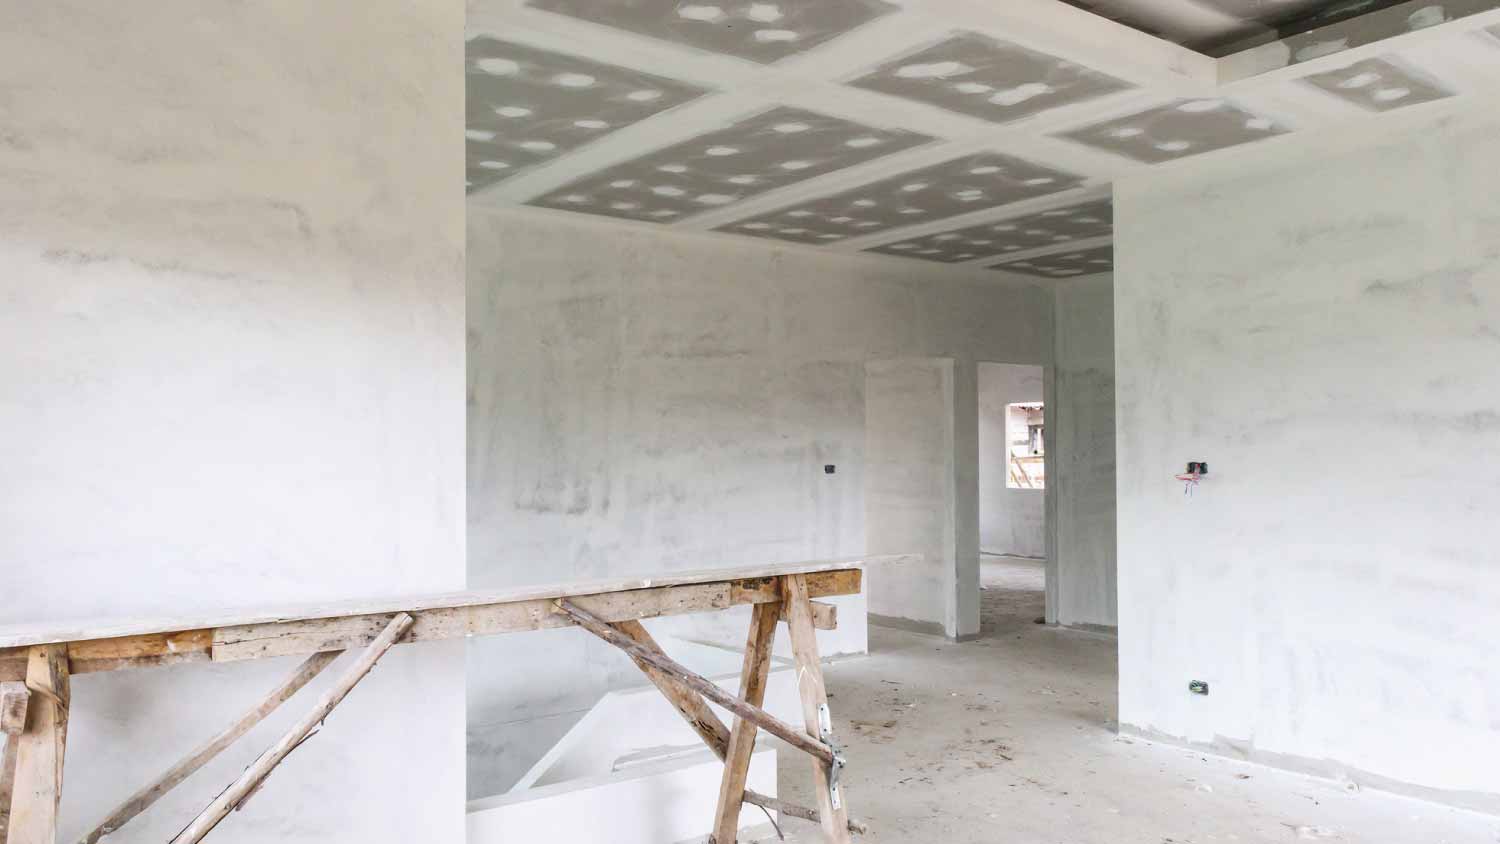
When installing drywall, it’s important to apply the right amount of mud under the tape that covers the joint where two pieces of drywall meet. If too much mud is scraped off during the mudding process, the tape won’t adhere to the drywall correctly and can lead to bubbling.
How to Fix It
To remove bubbles from drywall tape, you can cut the bubbled tape with a utility knife and remove any loose tape. Then, reapply the mud and the tape, overlapping the original tape. Apply another thin layer of mud, making it as smooth as possible, and allow everything to dry before painting. If the area was already painted, repaint it to match the rest of the wall.
2. Trapped Air or Moisture in Joint Compound
When working with joint compound, there has to be a balance between the amount of moisture in the mud and how long it takes to dry. If the joint compound has too much moisture in it, it can soak into the drywall, causing the paper layer to separate from the core, forming drywall bubbles. If air is trapped in the joint compound, it can also create a bubbling effect where the tape doesn’t adhere to the wall properly.
How to Fix It
The best way to fix this issue is to ensure the joint compound is mixed correctly and isn’t too wet. You can also make sure that the coat is smooth and you haven’t pressed too hard on the tape which can rip it and allow air bubbles to form when the second coat is applied.
3. The Wall is Already Painted
If you’re applying joint compound to a painted wall to repair the drywall or cover cracks or other imperfections, the paint acts as a barrier and won’t allow the moisture to absorb as it would with unpainted drywall. When the joint compound dries, bubbles will form on the surface.
How to Fix It
Fixing this issue requires more attention to detail than applying joint compound on fresh drywall. To avoid this issue, you can lightly sand the wall, apply a very thin coat of mud to the painted wall, and then allow it to dry before applying a second coat. A third coat applied thinly might be necessary to create the final finished look.
4. Exposure to Moisture or Humidity
If your drywall is bubbling in areas that aren’t along the seams, the paint may be the problem. Paint in a kitchen or bathroom is more prone to bubbling because these areas are more humid than other areas in the home. The moisture from the humidity can cause the paint to lose adhesion and start to separate from the wall, making it look like the drywall is bubbling. This issue can be exacerbated if you run the shower or bath too soon after painting, which will prevent the paint from fully drying.
How to Fix It
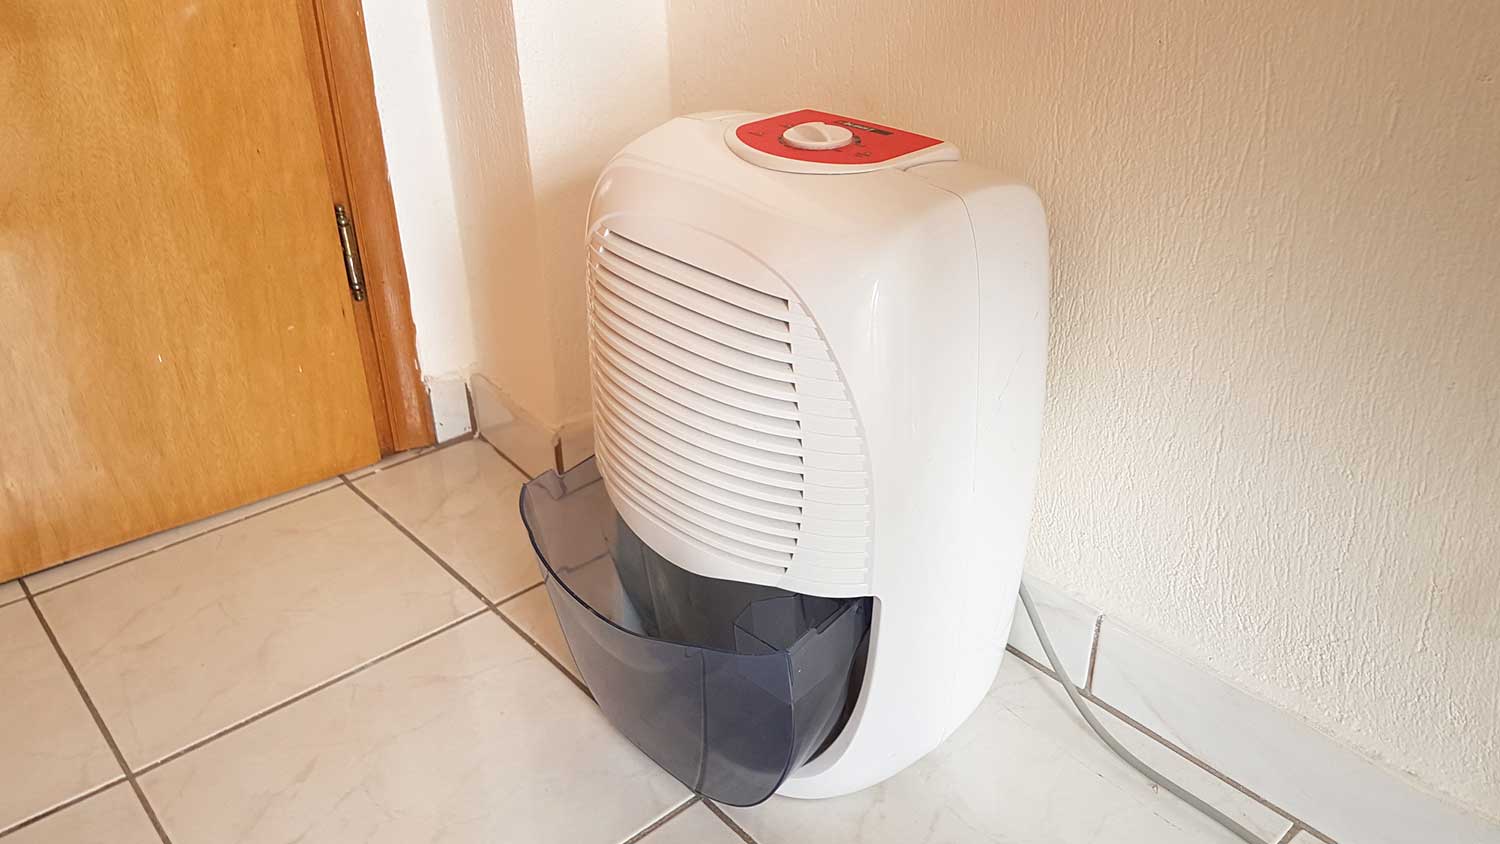
While you can’t fully protect walls from humidity, you can run the bathroom fan or add a dehumidifier to reduce the amount of moisture in the air. To remove the drywall bubbles, you can scrape the paint off of the surface, allow the area to dry thoroughly, and then repaint it, allowing the paint to dry completely. You can also call a local drywall repair pro to assess the damage and fix the issue.
5. There is Mold Underneath
When drywall or paint is applied over mold, it can cause the surface to bubble. If this is the case, it’s important to identify the location and causes of mold to remove it. Call a local mold remediation specialist to help you manage the situation safely.
How to Fix It
A local mold removal pro will take proper precautions and wear the proper gear to protect themselves when working with mold. They will identify the mold’s location and the cause. Then they’ll remove paint from the affected area, clean and disinfect the area, and repaint it as needed.
6. The Surface Wasn’t Prepped Properly
Wondering “why is my drywall bubbling?” It may be the paint that’s bubbling, not the drywall. If your surface wasn’t prepped properly before painting, this is the likely culprit.
For paint to adhere to drywall, the surface must be completely clean and free of dust, dirt, grime, or grease. If the surface isn’t cleaned properly, the paint may start to bubble because it can’t fully adhere to the underlying surface. Painting over old or peeling paint can result in a bubbling effect as well.
How to Fix It
Preventing paint bubbles is easier than fixing them. So, before you begin a painting project, clean the surface thoroughly and then let it dry completely (overnight if possible). If it’s too late for that and the paint is already on the wall and dry, scrape off the bubbled areas with a putty knife and reapply the paint after properly preparing the wall.
When to Call a Pro
If you suspect that the drywall bubbling is the result of underlying mold issues, then calling a mold removal specialist or drywall repair company should be your first step. If you believe the drywall bubbling to be the result of exposure to moisture or humidity, try removing the paint and applying a few new coats, and then monitor the area for any further issues before calling in the pros for help.
Frequently Asked Questions
Moisture can cause all sorts of paint issues, including paint bubbling around your showerhead. When water from the showerhead gets onto the ceiling, it can cause the layers of paint to separate, leading to bubbling on the ceiling.
To make sure the paint won’t bubble as you apply it, make sure to paint on a day that’s cooler than 85 degrees Fahrenheit. When the temperature is too high, the paint won’t dry evenly, which can result in bubbles forming on the surface. Another way to prevent paint from bubbling is to clean the walls, apply primer, and let everything dry completely before you begin.
