Ipe decking costs vary based on size, construction, finish, and whether you hire a professional. Learn more about how to budget for this project.
Shade your deck in style with a DIY pergola


Pergolas, which weigh several hundred pounds, can collapse and cause major damage if installed improperly.
Building a pergola on a deck involves using power tools and attaching the structure to your deck’s joists, which can be challenging for DIYers.
If you’re concerned about damaging your deck or don’t feel you can complete the project safely, hire a pergola contractor.
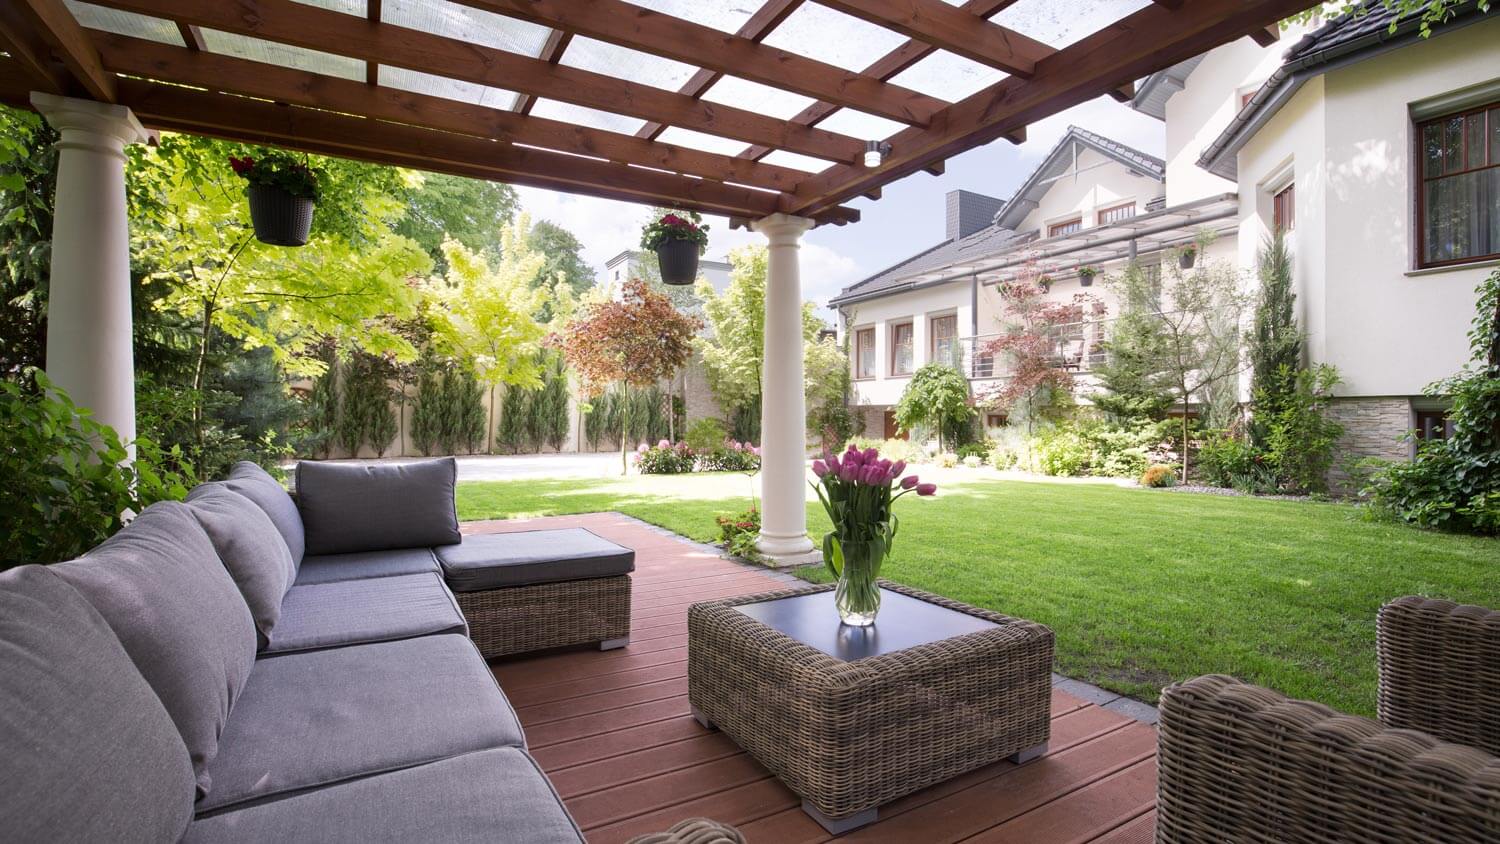
A pergola is the cherry on top of a stylish, breezy deck that’s sure to become the focal point of your outdoor space. These shade-giving structures open up a world of options for customization, plus if you’re an experienced builder, you can DIY a pergola on deck upgrade and save yourself the extra labor costs. Here’s your step-by-step guide on how to build a pergola on a deck.
So, what does a pergola do, and why should you build one on a deck? Building a pergola on an existing deck adds fresh, modern style to your outdoor space. The rafters provide shade from the sun’s harsh rays, while the open design allows for optimal airflow, helping to keep your deck cooler.
If you want extra shade or protection from the elements, pergolas are also easy to customize. You can add additional wooden lattices to cast extra criss-cross shade, a variety of stylish covers for full-shaded protection, or a clear polycarbonate covering to shield your outdoor space from the rain and snow while still letting in the sunshine.
Selecting quality materials is critical when it comes to building a safe, long-lasting pergola. While there are many options for the structure, pressure-treated pine, cedar, or vinyl are the best options.
As for the hardware, it needs to be tough to support the posts and roof. Post bases and timber bolts made of galvanized steel with a powder-coated finish are the best choices. If you don’t have those available, make sure all of your hardware is exterior-grade to resist corrosion from the elements.
Once you have your plans and supplies, you’re ready to start the project. Here’s how to build a pergola on a deck.
Your pergola will need at least four support posts that are securely connected to the deck’s supportive joists. Locate your deck’s supportive joists and install the pergola post base brackets with a lag bolt (the brackets will have a hole in the middle for attaching them).
Before lifting the supportive posts in place, pre-drill a hole in the bottom. The lag bolt on the brackets should fit in this hole, allowing the posts to sit flush with the ground.
Now, lift each support post into the brackets and use a level to ensure it’s plumb. Brace each post by nailing a small 2-by-4 board to each side of the post and an additional 2-by-4 board that pivots and reaches the deck.
At this point, you’re ready to install the beams, which hold up the rafters and link the posts to the house. Start by drilling at least two pilot holes all the way through the beam and post before clamping the beam to the post to complete the connection. Use galvanized carriage bolts to secure them together, then repeat on the opposite side.
If desired, cut decorative edges on your rafters using a jigsaw or a sawhorse before attaching them. Now you can attach your rafters per your design (keeping them around two inches apart is usually a good rule). Screw each rafter into the beams at an angle.
Now that all the building is out of the way, it’s time for the fun part: customizing your pergola. You can paint or stain it and add roofing materials for extra protection. You can also hang cafe-style lights, attach breezy curtains around the perimeter, and bring in furniture to create your dream entertaining space. For extra fragrance and greenery, you can hang plants from the pergola’s rafters and add climbing plants for pergolas, such as wisteria, climbing hydrangea, and honeysuckle.

Be sure to don the proper protective gear, including work gloves and eye protection.
Make sure the pergola is securely mounted before taking any breaks or calling it quits for the day—even if it appears to stand on its own, it can still fall and cause major damage.
Do not secure the pergola to the deck boards; instead, attach the pergola’s posts to the deck’s supportive joists.
If in doubt about your pergola’s safety, consider bringing in a pro.
Building a pergola on a deck is an advanced-level DIY that can be tricky to master without solid know-how for designing and building structures. While cost savings from DIY builds can be tempting, it’s often best to hire a local pergola contractor if you’re not totally confident. Experienced pros will know how to safely build a pergola on your current deck setup. They'll also work with you to create a pergola that looks fabulous and will last for years to come.
From average costs to expert advice, get all the answers you need to get your job done.

Ipe decking costs vary based on size, construction, finish, and whether you hire a professional. Learn more about how to budget for this project.

Are your porch columns old or simply unsightly? It might be time to refresh them. Here's a breakdown of the cost of replacing porch columns.

Cedar is a popular decking material, best known for its natural wooden look and resistance to rot. So, how much does a cedar deck cost? Find out in this guide.

Deck board replacement can keep your outdoor space looking good and safe to use. Learn how to replace deck boards yourself.

A sinking deck can be a major problem. Learn about the potential answers to the question, “Why is my deck sinking?” as well as their solutions.

Discover the cost to build an arbor in your yard. Learn about average prices, key cost factors, and tips to save on your arbor installation project.