
Deck replacement costs depend on materials, any structural damage you need to fix, and more. This guide explores how much it costs to replace or repair a deck.
How to DIY an Under-Deck Drainage System
Keep your deck dry down below

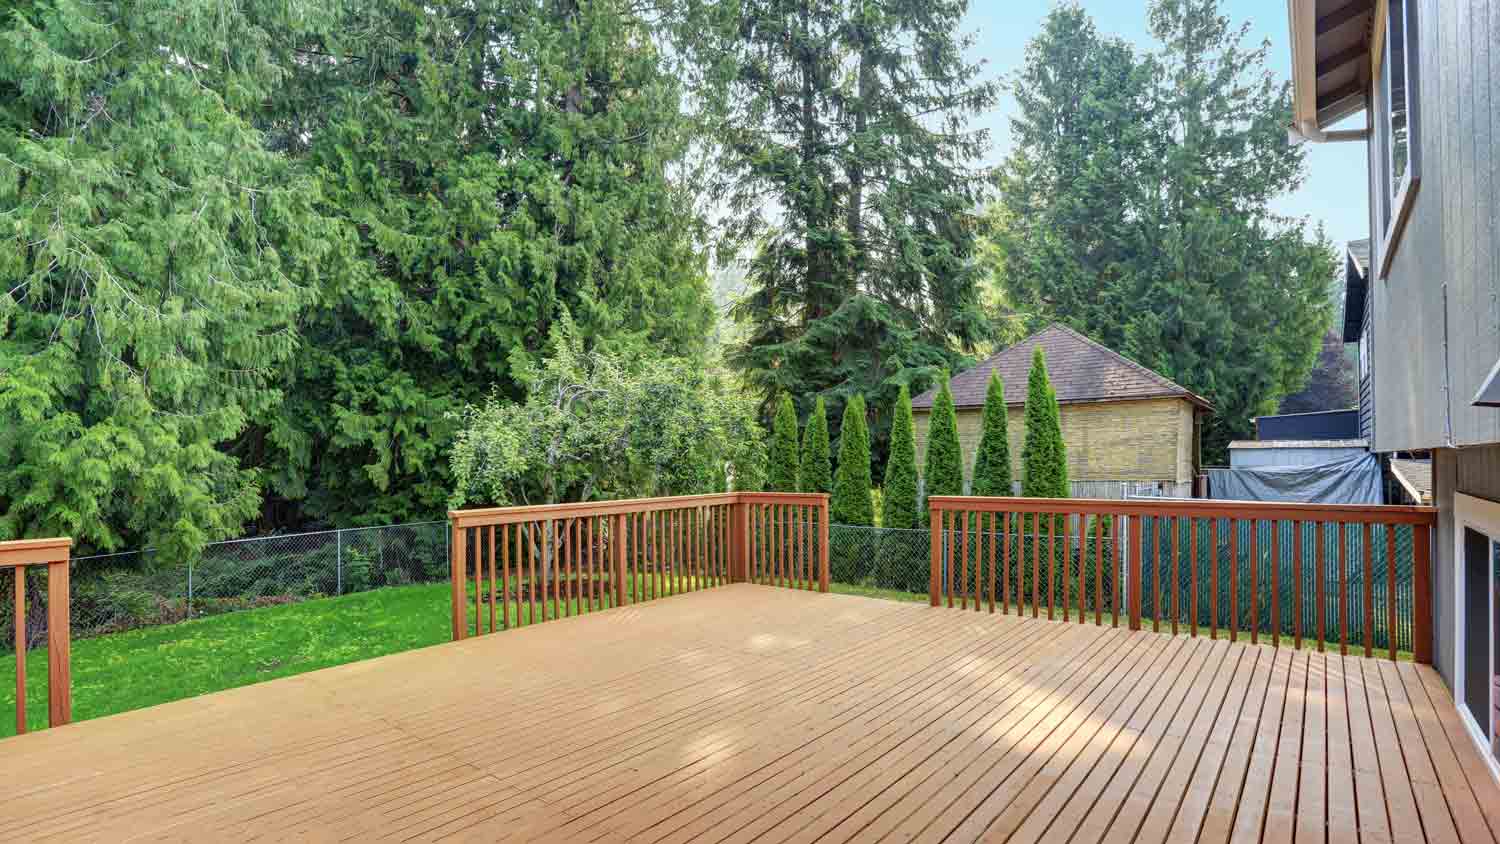
Photo: FOTOGRAFIA INC. / E+ / Getty Images
Photo: FOTOGRAFIA INC. / E+ / Getty Images

Get quotes from up to 3 pros!
Enter a zip below and get matched to top-rated pros near you.
Building and installing an under-deck drainage system may seem intimidating until you learn the various methods to get it done. This process creates a moisture-free haven below the deck, freeing up that space for anything you can imagine. It’s also a great way to protect your investment, as building a deck costs an average of $8,220. Keep reading to learn how to DIY an under-deck drainage system.
Why Install a Drainage System?

Photo: gerenme / iStock / Getty Images Plus / Getty Images
The benefits of adding a drainage system below your deck, otherwise called an under-deck ceiling, are numerous. First, the drainage system prevents water from building up on the deck itself, protecting the space from moisture damage, mold, and pesky critters like wasps. This type of drainage system also protects the parts of your home near or adjacent to the deck, as these systems transport excess water somewhere safe.
Finally, there is underneath the deck. Wood slats are not exactly airtight, so any space below the deck is typically a waterlogged mess. Installing a drainage system underneath the deck protects the space below it, allowing it to transform into a storage space, a home office, or even a sunroom.
How to Prep to Install a Drainage System
The most important prep step for a do-it-yourself under-deck drainage system is to measure the size of your deck, with special care taken to the area underneath the deck. These measurements come in handy later when purchasing the required materials.
Deck drainage systems differ with regard to materials and overall designs, but they fall into two major categories: above-joist drainage systems and below-joist drainage systems. For the average DIYer, an above-the-joist system is the better bet. Below the joist systems lead to wood rot over time and can hasten moisture-related issues.
Beyond that, many drainage kits are available, sourced from various primary materials, and each solves the issue in a unique way. These kits include the required materials but not tools, so have your preferred tools ready to go and don’t forget a heavy-duty ladder and plenty of safety gear.
How to DIY an Under-Deck Drainage System

Photo: vitranc / E+ / Getty Images
Remember, use an above-joist system for the best results. Below are the various above-joist options available to DIYers.
Use a DIY Kit
If it’s your first time staring down the undercarriage of a deck, try an all-in-one kit to complete this project. These kits typically include aluminum or vinyl components, as these materials are budget-friendly, easy to clean, and long-lasting.
However, the kits may not include wood boards to frame out the structure. If this is the case, purchase a number of treated 2x4s to act as stabilizing purlins directly underneath the deck. As a note, some kits instruct you to place the support beams underneath the vinyl or aluminum panels, so read the instructions before starting.
Mark the purlin locations on the deck joists by installing an initial beam along the exterior of the house. Then, stretch a string from this beam across to each joist underneath the deck, ensuring a straight line across.
Mark the location for each spacer block using the string as a guide. For the remaining beams, measure 3 feet in either direction from each spacer block until the space is complete. Mark each location.
Affix small spacer blocks underneath each joist at the locations marked.
Screw each beam horizontally to the spacer blocks. Ensure the beams slope toward the outside of the deck at a rate of around ¼ inch per foot. This angle helps with drainage.
Attach the aluminum or vinyl panels to the purlin with dedicated roofing screws, which likely came with the kit.
Overlap the panels according to the instructions. If the final panels extend beyond the space, move it in a bit to overlap the previous panel (or cut it down to size.)
Install gutters and downspouts. The sloping beams do a lot of the heavy lifting for drainage, but a downspout is never a bad idea. Nail vertical 2x4s to every other joist to provide an attachment for the gutters, sloping the gutters to a downspout at the edge of the space.
HDPE Systems
HDPE (high-density polyethylene plastic) makes for a great under-deck drainage system, as this material is durable, easy to work with, and readily available. There are prefabricated HDPE trough panels available that run parallel to the deck beams directly underneath.
This under-deck drainage system is a popular option for waterproofing a deck during a deck installation. In that case, the panels are set above the framing beams and bridging planks but below the decking.
Cut the trough panels into the appropriate length using a utility knife. Roll out each panel until it extends beyond the deck space and cut each one to size.
Arrange each trough panel parallel to the support beams and affix using staples at regular intervals. Keep the trough taught while stapling. Use caulk and flashing tape for any difficult-to-staple areas.
If there are angles or cantilevered sections, cut short pieces of the trough and cover up any exposed areas, ensuring that the water flows from this smaller area to a longer trough.
Use long lengths of butyl tape to cover every seam between each panel and along each cross-beam. This step creates a watertight seal.
Install an under-deck gutter and any required downspouts. Align the gutter with the downspouts and ensure each downspout outlet extends around 1 inch into the gutter. As always, the gutter needs to be slightly sloped to assist with drainage.
Use Fiberglass Panels
Fiberglass panels are another option, with an installation process similar to the aforementioned aluminum or vinyl drainage kits.
Frame the structure underneath the deck with spacer blocks and treated 2x4 beams.
Affix the fiberglass panels to the support beams with roofing screws, overlapping as necessary to meet the demands of the space.
Install gutters and downspouts at the appropriate locations. Find more information regarding this part of the job via the above DIY options.
The most important part of this step is ensuring the gutters are sloped correctly to assist with drainage.
How to Care for Under-Decking

Photo: Borisenkov Andrei / iStock / Getty Images Plus / Getty Images
Now that the under-deck drainage system is humming along, you want to do everything you can to avoid breaking out the ladder again. Maintain your deck and the drainage system to protect your monetary and time investments.
Add ventilation: If you live in an area with high humidity, add some ventilation to help release hot air and mitigate nasty temperature extremes. A simple option is to add strip vents directly underneath the soffits.
Place flashing tape: Affix flashing tape over the joists and beams to help prevent rot and wood decay over time. A wide variety of tape types are available for use and installation is a breeze.
Keep everything clean: Routine cleaning is extremely important to protect the various components of your deck and the drainage system. Sweep away debris before mold forms and use an appropriate wood deck cleaner once per year. Avoid pressure washing wood decks, as this leads to damage.
Stain and seal: Staining and sealing your deck help protect the drainage system as it reduces the chances of debris and moisture coming in contact with the system. Avoid staining and sealing the under-deck components as this traps water and leads to wood rot.
How Much Does It Cost to Install an Under-Deck Drainage System?
Several factors can impact the cost of installing an under-deck drainage system. These variables include the size of your deck, labor costs, and the cost of materials. On average, this type of upgrade costs $21 to $43 per square foot. Based on your deck size, plan to budget $5,100 to $8,000 to add this system.
To reduce costs, consider doing some of the work yourself, which can save you a few thousand dollars versus hiring a professional. If you can, try to do this work in the off-season—after summer ends.
DIY vs. Hire a Pro
This is not the easiest DIY job on the block, and it requires plenty of dedicated tools and materials, in addition to setting aside plenty of time to get the project done. If this is your first under-deck rodeo, hire a local deck builder to tackle this task. Deck contractors perform this kind of work daily, increasing the efficiency and quality of the outcome. A pro will also suss out any lingering issues impacting your deck, solving two issues with one visit.
Frequently Asked Questions
The homeowners guide to deck and porch services
From average costs to expert advice, get all the answers you need to get your job done.

Refinishing your deck is a great way to restore its appearance and fall in love with your outdoor space. Use this guide to learn how much it costs based on factors like size and type.
Deck repair costs depend on materials, damage you need to fix, and more. See how much it costs to replace or repair a deck in Columbus, OH.

A tired-looking deck doesn’t mean you have to replace the entire thing. Learn about these common PVC decking problems and how you can fix them.
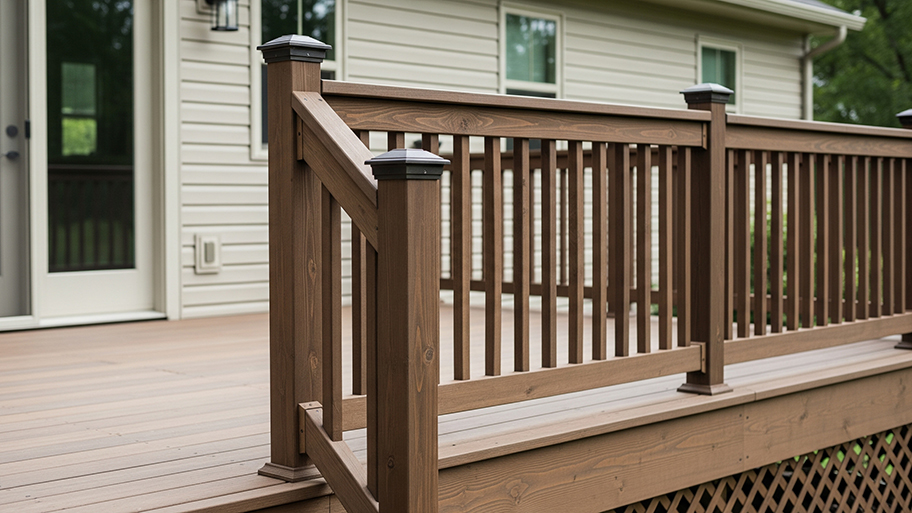
The average cost of a deck railing depends on size, type, material, and labor in your area. Check out this guide to determine what works for your budget.
Knowing the warning signs of a damaged deck can help you catch issues early on. We’ve listed the most common signs your deck needs to be repaired or replaced.