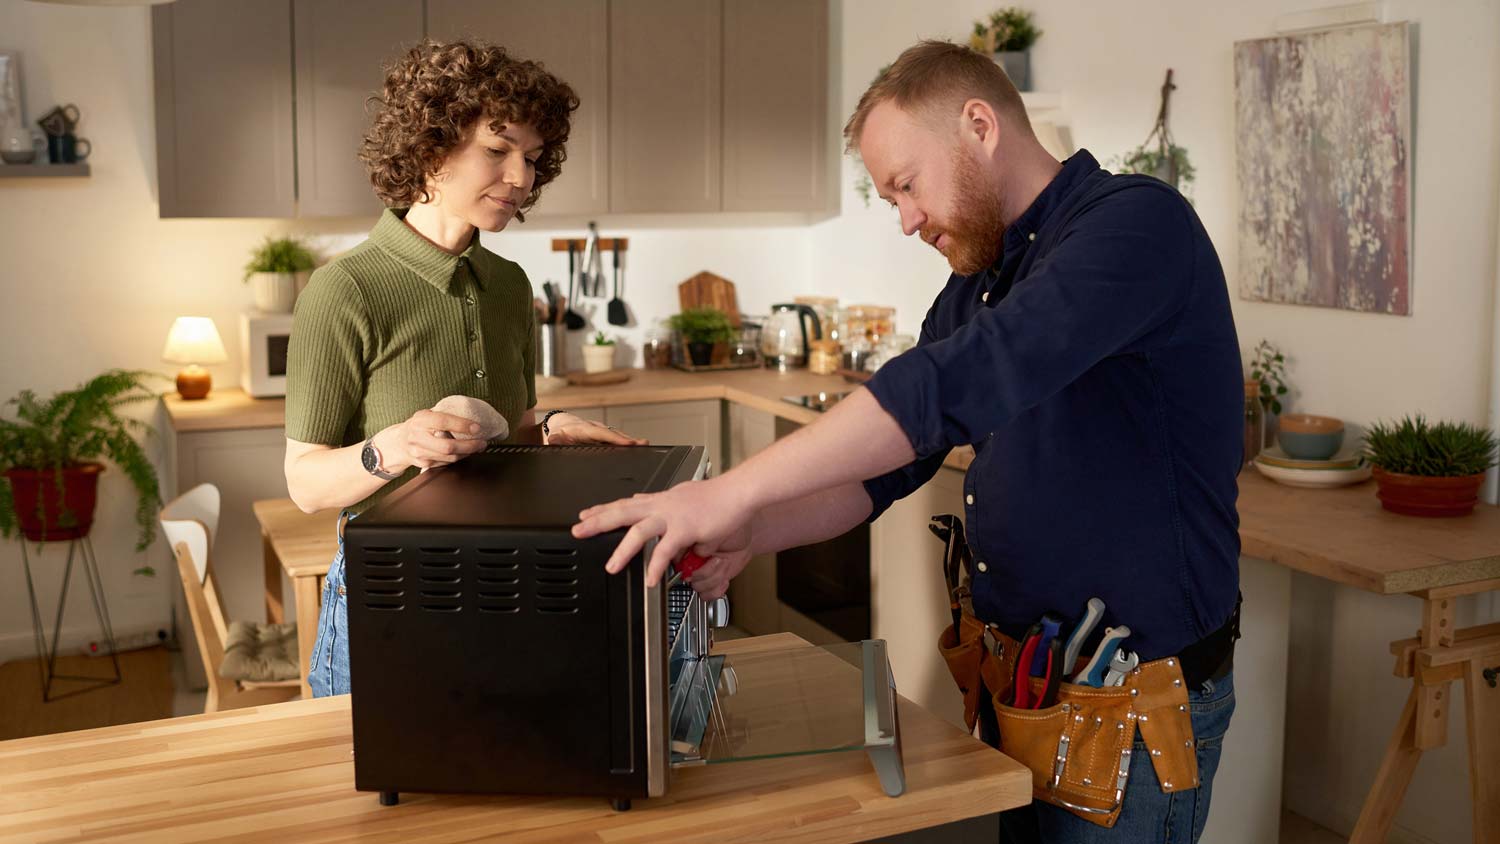
Get transparent microwave repair cost info for 2025. Learn what impacts price, compare repair vs. replacement, and find ways to save on your microwave repair.
Avoid common over-the-range microwave installation fails with these handy DIY tips
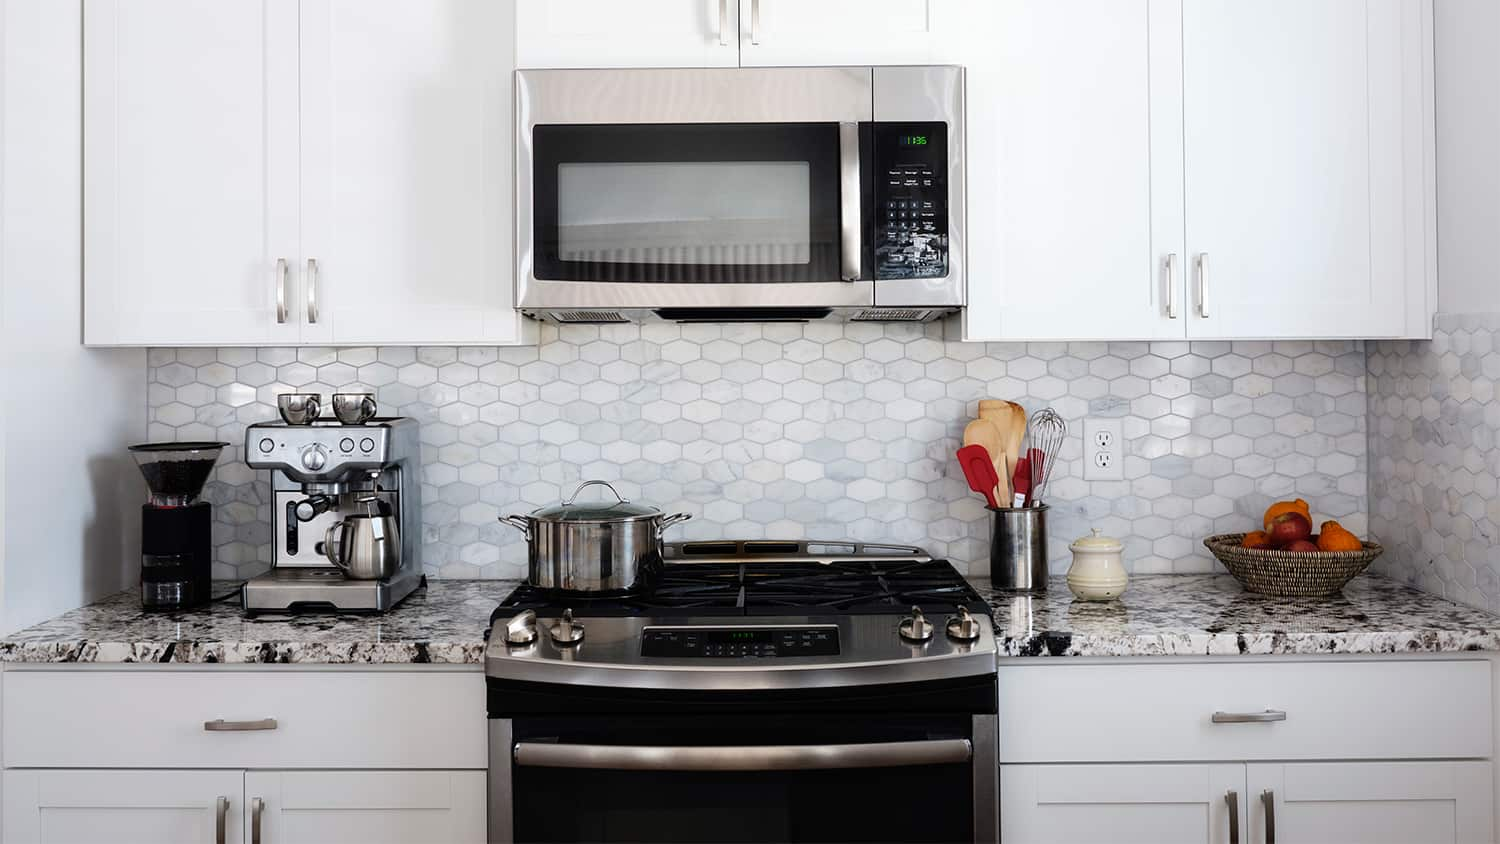

Installing a microwave over your oven range has the potential to either be a DIY win or a home improvement headache. Some common mistakes can lead to microwaves falling and taking out not just your newly installed appliance, but the expensive oven range below it. These tips will help minimize any potential problems and save you from making some costly mistakes.
If the idea of installing a new microwave leaves you colder than last night’s leftovers, you can always hire a local handyperson to do the job for you. The cost of an average microwave installation begins at $135, not including the cost of the appliance.
The good news is that if you’re replacing an existing microwave a lot of the work—like the wiring, cut outs, and cabinetry placement—is already done for you. The most common DIY fail that can happen when using an existing over-the-range microwave’s footprint is getting the measurement wrong, which is why you should always double check your measurements.
When measuring for your replacement microwave, you’ll want to measure more than just the area where the unit will sit. Measure from the top of your oven range to the bottom of the cabinet. If your microwave hangs out further than your cabinet, make note of your cabinet’s height and how far the existing model hangs out (this will give you an idea of how a larger or smaller unit will look in your space). While microwaves are typically around the same length—30-inches tends to be the norm—they can vary widely in depth and height.
Microwaves can be a lot heavier than they look. Plus, when you take into account their sometimes awkward size and weight distribution, it’s best to make sure you have an extra set of hands around to help you get it down. If you’re short on helpers, you can hire a local handyperson to get the job done. Handypeople typically charge around $60 an hour for their services.
While you’ll likely have to remove all of the hardware to get your old microwave out of the unit, you should hold onto it in case you need it for your new and improved microwave. This goes for cabinet screws and the mounting bracket behind the old unit.
If you’re adding a new microwave to a freshly designed space, there are a few different things you’ll want to take into consideration. For example, an existing microwave would’ve already been mounted using studs or toggle bolts, giving you a pretty good idea of where the best place to drill will be. If you’re installing your new microwave into a fresh cavity, you’ll need to figure this out from scratch. But don’t worry—we’ve got your back.
Microwaves are deceptively heavy (they average around 50 pounds) and should be hung using studs. Use a stud finder to locate your studs and mark them before you start drilling. This will tell you exactly where you should put the screws for your mounting brackets.
Some microwave manufacturers recommend using wooden blocks in the empty cavity between the cabinet and the microwave. These blocks remain in place after installation and will prevent you from doing any damage to the cabinetry woodwork as you tighten the screws.
The microwave's power cord needs access to an electrical outlet, so be sure that your cabinet has a hole for your unit's cord. Be sure to feed the power cord through the hole before you fully mount the unit to the wall.
From average costs to expert advice, get all the answers you need to get your job done.

Get transparent microwave repair cost info for 2025. Learn what impacts price, compare repair vs. replacement, and find ways to save on your microwave repair.
Is your microwave plate not spinning? It’s not the end of the world, but it might be the end of your microwave. Use this guide to diagnose and fix the issue.
Wondering why your microwave is buzzing? The sound could be more than just a nuisance. Learn about the possible causes and how to find a solution.
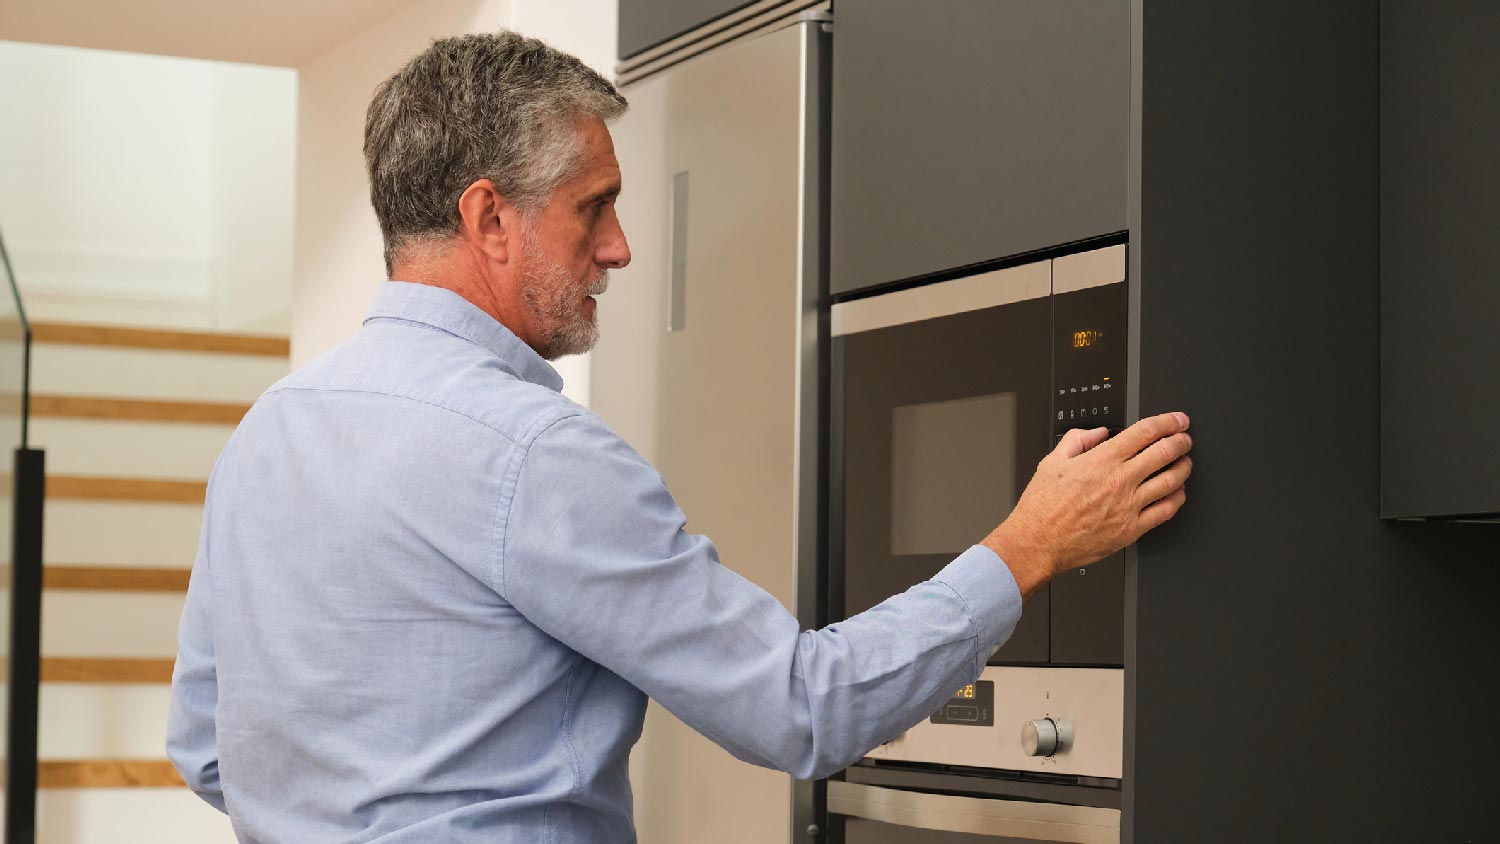
Why is your microwave smoking? Learn the most common reasons for smoke coming out of your microwave and how to address the issue safely.

If your microwave keeps tripping the breaker, you need to understand why. Learn about common problems and how to keep your family and home safe.