How to Install Seamless Gutters Safely
Put your DIY skills to work and upgrade your gutter game without breaking the bank


- Ladder
- Tape measure
- Level
- Gutter crimper
- Electric screwdriver
- Seamless gutters
- End caps
- Downspouts
- Downspout adapters
- Downspout elbows
A seamless gutter DIY project is fairly straightforward for anyone with know-how and experience working on ladders. If that sounds like you, read on to find out how to install a gutter. Whether you’re upgrading your old gutter system or installing one on a new home, you’ll be glad you opted for seamless gutters when you see how well they work.
Prepping to DIY a Seamless Gutter Installation

If replacing your old gutter with a new seamless gutter, start by removing the downspouts and unscrewing the brackets. Also, before you start your gutter installation, inspect the fascia. If there’s any rot or damage, you need to fix that first.
When choosing the size of your gutter, consider the weather in your area. A 5-inch gutter can hold 1 1/4 gallons per foot, while a 6-inch gutter can hold 2 gallons per foot. If you get a lot of rain, go with the 6-inch model to avoid overflowing gutters.

Calculate Gutter Lengths and Identify Downspout Placement
Measure the length of your house where you intend to install your gutter and add 1/4 inch to the measurement to get the length you’ll need. You’ll likely need to use a ladder to get the correct measurements, and finding someone to help will speed up the process. As always, keep ladder safety tips in mind before you begin working off the ground.
While you’re measuring the house, make a mark every 10 feet. These marks will help you when installing the gutter, as it needs a 1/2-inch slope every 10 feet.
Next, figure out where you’d like to install your downspouts. Although the gutter is the star of the show, don’t overlook the importance of properly installed downspouts. The water from the gutters needs to flow properly to a drainage system, and you need enough downspouts to get the job done. For any gutters that are 20 feet or longer, install two downspouts.
Mark where you plan to install your downspouts (about every 30 feet) and take measurements. You’ll need them for the third step.
Hire a Pro to Custom Create Your Seamless Gutters
Even though you can DIY most of this project, you still need a pro to craft the gutters to your home’s specifications. Research who does gutter work in your area and hire to create your seamless gutters to make an installation like this possible. Local gutter pros will use a special machine inside their vans to manufacture pieces that are longer than the standard 10-foot gutters you can buy at the store. Some companies do not offer a DIY option and instead require you to use their installation services, so you might have to do some digging.
You can choose from different gutter profiles, although the most common ones are the half-round and K-style. The half-round gutters are easier to clean, while the K-style—although costlier—catch more water. Like when choosing seamless vs. seamed gutters, you should consider your needs when choosing the right type of gutter profile for your home.
Another perk of having gutters made on-site is that you can choose the color of the gutter you want. Many people opt for gutters that are the same color as the house so they blend in.
Drill Holes for Downspouts and Attach the Hangers
 Photo: ungvar / Adobe Stock
Before starting the installation, drill holes for the downspout and install the hangers on the ground. Use the measurements you got in the first step to determine where the downspout will be on the gutter. Place a downspout adapter on the right spot, trace it onto the gutter, and saw a hole for it with a miter saw. Screw the adapter into place and waterproof it with sealant.
Attach end caps to your gutter and waterproof them with sealant. Next, install hidden hangers onto your seamless gutter. These fit under the lip on the gutter and are typically placed every 16 to 20 inches on center, and you should also have one hanger at least 6 inches from each end cap.
Finally, if installing your seamless gutter on an angled fascia, use a T-wedge for every third hanger.
Attach the Gutters to the Roofline
Hold your seamless gutter at the center, and climb the ladder. Place the gutter under the drip edge to ensure water doesn’t flow behind the gutter, and then secure it in the middle by screwing in the hanger screw.
Then, head to the highest slope of the gutter and start screwing the gutter into place. As you work down the slope, place a level inside the gutter to check that it’s sloped at the right angle.
Attach the Downspouts
After you complete the gutter installation, it’s time to work on the downspouts. Start by installing the first elbow onto the downspout adapter. Before screwing it into place, ensure you have the crimped side closer to the ground.
Take the second elbow and hold it up to the house. Use a tape measure, determine the distance between the two elbows, and add 3 inches. Cut a downspout to that size and use a gutter crimper to make crimp marks. This practice helps the downspout attach snugly to the elbows.
Attach the piece to the two elbows.
Then, measure the length between the bottom of the downspout on the house to the ground and subtract 3 inches. Cut a downspout to that size, and make crimp marks for the lower end of the pipe. Install the downspout onto the elbow.
Once that step is done, secure the downspout to the house with one band on the top and one on the bottom.
Install Gutter Guards (Optional)
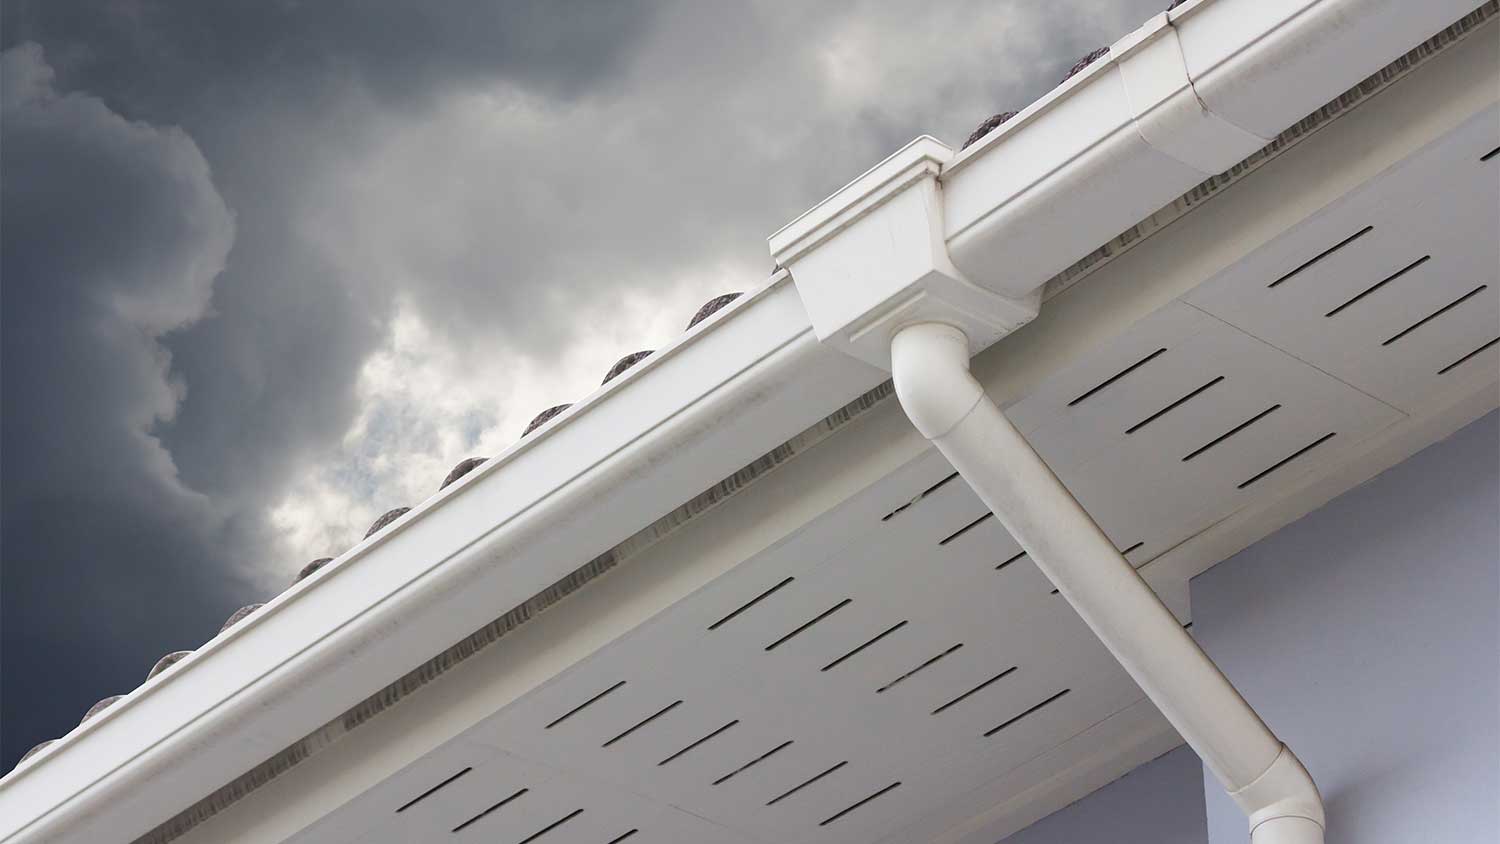 Photo: Rattanachat / Adobe Stock
Leafy trees are great because they give you much-needed shade in the summer, but they can also mean tons of gutter clogs in the fall and early winter. You could benefit from installing a gutter guard or a leaf guard if you have multiple trees.
To install the gutter guard, place it on top of the gutters and screw it into place. Note that the guard isn’t maintenance-free, and you’ll still need to hire a pro who cleans gutters a couple of times a year.
Mistakes to Avoid When Installing Seamless Gutters
As with installing standard gutters, there are a few missteps to watch out for with the seamless version, too. Attempting to do a project like this by yourself is not recommended. Having a second person present to help you out can work wonders from both a safety perspective and when it comes to making sure the gutters are installed properly.
Not paying attention to the gaps in seamless gutters is another mistake that can happen during installation. While seamless gutters won’t have cracks continuously along the base of the gutter like standard options do, seamless varieties still have gaps where one long stretch of gutter meets another. Failing to properly seal or weatherproof these areas will result in damage and potentially costly repairs.
Here are all the potential mistakes that can happen when installing seamless gutters:
Forgetting to waterproof seams
Incorrect placement
Installing the wrong size gutters
When to Install Seamless Gutters
All types of roof work, and especially gutter installation, should be completed in mild weather to avoid unnecessary risks. That means clear skies, no rain or snow, and relatively low temperatures. Early spring checks all these boxes and, when you’re done, your new gutter system will be set up and ready just in time for the heavy rainfall of late spring.
If spring isn’t an option, early fall is your second-best bet. The weather conditions are similar, the leaves haven’t yet fallen and clogged your gutters, and the days are still almost as long as they were in summer—minus the punishing heat. What’s more, you may end up spending less to hire a pro to build your seamless gutters at this time thanks to it being the off-season.
DIY Installing Seamless Gutters vs. Hiring a Pro
Installing seamless gutters costs $650 to $1,700 if you hire a pro, with labor running $4 to $10 per linear foot. If you have the know-how, the right tools on hand, and are comfortable working on a ladder, doing this project will save you some money.
On the other hand, if you’re not up for a challenging DIY, don’t have the tools you need, or are simply afraid of heights, it’s best to leave this job to the pros. An improperly installed gutter system can spell more trouble than you might think, including foundation cracks and water leaks in your basement or crawl space. So get it done right first and leave the hard work to a seamless gutter installer near you.
Frequently Asked Questions
Many homeowners believe seamless gutters are worth the cost. Seamless gutters last longer, don’t require as much maintenance, and are less prone to clogs and leaks. Also, many people find that seamless gutters are much more pleasing aesthetically. So although seamless gutters cost more than seamed gutters, many people consider them a good investment.
Regular gutters usually have seams every 10 feet, and each seam can potentially leak. You’ll have to replace the gutter sealant every 1 to 5 years, which requires a lot of maintenance or gutter repair to keep them in good shape.
You can order seamless gutters in any length you need. Since these are made on-site at your home, it’s possible to get gutters that would otherwise be too long to ship. The only thing you’ll have to account for is having enough hands on deck if you have a particularly long seamless gutter to install.
While gutter lifespans are primarily determined by the type of material they’re made from, seamless gutters last up to five years longer than their standard counterparts thanks to the reduced risk of leaks and associated damages. For instance, standard aluminum gutters max out at 20 years, but you can get as much as 25 years from a seamless variety made from the same material.


