

Considering adding a screened porch to your home? Discover the average cost of a screened-in porch, depending on its size, location, and more.
We’ve got you covered without breaking the bank


Professionally-installed pool enclosures cost $7,000 to $18,000, but you’ll get a reliable and long-lasting structure.
Attempting to DIY a pool enclosure enclosure is potentially dangerous due to the skill set and strong workers it takes to install it safely.
A pro will have all of the necessary materials and tools to get the job done efficiently.
You’ll need a pool enclosure kit, power tools, concrete mix, and more to install the structure.
Common DIY mistakes like failing to build your pool enclosure to code or using low-quality materials mean your structure may not be safe.
Your pool maintenance to-do list can feel endless at times, whether you're constantly keeping leaves and critters out of the water or balancing the chemicals. Pool enclosures can be the key to protecting your water from the elements while creating a safer swimming experience. But can you put them together yourself? Many companies offer kits for DIY pool enclosures that can help you cut down on the costs of installing more permanent structures. Whether it’s a DIY pool dome or DIY pool screen enclosure, read on to learn how to build a pool enclosure on your own.
A pool enclosure is a temporary, permanent, or semi-permanent structure that covers your pool, and—depending on the design—the surrounding patio. Larger pool enclosures create a full indoor living space to enjoy your daily swim, often with doors, windows, and even temperature control. Smaller ones provide a retractable cover for the water itself while it is not in use.
Most pool enclosure designs come with an aluminum or polycarbonate frame. Panels made of glass, fiberglass, polycarbonate, or screen material sit within the frame. You will also find inflatable pool enclosures made of vinyl.
Best of all, there are pool enclosures for inground, above ground, and semi inground pools. In many cases, the pool enclosure gets looped into the price of pool installation, but you may choose to construct one on your own down the line.
Pool enclosures act as an alternative to the many types of pool covers, but they share some of the perks. Most importantly, pool enclosures protect your pool from the surrounding environment. Rain, leaves, debris, bugs, and even small animals are far less likely to find their way into your pool, cutting significantly down on maintenance. You may even spend less time balancing your pool chemicals.
Depending on the type of pool enclosure and its construction material, they can also provide UV protection, privacy, and even more balanced water temperatures.
A DIY pool enclosure primarily allows you to save money on the installation process. However, the opportunity also offers a chance to try out different styles of enclosures before choosing a permanent option. Taking the DIY route allows for greater personalization, customized placement, and budget-friendly designs.
We should note that choosing to build a DIY pool enclosure is a big decision. First of all, not all pool enclosures are DIYable. Many involve large, heavy structures and can be dangerous to install without assistance or construction knowledge. In many cases, you will need to use a saw, power drills, and even concrete-mixing equipment.
Additionally, not all DIY enclosures can stand against high winds, snow, or rain. Always check local requirements for pool enclosure laws and the specifications on your pool enclosure kit.
Pool enclosures cost between $5,000 and $15,500 on average depending on their size, building material, design, and whether you opt for professional installation. Installation labor is a significant cost factor, costing between $35 and $50 an hour for installation that can take up to two weeks. Pool enclosure kits average around $3,900 without installation help, though you'll find much higher prices for large, polycarbonate kits.

The first step in learning how to build a pool enclosure is checking out which models are on the market and which are DIYable. Several major brands offer DIY pool enclosure kits that ship all the necessary tracks, framing, panels, and fittings to attach to your patio.
Keep in mind that these brands will not provide the tools necessary for construction. Tools may include:
Tape measures
Power saw
Power drill
Post hole digger
Screwdrivers
Concrete mix
Hammer
Mallet
Chalk line or carpenter pencil
The most important tool provided with your DIY enclosure is the user manual. Every DIY kit is unique from one to the next. We recommend speaking with a representative from the pool enclosure company to choose the best model for your setup.
Even if you intend to construct a temporary or semi-permanent structure, you may need a building permit to get started. Pools and poolscapes often have specific building codes set by your local town, the state, or your HOA. These codes can also help you determine the height and coverage of your pool enclosure.
Once you've clarified local building codes, measure your pool according to the instructions on your pool enclosure kit website. Each model will provide specific instructions on:
The required base materials for the frame.
Measurements in relation to your pool.
Safety considerations.
Required alterations to concrete, paver, or surrounding landscape.
Necessary tools not included.
If you have a round or oddly shaped pool, you may need to research custom pool enclosure kits. While these will cost more in the long run, you are less likely to end up investing in an enclosure that doesn't fit the bill.
At this point, you can choose between a permanent and portable pool enclosures that either stay in place year-round or only cover the pool when it's not in use.
Both varieties adapt to above ground and inground pool designs, though permanent enclosures are a bit more common for inground pools.
The primary types of pool enclosure include:
Lean-to: Pool enclosures that connect to the side of your home.
Retractable: Open and close for swimming or greater sun exposure.
Domed: Low to medium enclosures that create a dome shape over the pool.
Inflatable: Temporary enclosures supported by a fan.
Screened-In: Pool enclosures that feature screens instead of glass or polycarbonate walls.
Custom: These designs feature a range of roof styles, such as mansard, hipped, and gabled roofs.
Keep in mind that you can't build all types of pool enclosures yourself. The most common DIY kits include inflatable domes, small retractable domes, and some basic aluminum structured domes.
The height of your pool enclosure significantly affects your DIY building process. It will also dictate whether you need to open the enclosure before use or whether you can walk, swim, and lounge beneath it.
Low pool enclosures: These enclosures sit one or two feet above the water of an inground pool. They often retract on a metal track on either side of the pool.
Medium pool enclosures: This option sits between two and four feet off the water, allowing you to swim, lounge, or crouch into the enclosure. They often retract on the same type of track or sit permanently on an above ground pool.
High pool enclosures: Large pool enclosures sit between four and 12 feet above the water on average and often look like a traditional structure.
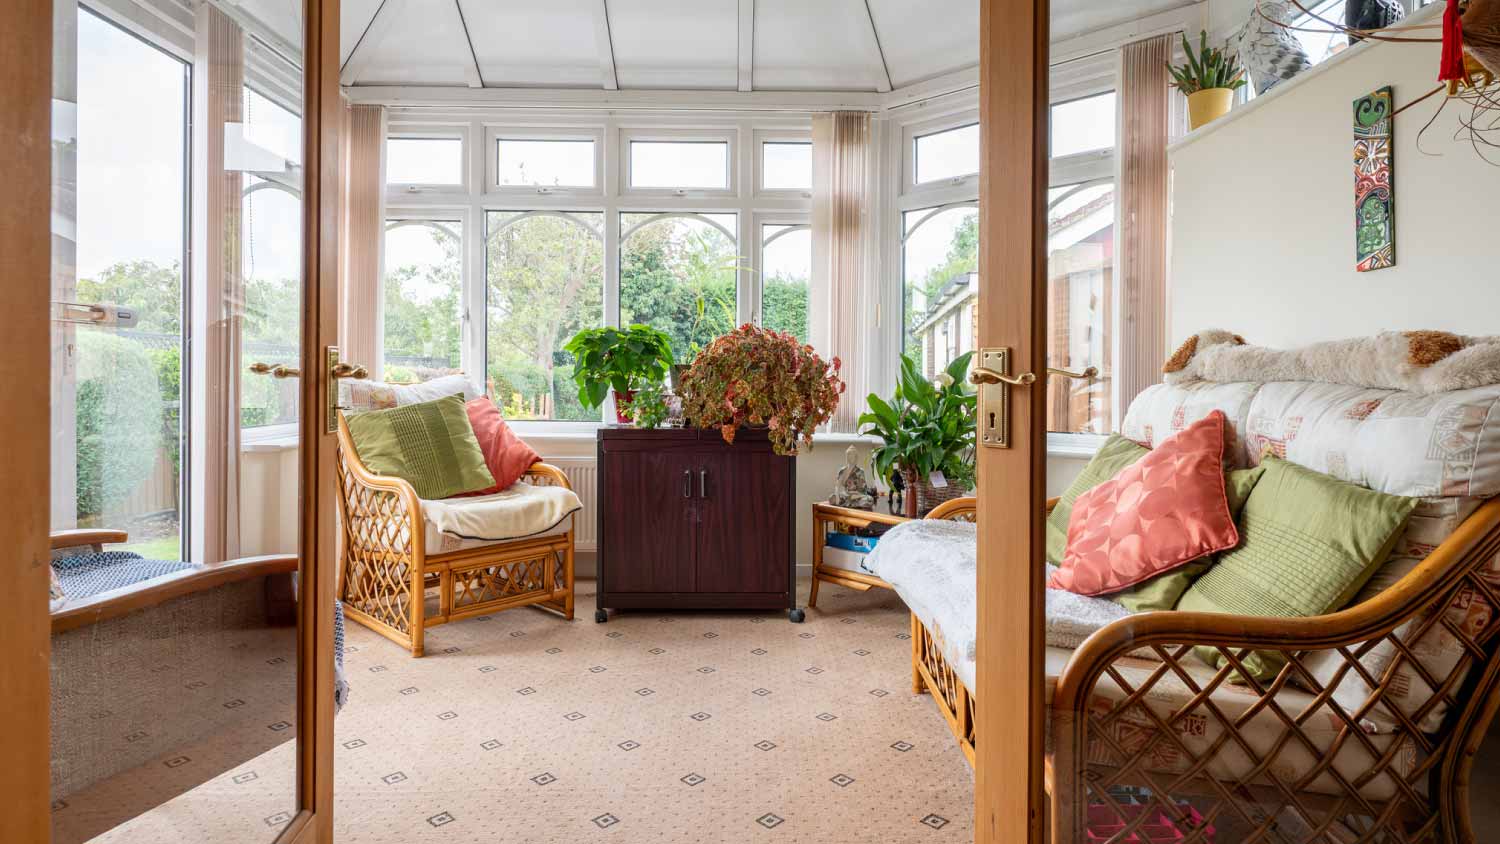
Heavy pool enclosures constructed of glass and a metal frame may be too heavy and delicate for DIY construction. However, in most cases, DIY kits will include lightweight framing and panel materials to help you avoid injury during installation. Some enclosures may work with the current structure of the exterior of your home, such as by adding a three-sided screened-in porch.
DIY pool enclosure kits may include doors, windows, flaps, fan motors, and retractable frames that attach to your ground or patio.

As we've touched on a few times: DIY pool enclosure kits will all come with very specific installation instructions. Make sure you've prepped the land around your pool and that you're up for a multi-step job when the structure arrives. Also, we highly recommend inviting a friend to help lift, balance, and secure the enclosure with you.
All this being said, here are the general DIY pool dome or enclosure instructions you'll find in most kits.
While they are rare in DIY form, you will find medium and high domes that look like professionally installed permanent pool structures.
As we mentioned before, however, they will likely be made of lightweight materials such as vinyl or thin polycarbonate. The general installation instructions for this DIY pool enclosure will include:
Measure and mark the placement of your framework.
Pre-assemble the foundation posts according to the instructions.
Use a concrete drill to create anchoring holes in the pre-marked areas.
Insert the posts into the drilled holes and either secure them with cement or with the provided fittings.
If your model uses aluminum poles for its frame, identify each part and begin assembly in the order indicated by the manual.
Pre-assembled framing, however, should attach directly to the posts.
At this point, the manual will likely include instructions about adding necessary braces and safety equipment.
For vinyl domes, stretch the material over each section of the framing and secure it with the provided hardware.
You will find similar instructions when installing screened-in pool enclosure kits that come with traditional framing. While they will not keep rain and cold air out of your pool, they can protect your pool from bugs, leaves, and debris.
Retractable DIY pool enclosure kits may sound more complex, but they follow very similar rules to the installation above. The primary difference comes down to the track installation instead of set foundation posts. Picture a retractable dome pool enclosure like a telescope. Smaller domes in the front slide into wider domes toward the back, creating one compact arch when it sits open. In most cases, your retractable dome tracks will sit along the two long sides of the pool and pull back from the primary pool entrance.
Once you've measured your poolscape, received the delivery, and read through the manual, here's what you can expect.
Connect the pieces of metal track together according to the instructions, often with the use of a power drill and provided hardware.
Re-measure and line up the tracks along the edge of your pool where they will connect to your patio.
Pre-drill the holes for your track with a concrete drill bit.
Secure the tracks into the patio with provided screws, wall plugs, and a concrete drill bit.
With the help of a friend, slide the largest shell of the retractable enclosure on the end of the track.
Ensure that the edge of the track sits above the concrete and does not scratch as it moves.
Attach the back wall of the dome to the largest piece according to your instructions.
Add each smaller shell of the enclosure one piece at a time. Most models will include detailed instructions at this point on how to connect each piece to the next.
As you go, you may need to add small accessories to each piece, such as the brush strip along the track and specialized hinges or springs for proper use.
Once the frame is in place, secure the polycarbonate sheets into the frame according to the instructions. You may need to seal the sheets for proper weatherproofing.
An inflatable pool enclosure may be the easiest to set up, but it still involves significant installation and changes to your pool deck.
Keep in mind that while lighter and less permanent than other options, an inflatable enclosure may not be safe in extreme weather. Here's how to install most inflated bubble domes.
While following the instructions, mark the perimeter of your enclosure and measure the space between recommended anchors.
Drill the holes for screws and anchor hooks at your indicated areas.
With the help of a friend, pull the vinyl cover over the area and place it in the proper position.
Hook the cover to the installed anchors on your patio.
Depending on the model you chose, there may be an additional step to seal or weigh down the edges of the enclosure to your pool.
Attach the air motor to the provided input area and seal it to the enclosure according to the instructions.
You will likely need a GFCI outlet dedicated to the fan.
Switch on the fan and fill the enclosure according to the manual.
With inground pool costs averaging out around $55,000 and above ground pools costing around $3,300, adding an enclosure may feel like another costly step. However, the cover does intend to balance out the extra costs of pool maintenance over time. Here are some ways to cut down the pool enclosure costs if you need to keep your budget small.
Consider an inflatable pool enclosure for temporary coverage.
Choose a low or medium height for your enclosure.
Work with a local pool installation team to cut down on shipping costs.
Speak with a representative from the company to ensure you purchase covers of the correct size the first time.
Consider buying and installing the enclosure off-season for special deals.
Shop around and request quotes from at least three companies.

Let's take a moment to note that, yes, you will initially save money on your pool enclosure by building it yourself. However, remember that these DIY structures will often not last as long as permanent and professionally installed pool enclosures. Lighter materials are also more likely to become damaged in extreme weather. In other words, you may save more money over time by hiring a sunroom contractor near you or contacting your local pool installation team.
From average costs to expert advice, get all the answers you need to get your job done.
Considering adding a screened porch to your home? Discover the average cost of a screened-in porch, depending on its size, location, and more.

How much does it cost to rescreen your porch or sunroom? Learn about screen materials, average labor costs, and other costs for rescreening your porch.
Love soaking up sun but can’t stand the bugs? Learn how much a Florida room addition costs and what factors influence the price to get the best of both worlds.

Get some inspiration and DIY ideas for turning your screened-in porch into a beautiful and tranquil place to enjoy the outdoors in comfort and style.

A gazebo on decking can be a charming addition to an outdoor space, but not all decks can bear the weight. Here’s what you need to know about installing one.

Not sure what type of sunroom to build? Our guide breaks down the differences between a solarium vs. sunroom so you can decide which is best for your home.