
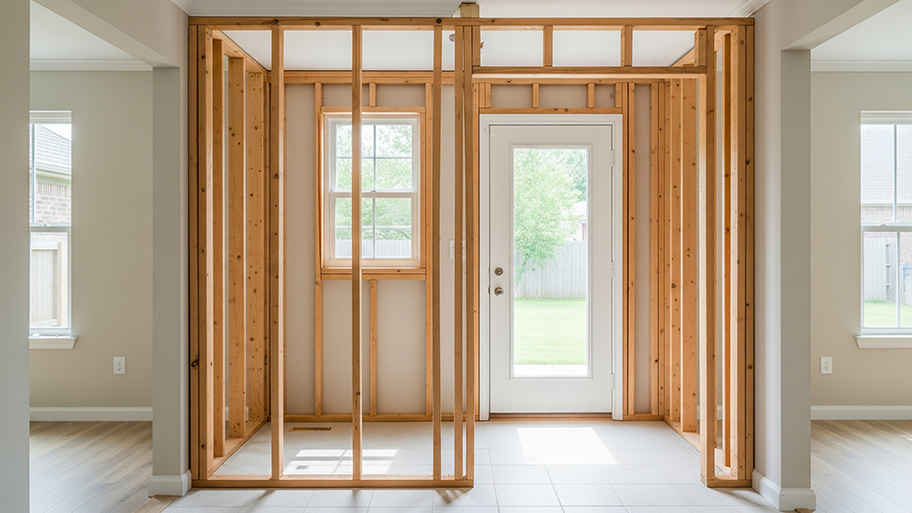
Sometimes, all your home needs is a new wall to make a room or provide an updated function to an existing space. Learn how much it costs to install a new wall.
DIY mudroom lockers are an easy way to create a beautiful space and add storage.


Mudrooms can serve to keep your house neat and clean, but what is a mudroom without some storage? The space can quickly get cluttered with shoes, bags, umbrellas, and other items just sitting on the floor. A simple way to neaten things up and add some serious appeal to your space is to install DIY mudroom lockers. You can get these done in a weekend with minimal experience, and guests are sure to comment about how professional your custom cabinetry looks.
There is minimal preparation required before building your custom mudroom lockers, but one thing you will need to do is determine the final dimensions of your lockers and adjust the materials you need accordingly. The lumber we’ve recommended above is suitable for lockers that are six feet wide and between six and seven feet tall.
To prepare for your necessary dimensions, we suggest you draw out blueprints for your mudroom plans based on measurements you take in your space and figure out how much of each of the supplies above you need.
Measure and cut one 1 inch by 12 inch common board to the entire length of your mudroom lockers using your miter saw or circular saw. If you use a circular saw, we also recommend using a speed square to ensure you get a straight cut.
You can also cut an additional 1 inch by 12 inch common board to the same length to serve as a base between your shoe storage compartments and the flooring in your mudroom. We’ve left this part out of our design, but you might prefer how the lockers look with a bottom board.
Next, you’ll measure and cut five 1 inch by 12 inch common boards to the height you want your lower compartments to be. We recommend between 12 and 18 inches to accommodate shoes and boots. You might need to cut more than five pieces of common board if your mudroom lockers will be more than 6 feet wide.

The lockers are where you’ll hang coats, bags, umbrellas, and other items you don’t want making their way into your hallway or kitchen. You’ll need to measure and cut four pieces of the 1 inch by 12 inch common boards to the desired length—based on how tall you want your lockers to be. We recommend cutting them to 48 inches each.
Cut another piece of 1 inch by 12 inch common board to the entire width of your mudroom lockers to act as a barrier between the lockers and the top shelves.
The top shelves can bridge the gap between your lockers and the ceiling, or you can leave some space above them for additional storage. You’ll need to cut four pieces of 1 inch by 12 inch common board to the height you want inside the shelves. We recommend 12 inches to accommodate hats, decor, or other items that you wouldn’t place in the lockers or on the base.
You’ll also make the roof of the top shelves out of 1 inch by 12 inch common board, so cut one final piece to the entire width of your lockers.

Now that you know your final locker dimensions, you can cut the shiplap panel to the proper size. We recommend laying out the vertical pieces side by side and lining them up so the seams between the “shiplap boards” are equidistant from side to side.
Measure and mark the size of your mudroom lockers on the panels. Cut along the lines with your circular saw, using a straightedge to ensure a straight cut.
Take your cut wood and panel pieces outside or to a well-ventilated area, and put on your respirator and safety goggles. Using your random orbital sander, sand all of the components, with the exception of the rear of the paneling. We recommend sanding all of the other pieces starting first with a 120-grit sanding disc, then moving to a 220-grit sanding disc, and finishing with a 320-grit sanding disc.

Wipe the sawdust off of the wood and panel pieces and prepare them for painting. We suggest painting all pieces before assembly to help make it easier. We also recommend applying one coat of paint, waiting for it to dry according to the manufacturer’s directions, and then applying a second coat of paint. Wait an entire day for the paint to dry before moving on.
You don’t need to paint the sides of the wood pieces or paneling that will face the wall, as your guests will never see those edges.
Put your respirator on and begin applying polyurethane to all of the painted components, making sure to follow the manufacturer’s directions. Pro tip: a water-based polyurethane will help reduce yellowing if you choose a white paint color for your mudroom lockers.
Wait for the first coat of polyurethane to dry fully. You can sand lightly with 320-grit sandpaper for a smoother finish if you’d like. After sanding, apply a second coat of polyurethane; wait for it to dry and sand lightly again if desired.
Keep in mind that you don’t need to apply polyurethane to the back of the wood or panel pieces that will face the wall.

Begin the assembly process by using construction screws to attach the small base pieces vertically to the horizontal base piece. We recommend installing one on each side of the horizontal piece and then spacing the rest evenly across the length of your lockers. Use a speed square to make sure they are perpendicular to the horizontal piece.
Next, screw the four 48-inch pieces of the 1 inch by 12 inch common boards onto your base. We recommend setting the two outside vertical walls one half inch in from the end of the base. This will allow you to screw in the vertical pieces without the smaller vertical base pieces getting in the way. Attach the rest of the vertical locker pieces so that they are equidistant from each other.
Finally, screw the top horizontal section of the lockers onto the vertical pieces. Use a speed square to make sure the vertical pieces are perfectly perpendicular to both horizontal pieces.

Use a drill to screw the vertical pieces of the top shelves to the top horizontal piece, which will serve as the top of your lockers. We recommend screwing in the two outside pieces so that they’re flush with the ends of your lockers and then spacing out the remaining vertical pieces equally across the width of the lockers.
Place the top shelves on top of the lockers and screw in the vertical slats from underneath. Again, make sure these pieces are straight using your speed square.
Now that you’ve assembled your lockers, you can attach the paneling on the back. Line up the paneling you cut and painted with the rear of the lockers, making sure that the shiplap part is facing in toward the lockers. Attach using a hammer and paneling nails all the way around the outside.

Finally, you can move your lockers against the wall and attach your coat hooks. You can install these in a few different ways, but we recommend screwing them to the left and right sides of the inner locker walls, making sure to stagger them so that the screws don’t hit each other.
Building custom mudroom lockers might sound like an intimidating project, but it’s doable if you have the right tools, even with little to no experience with carpentry or woodworking. We recommend building these yourself if you have the time and a space already designated as a mudroom.
Alternatively, you can hire a home addition contractor near you, which may be a better option if you’re converting an existing space to a mudroom or building a bump out addition to serve as a mudroom. Coupling the mudroom installation work with building custom mudroom lockers will usually have the job done more quickly than if you did it yourself.
From average costs to expert advice, get all the answers you need to get your job done.
Sometimes, all your home needs is a new wall to make a room or provide an updated function to an existing space. Learn how much it costs to install a new wall.

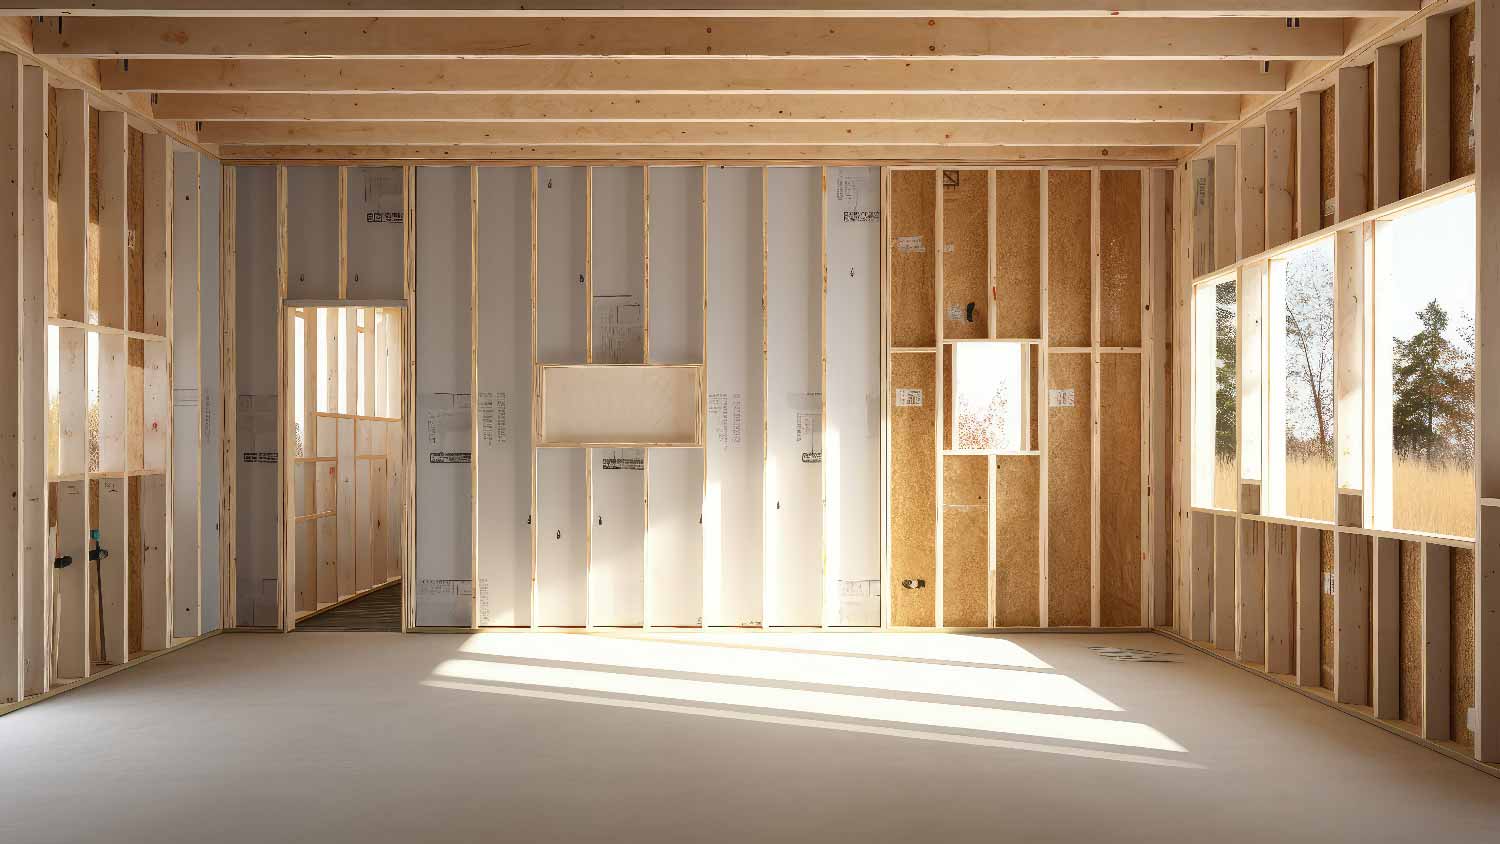
The cost to frame a house can vary depending on the size of your home, the structure you’re building, and your materials. Keep reading to learn how much framing your house might cost.

Looking to turn your yard into a hockey or ice skating paradise this winter? Use this backyard ice rink cost guide to see what the installation will total.

Common types of ceiling tiles include metal, plastic, and mineral fiber. Explore ceiling tile materials and their strengths and weaknesses in this guide.

Learn when and why a project manager vs. general contractor is better for major home makeovers or construction projects with this comparison guide.
Choosing the type of framing for your home isn't a decision to make lightly. Compare metal studs vs. wood studs to find the best base for your house.