

Kitchen islands are multipurpose workhorses in your kitchen. When looking to add one to your home, you should consider its size, materials, and its primary use in your home. Learn about the price of kitchen islands and their different features.
Get the stunning beauty of marble countertops without the heavy price tag


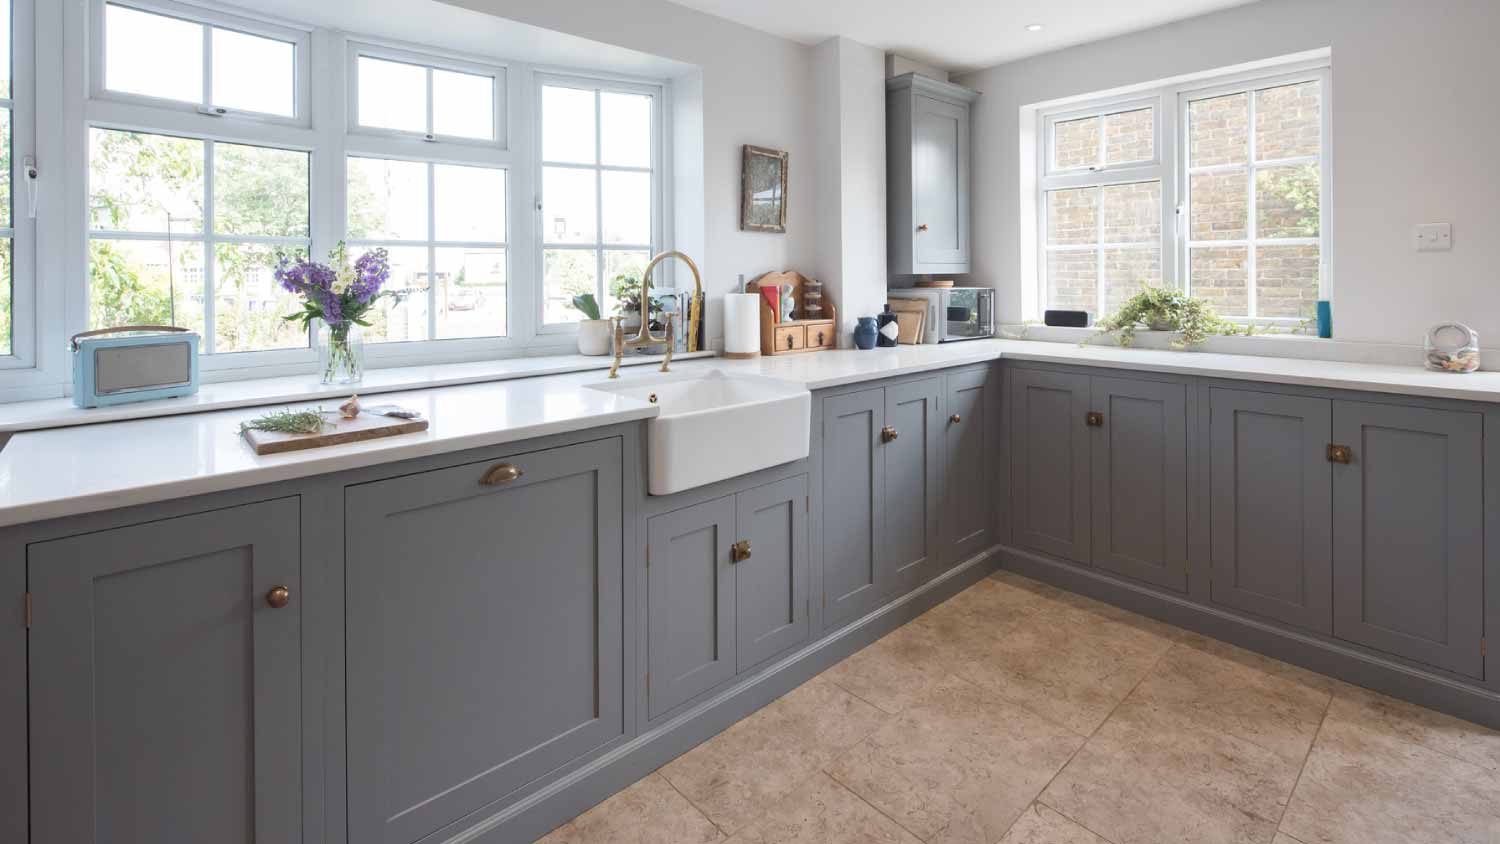
If your budget doesn’t have room for the real deal, DIY marble countertops are the way to an upscale faux look. This project isn’t complicated, but it does take time and attention to detail to learn how to make your countertops look like marble. Arm yourself with a few photos of the marble you want to emulate, and make some time in your schedule to get an upscale countertop at a budget price.
To make countertops look like marble, start by using a scrub brush and an all-purpose cleaner to clean the countertop. Oil, grease, and food residue can interfere with the paint and epoxy’s ability to adhere. Dampen a clean cloth with water and wipe down the countertop a couple of times to make sure you’ve gotten rid of any residue from the cleaner. Let the counter dry.
An optional preparation step is to remove your sink and appliances. They can just as easily be taped, but removing them will ensure they stay paint- and epoxy-free. Last but not least, make sure your space is well-ventilated throughout the process. Wear personal protective equipment, like safety glasses and a dust mask when sanding and add rubber gloves when painting or applying the epoxy.
Make life easier and prevent a big mess that you’ll have to clean up after this DIY. Cover cabinets, floors, appliances, and anything you don’t want covered with paint or epoxy. You’ll thank yourself later.

Use painter’s tape and plastic sheeting to tape off your lower cabinets. Tape the sheeting to the floor to hold it in place. Don’t forget to tape the backsplash. If you remove your sink, tape underneath the hole left behind so paint and epoxy don’t drip onto your plumbing. Finally, lay down drop cloths next to your cabinets to prevent paint or epoxy from getting on the floor.

Authentic marble countertops don’t usually have sharp edges, even with waterfall edge countertops. If the existing countertop has sharp edges, you can use a drill fit with a 1/8-inch round-over bit to round the edges. This will make the final result look more like a marble countertop. Use a tack cloth to wipe off dust.
Fill any gaps and seams in the existing countertop with an all-purpose putty or filler. Apply the putty with a putty knife, pressing it into the gaps. Let the putty dry according to the manufacturer’s instructions.
We’re using chalk paint in this tutorial, but you can DIY faux marble countertops using any type of paint that will adhere to your countertop surface. You don’t necessarily have to sand when using chalk paint, but if you want to make sure the paint adheres well, a little sanding can help.
You can sand by hand or use an orbital sander and a 220-grit sandpaper. Sand enough to create texture.
While we’re using the lighter-colored paint as the main color, you can use a light-on-dark based on the color scheme you want to create. Pour some of the light-colored paint into a paint pan. Apply it to the counter with a roller. Don’t forget to paint the sides.
Let the paint dry before applying another coat. (Chalk paint dries quickly, which is another reason it makes this project easier.)
Continue to apply coats until you’ve completely covered the countertop color. You may need to apply three or four coats over a dark-colored countertop and only one or two for a light-colored countertop.

Once the final coat of the base color dries, use a small paintbrush to paint the veining. It’s helpful to have several pictures of a marble that you’d like to mimic as a reference point. Paint the veining in small sections. Then, take a slightly dampened sponge and dab at the veining to gently blend it with the main color.
You may need to go over the lines again or sponge several times in different areas to create the look you want. If you dislike the result, you can always paint over the veining and start over. Let the veining completely dry.
Once the countertop is completely dry, either hand sand or use the orbital sander with 220-grit sandpaper to smooth the edges from the texture created by the veining. You’ll also want to sand any of the light-colored areas that have a rough texture.
Then wipe down the counter with a clean tack cloth or use a utility vacuum to remove dust. Be vigilant, as any leftover dust can ruin the look once you apply the epoxy.
Once mixed, epoxy begins to harden in about 20 to 30 minutes, so don’t mix it until you’re ready to apply it. Epoxy kits typically come with an epoxy resin and a hardener that you’ll mix together in a silicone mixing cup using a metal stir stick. Silicone cups and metal stir sticks prevent impurities from entering the mix.
Follow the manufacturer’s instructions to get the correct ratio of epoxy resin to hardener. Then, mix thoroughly so that the materials are well blended. Pour the epoxy into a clean mixing cup and mix again.

Pour the epoxy mix into the center of the countertop. Use a clean roller to slowly roll it out from the center toward the edges. Use the saturated roller along the edges so the epoxy will flow evenly over the side.
Use a heat gun over the epoxy to help bring out bubbles. Let the heat gun pop the bubbles. Do not touch them. Be careful that the cord (and you) doesn’t drag across the counter. You’ll also need to be vigilant in wiping the drips off the bottom of the edges before they harden. Wipe them with a clean cloth. Keep watching for drops until the epoxy completely hardens.
Now it’s time to wait. Epoxy needs to cure for a day or two. It depends on the brand and the mix, so read the instructions. Do not use the countertop until the epoxy has fully cured.
If you already have most of the tools, creating your own DIY marble countertops can cost less than $200. Factor in the time it takes, which is usually two to three days, with some of that time spent waiting for paint coats and epoxy to dry.
Marble countertop costs vary widely by the type of marble, with some costing $12 per square foot and others coming in around $180 per square foot. But once you add up the cost of the marble, materials, and labor, you’re looking at $3,000 to $5,000 to install new marble countertops.
The costs of countertop installation might push you toward installing it yourself, but DIYing actual marble countertops requires advanced skills, specialized tools, and a team of people to lift heavy marble slabs. You’d also want to remove all of your kitchen appliances to prevent damage during installation. It’s generally not practical to install marble yourself, in which case, you’d need to contact a few local countertop contractors to get competing quotes.
From average costs to expert advice, get all the answers you need to get your job done.
Kitchen islands are multipurpose workhorses in your kitchen. When looking to add one to your home, you should consider its size, materials, and its primary use in your home. Learn about the price of kitchen islands and their different features.

Granite counters are durable and stylish, but if you’re wondering how much granite countertops cost, it’s time to dig into the details.

Discover the cost of installing laminate countertops, including how their size, material, and finish impact your total price.

Although cutting stone may seem difficult, it is possible with the right tools and knowledge. Learn how to cut granite for bathroom and kitchen counters.

The right countertop material can make or break your kitchen. Learn more about laminate countertops to decide if they suit your budget and style preferences.
Accurately measuring your kitchen countertops is a key part of the ordering and installation process. These steps teach you how to measure kitchen countertops to the exact inch.