
The cost to renovate your lawn depends on the extent of the damage. Our guide will show you how much lawn renovation costs.
Spray your way to a lush lawn


Hiring a professional hydroseeder costs around $24 to $30 per hour, which is often worth the investment compared to the $300 to $500 machine rental for DIY projects.
DIY hydroseeding can lead to uneven coverage or seed washout, especially on slopes or after heavy rain.
A local lawn seeding service ensures full, even coverage and handles all the soil prep and spraying so you don’t have to.
Professional hydroseeding helps you avoid the hassle of renting or buying heavy machinery, as well as multiple types of mulch, fertilizer, and seed blends.
Without experience, homeowners may miscalculate slurry mix ratios, soil grading, or watering schedules, which could stunt growth and create patchy lawns.
Planting sod can be expensive, and it can take a month or two for grass seed to establish on its own. Hydroseeding strikes the perfect balance of budget and growth speed. By spraying a mixture of fertilizer, mulch, seed, and water, hydroseeding prompts fast, healthy grass growth for the best yard you’ve ever had. Learn all about DIY hydroseeding to build the lush lawn of your dreams. All you need are the right tools and a little time.

Hydroseeding, also called hydromulching or hydraulic mulch seeding, is the spraying of a specialized "slurry" over the soil to grow grass and prevent soil erosion. The slurry includes grass seed, water, fertilizer, mulch, and biostimulants. The fertilizer enhances grass growth, and the mulch helps bond the seed to the soil and protects it from the elements. As the mulch decomposes, it also adds nutrients to the soil.
Establishing a lawn with hydroseeding is approximately 50% faster than with regular grass seed. Hydroseeded grass usually sprouts within 5 to 7 days and is well-established and ready to mow within a month. Because of how quickly the method shows results, many people choose hydroseeding for their lawns. It’s also a popular choice for public spaces, parks, and businesses.
Hydroseeding is an effective way to grow lush, healthy grass quickly. Here are the main pros and cons of hydroseeding.
Establishes a lawn 50% faster than seed
Easy to spread evenly for full coverage, leading to a healthy lawn with no patches
Prevents soil erosion from wind and water
Compatible with any type of grass seed
Provides extra nutrients to help your lawn thrive
Improves soil quality
Less expensive than sod
Customizable seed blends
Great for rocky terrain and hills
Requires intensive watering for the first two weeks
Less effective than sod at establishing a lush, seamless lawn
Not ideal for climates with limited water
Hydroseeding costs between $0.06 and $0.20 per square foot on average, depending on the slope and the quality of the slurry. For a 10,000-square-foot lawn, expect to pay around $1,200. For a larger property, budget $2,000 to $4,000 an acre.
If you're DIY hydroseeding, set aside $300 to $500 for the machine rental. Smaller DIY hydroseeding kits made for repairing patches cost $25 to $35 per 100 square feet.
It's best to hydroseed your lawn in the spring, early summer, or early fall. If you live in a mild climate, you can hydroseed at other times when temperatures stay between 50 degrees and 65 degrees Fahrenheit. Avoid hydroseeding in winter and early spring, as the average temperatures are too low, and your area may experience a frost or freeze, which can quickly kill your grass seed.
Different grass varieties grow best in certain pH ranges: not too alkaline and not too acidic. Many grasses grow best with a soil pH of 6 to 7, but some can grow with a pH as low as 5.5 (more acidic) or as high as 7.5 (more alkaline).
Test your soil's pH using a home soil testing kit. You can also ask a local soil testing company to give you comprehensive results that can help inform your decision on how to balance your soil before planting.
Identify what types of grass grow best in your soil or adjust your pH levels. Apply sulfur to your lawn, lime amendments, or organic material to adjust the pH level before hydroseeding. Lime amendments will raise your soil’s pH if it’s too acidic, whereas sulfur will lower the pH if the lawn is too alkaline.
You can create a custom grass blend for your lawn made up of one or more types of grass. Look at the USDA Plant Hardiness Zone Map to get a good understanding of what grass grows best in your climate. You’ll also want to select a grass based on its drought resistance, shade tolerance, and other key features of your yard.
Next, determine the type of slurry mix you're going to use. The most common hydroseeding slurries are:
Wood fiber: the best option for most hydroseeding projects, especially where there's a high likelihood of soil erosion
Bonded Fiber Matrix (BFM): contains a water-resistant bonding agent to help with seed adhesion, even if there's heavy rainfall
Blended mulch: mix of 60% wood fiber and 40% paper—an affordable and popular DIY option
Paper mulch: the least expensive option and best for light-scale hydroseeding, such as repairing patches of grass or for flat terrain and climates without lots of rain
Using a hydroseeding machine is the best way to get even and fast results. Check with your local hardware store about when machine rentals are available and the cost.
A hydroseed machine ensures the slurry is well-mixed and stays mixed. It’s also easy to spray a large area with the adjoining hose and nozzle. A professional-grade rental will give you the best results, especially if you’re DIY hydroseeding a full lawn.
You can make your own hydroseeding set-up with a large drum, pump, and sprayer, but doing so is more difficult. If you're hydroseeding small areas, such as repairing patches of dead grass, a hydroseeding home kit should be enough. The kits come with a canister to mix and spray the slurry, and you can find them online or in home improvement stores.
By preparing the soil, mixing your slurry, and spraying evenly, you’ll have a new hydroseeded lawn in no time.
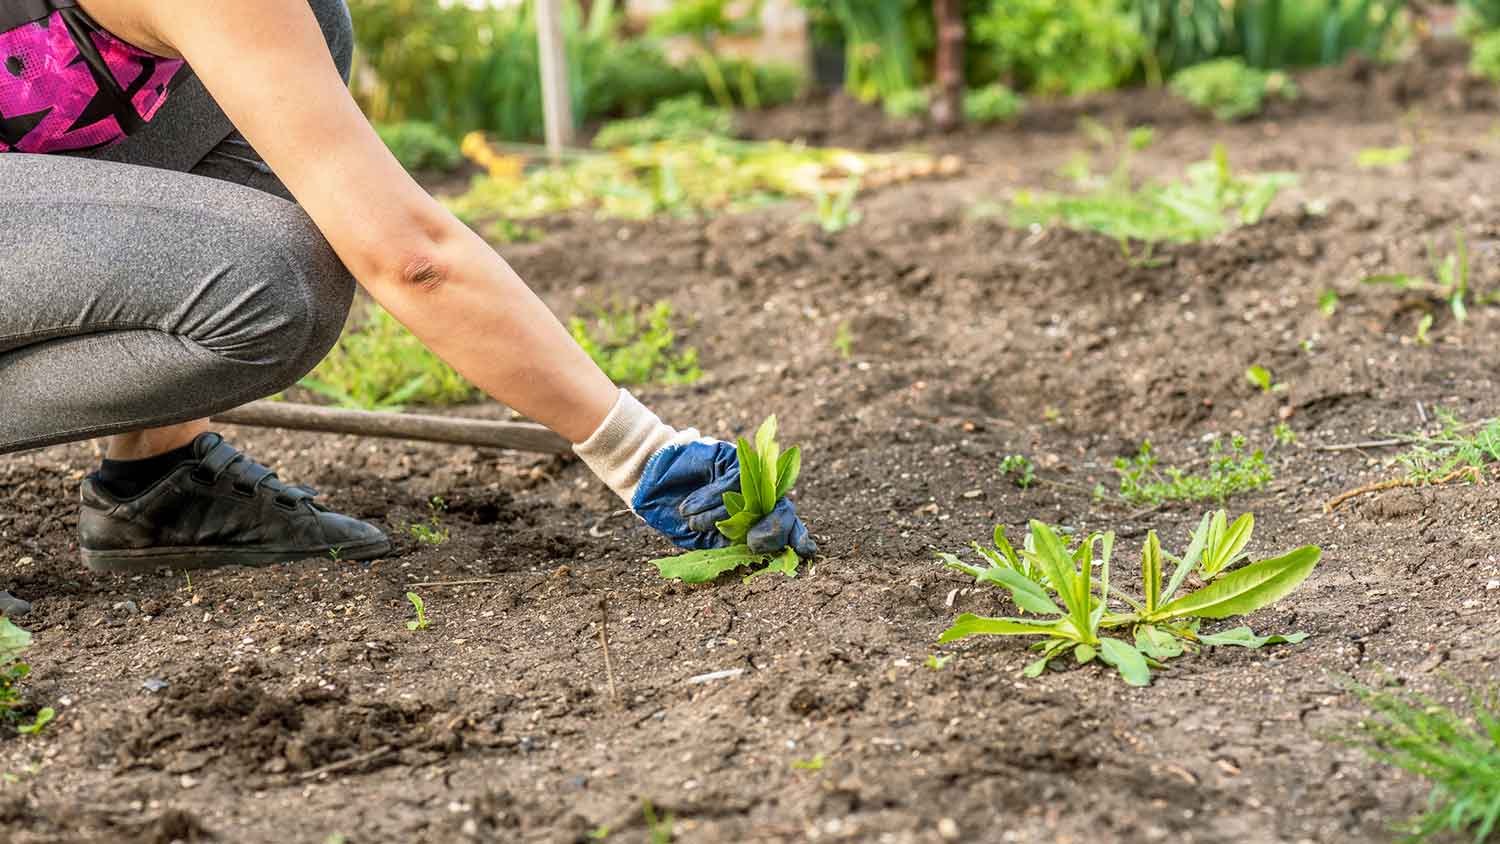
You should spread your hydroseed on bare soil for the best results, so you'll need to prep the ground. Pull up weeds and remove debris, leaves, and branches from the area. Mow any existing grass to the shortest height.
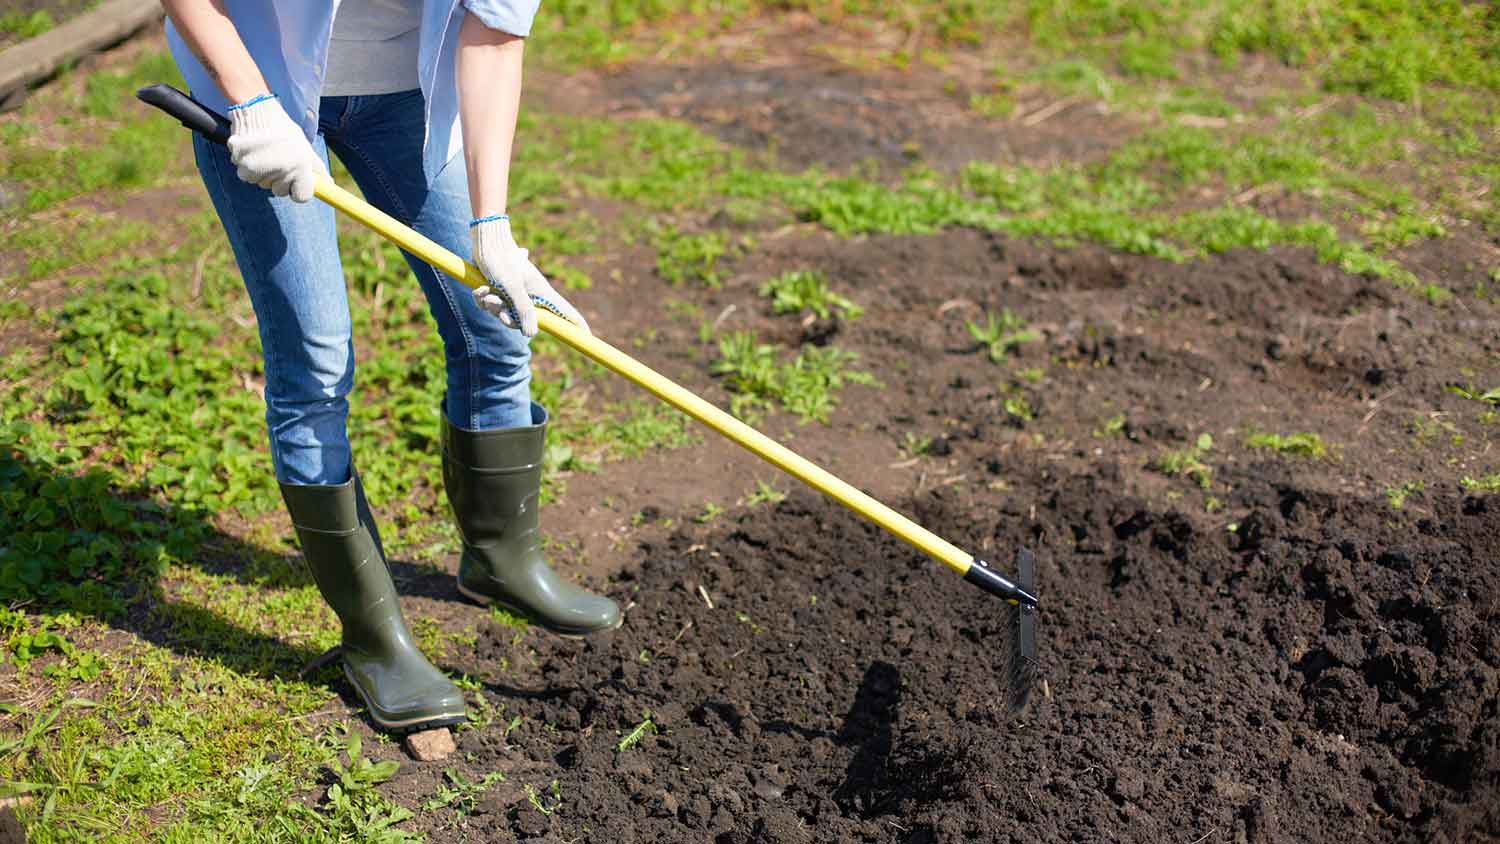
Grade and level your lawn with a rake and yard leveler. If you have any holes or uneven spots in your yard, you’ll need to fill them in and level the soil you added, too. Your grade should be 2.5 to 3 inches below the final grade you want to ensure the hydroseed slurry doesn’t reach your home or other structures that could suffer moisture damage.
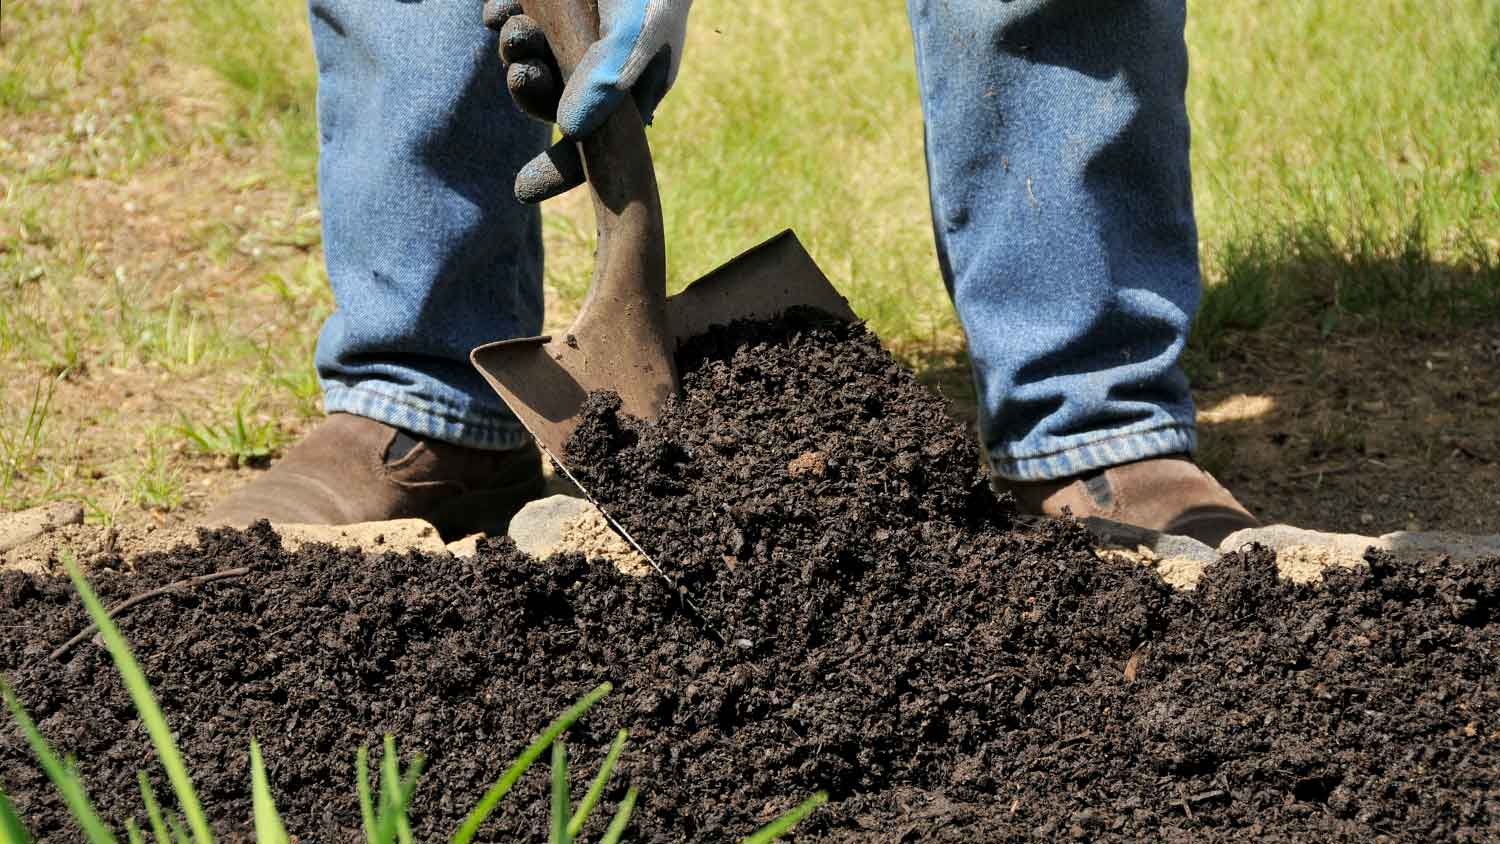
Spread 2 inches of topsoil on the ground to ensure the seed takes root. Add compost for extra nutrients. Till or cultivate the existing soil with the topsoil by churning up the top 3 inches. Rake the soil until it’s smooth and flatten it out before planting.
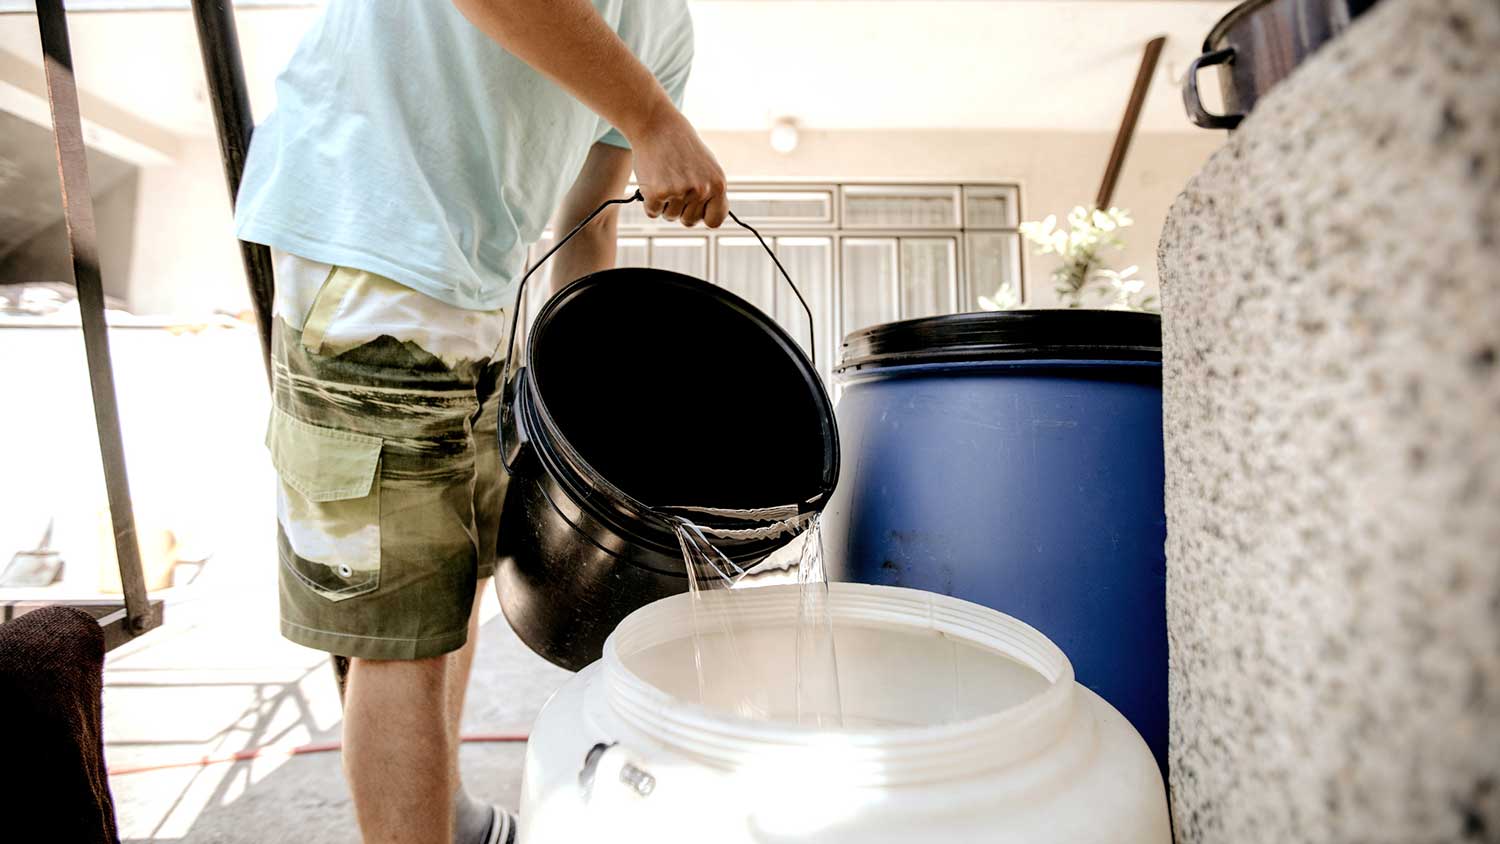
Here’s the suggested mixture for homemade hydroseeding:
Four 40-pound bales of mulch (paper, wood, or a blend)
30 pounds of grass seed
25 pounds of fertilizer per 500 gallons of water (your water tank will tell you how many gallons it holds)
The exact proportions depend on the type of grass seed, mulch, and fertilizer you use. You can adjust the formula based on the size of your hydroseed machine's tank. Here’s how to mix everything before you begin spraying:
Fill the machine 3/4 of the way with water.
Start the engine and run it for 30 seconds before adding your material. If the unit has a bale buster to break up the mulch, open that valve and close the other valves. If the unit doesn't have a bale buster, open the agitation valve and close the valve leading to the sprayer hose.
Add just the mulch to the tank and keep the engine running. The agitator helps ensure the slurry remains well-mixed and the material doesn't drop to the bottom.
Pour in your seed, fertilizer, and organic dye if you're using it.
Close the bale buster valve if you have one, and open the agitation valve.
Add water to fill the rest of the tank.
Let the unit mix until all clumps are gone, usually for three to five minutes.
Close the agitation valve halfway and open the valve to the sprayer hose.
If you're using a home kit from an online vendor or home improvement store, you can mix it in the container it comes in.
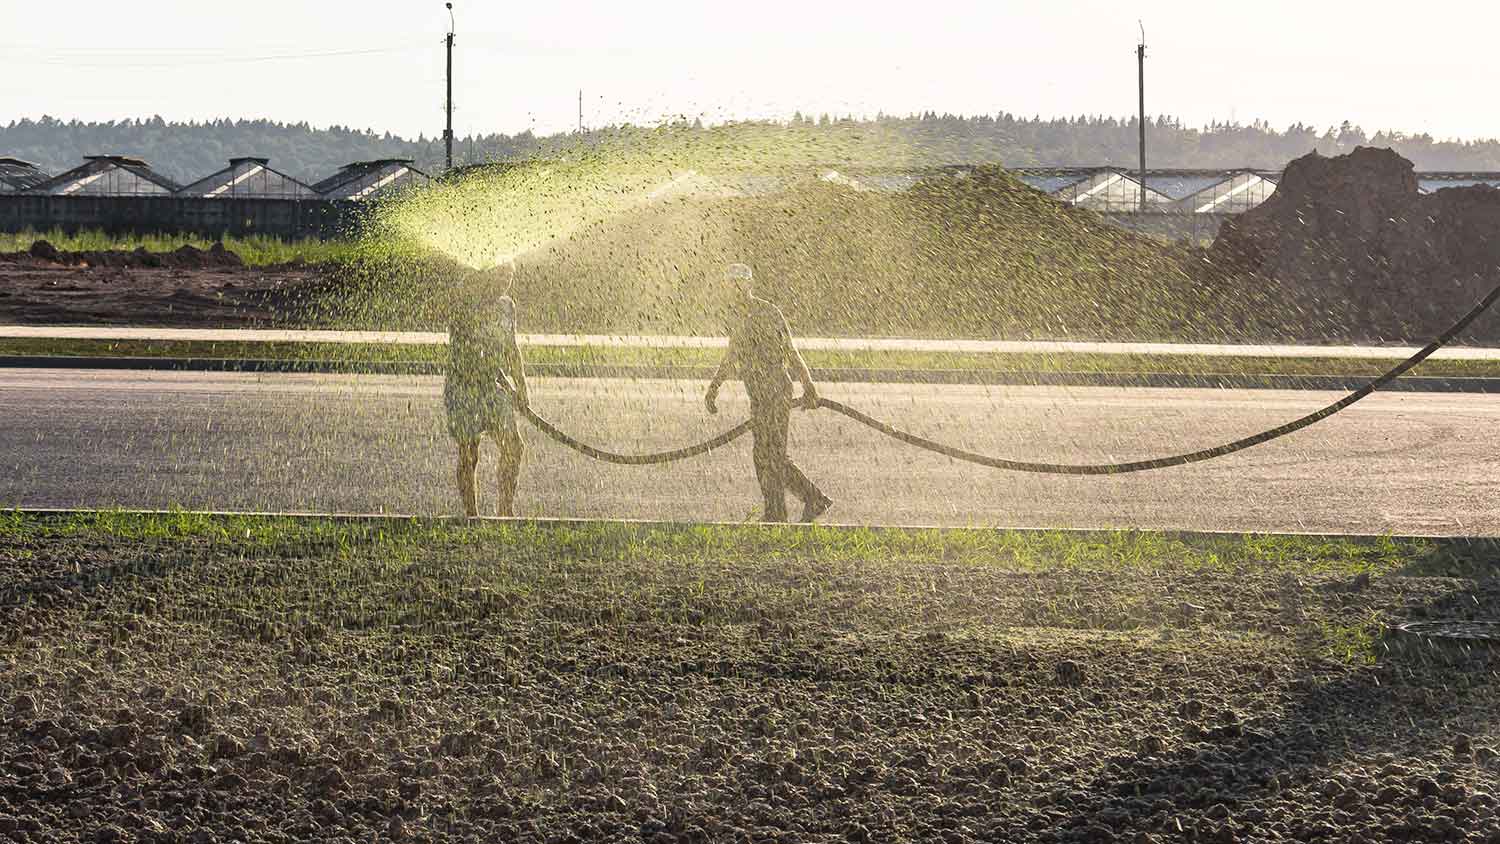
Before you begin spraying, fully read the manufacturer's instructions on the unit, including safety warnings. Wear sun protection, closed-toed shoes, garden gloves, and face protection.
Spray your soil slowly and evenly from one end to the other. Hold the nozzle at least 3 feet away from the ground. Aim to create slow, straight lines of seed as you walk. Overlap the lines by 2 to 3 inches to ensure there are no gaps in your lawn.
When you've sprayed most of the material, the tank might start pulling air into the hose instead of your mixture. If this happens, close the agitation valve and spray the remaining slurry until the tank is empty.
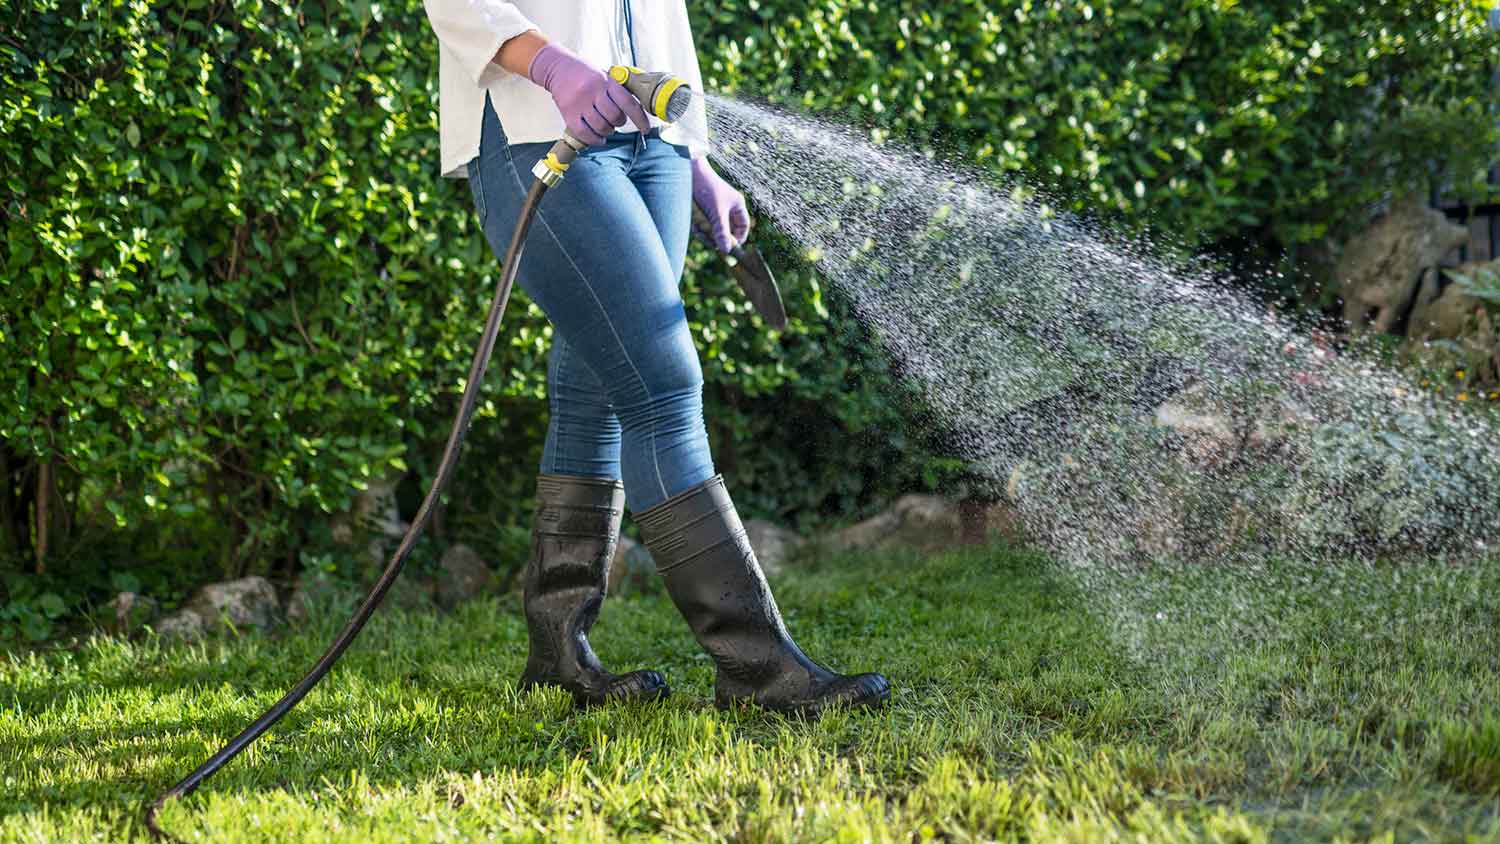
You'll want to ensure, based on the type of grass, that you keep the lawn moist for the first eight weeks after hydroseeding. Water two or three times per day for the first two weeks and once per day for the next six weeks. If you have lots of rainfall, reduce your watering schedule. Ensure no one, including kids and pets, walks on the lawn for at least the first four weeks.
You should see sprouts of growth within the first week or two, depending on your grass and climate. Mow the lawn once it seems established and is long enough to cut (once it’s more than 3 inches tall). Expect to mow within four to eight weeks of hydroseeding.
Hydroseeding can take a little more effort as a DIY project, but you can definitely do it with the right tools and equipment.
Rent a professional hydroseeding machine for the best results, especially if you’re spraying an entire lawn.
Water your newly hydroseeded lawn two or three times per day for the first two weeks and once per day for six weeks after that.
Choose the best grass type and blend for your climate and yard.
Mix in an organic dye to keep track of where you’ve sprayed.
When overseeding your lawn or a patch of grass, cultivate the soil and add amendments based on the dirt’s pH level before DIY hydroseeding.
You can hydroseed an entire lawn yourself with the right equipment, or you can spot-fix an area with a DIY hydroseeding kit. Sure, you can get solid results on your own, but a local lawn seeding service can ensure the lushest, fullest coverage. They also tackle all of the soil preparation and spraying, saving you a ton of time that you can use to catch up on your favorite reality TV show.
Keep in mind that hiring a pro isn’t necessarily wallet-friendly, as the average price for a professional hydroseeder ranges from $24 to $30 an hour. However, this price can be well worth it given that DIYing this project is both time-consuming and labor-intensive.
From average costs to expert advice, get all the answers you need to get your job done.

The cost to renovate your lawn depends on the extent of the damage. Our guide will show you how much lawn renovation costs.
Artificial grass is a low-maintenance alternative to traditional turf. Learn how much artificial grass installation costs and what affects your price.

The cost to reseed a lawn can vary depending on the size of your yard and the condition of the soil. We’ll help you figure out the true cost of reseeding or overseeding your lawn, along with whether or not you should hire a professional.

Straw is a popular mulching choice for newly planted grass. Should you put it down when planting grass? Find out the answer in this guide.

Dreaming of a lush lawn but don’t want to wait for seed to grow? Use these sod questions to prep yourself for an easy and stress-free installation.

Want to know how to get rid of Johnsongrass in your lawn? Here’s how to control this noxious weed, from identifying this invasive grass to using chemicals against it.