

A French drain costs around $9,250 to install, but several factors will determine the final price you pay. Learn the cost to install French drains in this guide.
Conserve water, save money, and enjoy a lush lawn


If you’re a homeowner looking to conserve water while keeping your grass and plants hydrated, using drip irrigation is a wise choice. Our guide covers how to convert your existing sprinkler to drip irrigation. And we’ll also cover some of the drip irrigation pros and cons.
A drip irrigation system is a system that uses emitters in plastic tubing to slowly but consistently drip water into the root zone of the plants instead of inundating the lawn with water once or twice a day. One of the reasons so many homeowners switch to drop irrigation is it uses 70% less water than regular sprinkler heads, which will lead to lower-than-usual water bills, even in the dead of summer (yes, please). Learning how to install drip irrigation is simple, especially if you already have a sprinkler system installed.
Before converting your sprinkler to drip irrigation, follow these steps to prepare:
Look at a map with the locations of all your sprinkler heads.
Insert caps on the heads you aren’t replacing to prevent water from spraying out and to ensure more even water distribution.
Only run drip irrigation after finishing the conversion because the water flow is much slower and requires more time to water plants and grass.
Pay close attention to watering needs. For single plants, drip emitters work well. Multiple plants warrant a bigger drip manifold.
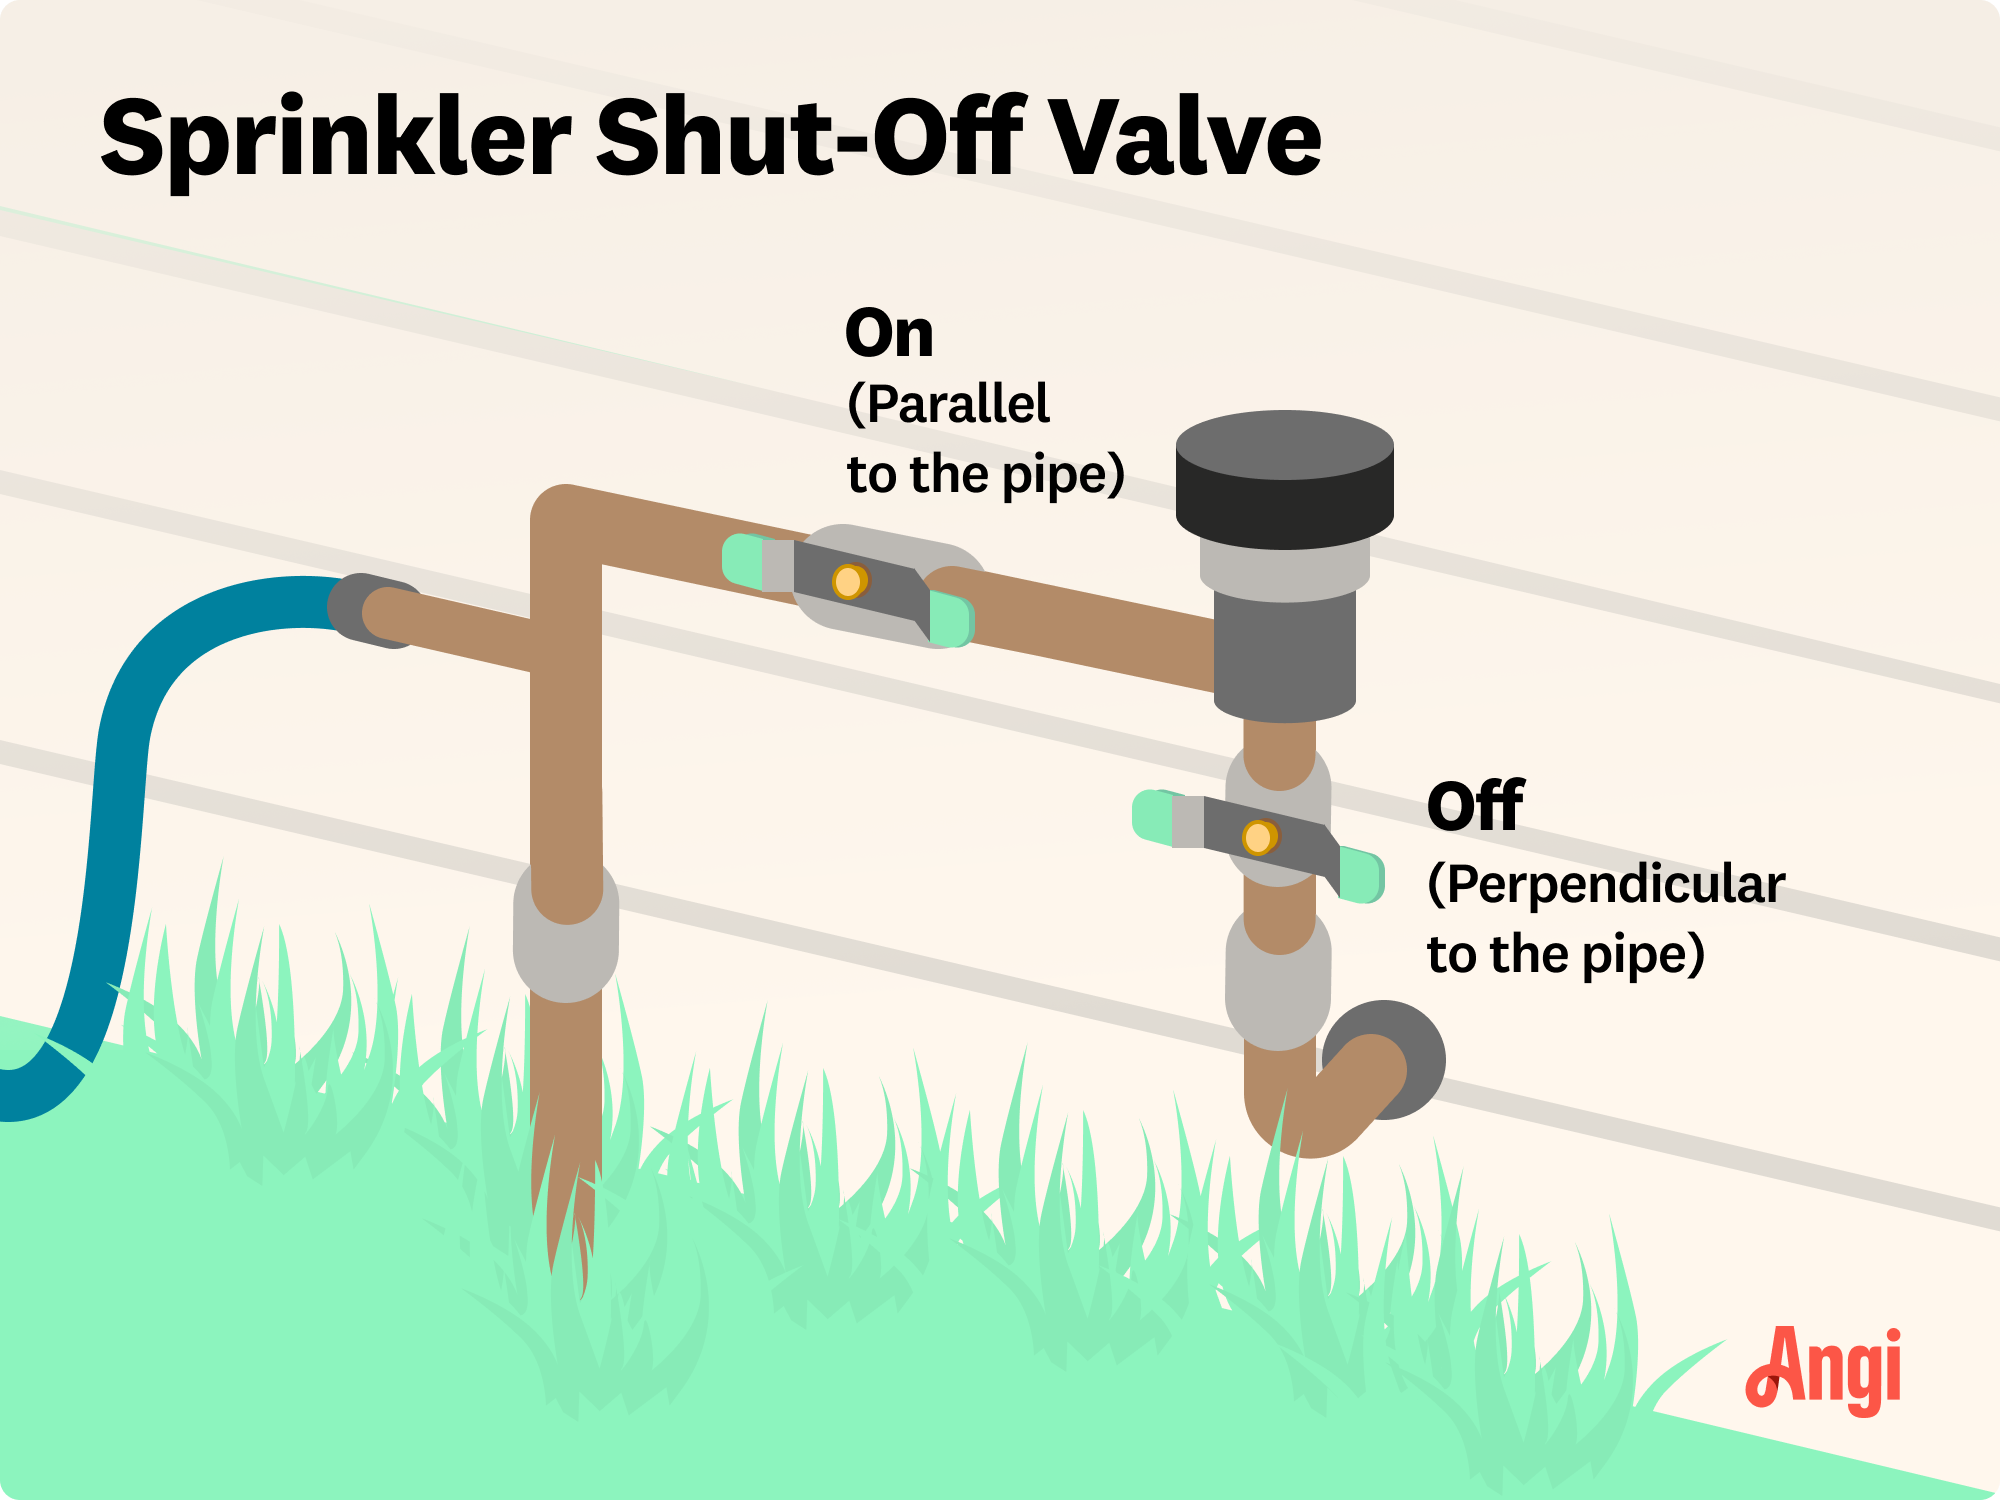
Before beginning the conversion, shut off the water supply to your sprinkler system so that you don’t get soaked while working. You’ll find the shut-off valve by following the water line from the sprinklers over to the side of your house. Typically, most homes have ball valves, featuring a handle. To shut off the water, turn the handle 90 degrees until it stops.
Now, remove each sprinkler head by turning it counter-clockwise until it is removed from the sprinkler head risers. Risers may be buried, requiring you to carefully shovel to expose them. If you experience this, use a coupler and threaded nipple to surface the riser.

Take the sprinkler-to-drip irrigation fitting and connect it to the riser. Also, pay close attention to the size of the pipe threadings—for risers, this tends to be half an inch. Match the fittings with the corresponding fitting for a secure fit. If you don’t have risers, secure the conversion fitting to the plastic tubing.
Unlike sprinkler heads, which can be below the ground’s surface, drip irrigators should be above the ground. If you don’t have risers, buy some to help with alignment. Risers are easy to install into the PVC pipe to direct water upwards and through the fitting.
Once installed and at the height you want, go around and remove the other sprinkler heads you won’t use. If they’re attached to a riser, cap the top off risers. You can also cap the sprinkler heads to ensure they don’t emit water after conversion.
After installation and capping, reprogram your system’s run times. Keep in mind that drip irrigation systems take much longer than sprinklers to water an area because they release water slowly, depending on your emitter’s capacity. If you have a high-flow emitter, it might only take 12 minutes to water an area. Low-flow emitters can take as long as 90 minutes.
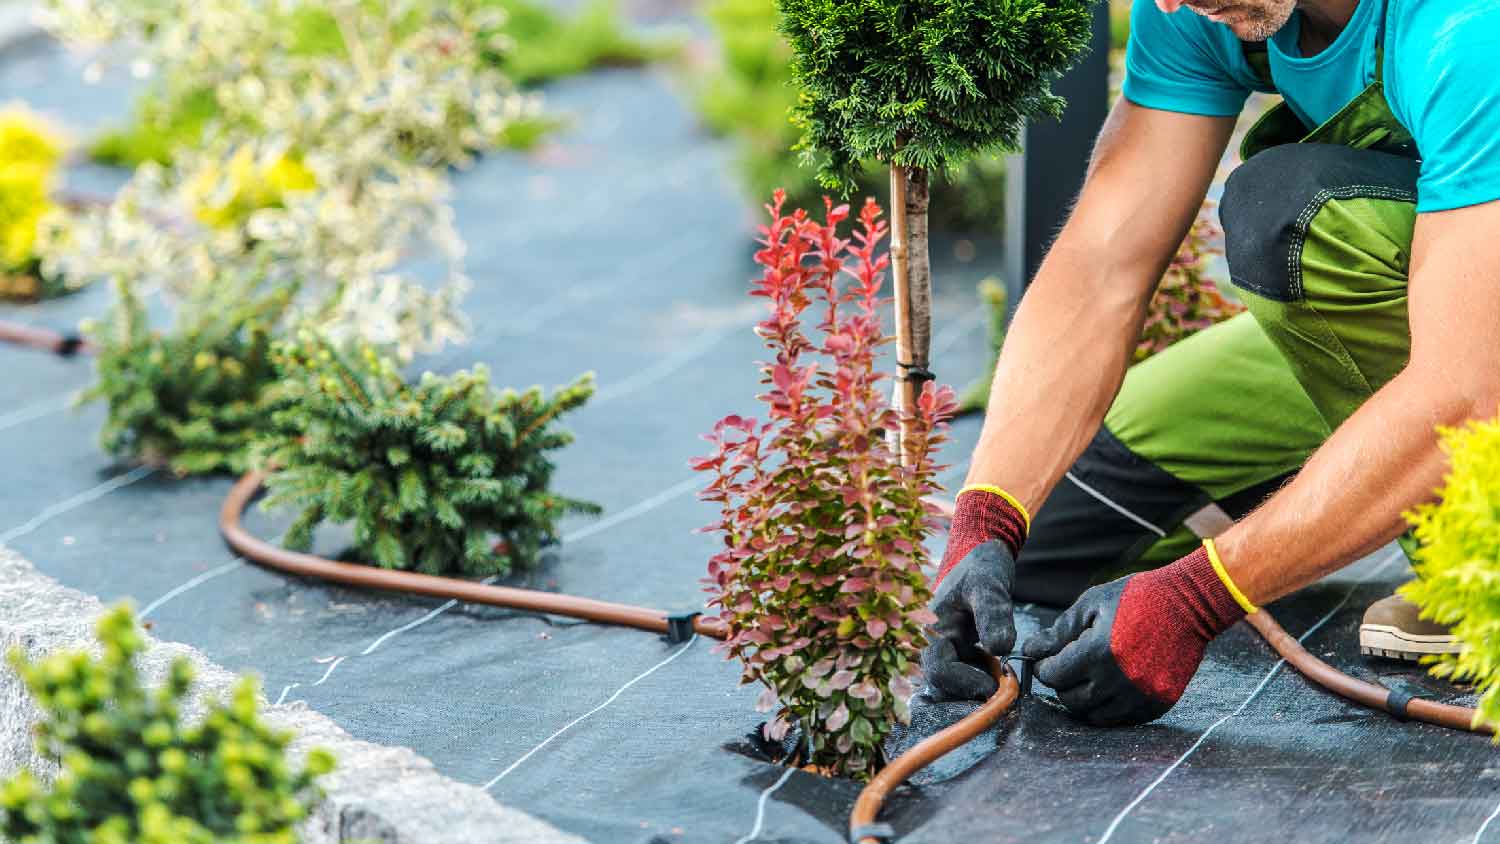
Converting a sprinkler to drip irrigation is a simple process that should only take an hour or two. However, if you don’t feel comfortable doing the work, you can consult with your local sprinkler installer. Labor for these kinds of projects will run you $50 to $100 per hour. Hiring a pro may cost you, but you’ll have peace of mind in knowing the conversion is successful.
However, going the DIY route is simple and cost-effective. At most, you’ll spend around $100 for the conversion kit.
From average costs to expert advice, get all the answers you need to get your job done.
A French drain costs around $9,250 to install, but several factors will determine the final price you pay. Learn the cost to install French drains in this guide.

If your sprinkler system isn’t working, it may be time for a new pump. Find out sprinkler pump replacement costs with this guide.

Find out the average sprinkler system repair cost, what impacts pricing, and how to save. Get transparent estimates to plan your sprinkler repair project.

French drains help keep water away from the interior and exterior of your home. There are three different French drains to choose from, based on where water collects.

If you need to install or repair a sprinkler system, ask your contractor these five important sprinkler system questions.

You may need to relocate a sprinkler line to get water to hard-to-reach spots on the lawn. Learn how to move sprinkler lines with this guide.