
Hardwood floor repair costs depend on the problem. This guide breaks down common costs based on factors like the type of problem, repair method, and whether you hire a pro or DIY.
Let’s get to the root of hardwood floor problems

Moisture and humidity cause your hardwood floors to expand, leading to problems with end grain hardwood flooring like crowning, cupping, and buckling.
Expect to pay $2,500 to $6,800 for new hardwood floor installation when wood floor problems become too severe for repair alone.
Wipe up water immediately, maintain stable humidity levels, and use dehumidifiers to prevent moisture from damaging your floors over time.
Hiring a local wood floor installing professional provides reliable support when floors buckle or cup, helping you address moisture issues confidently.
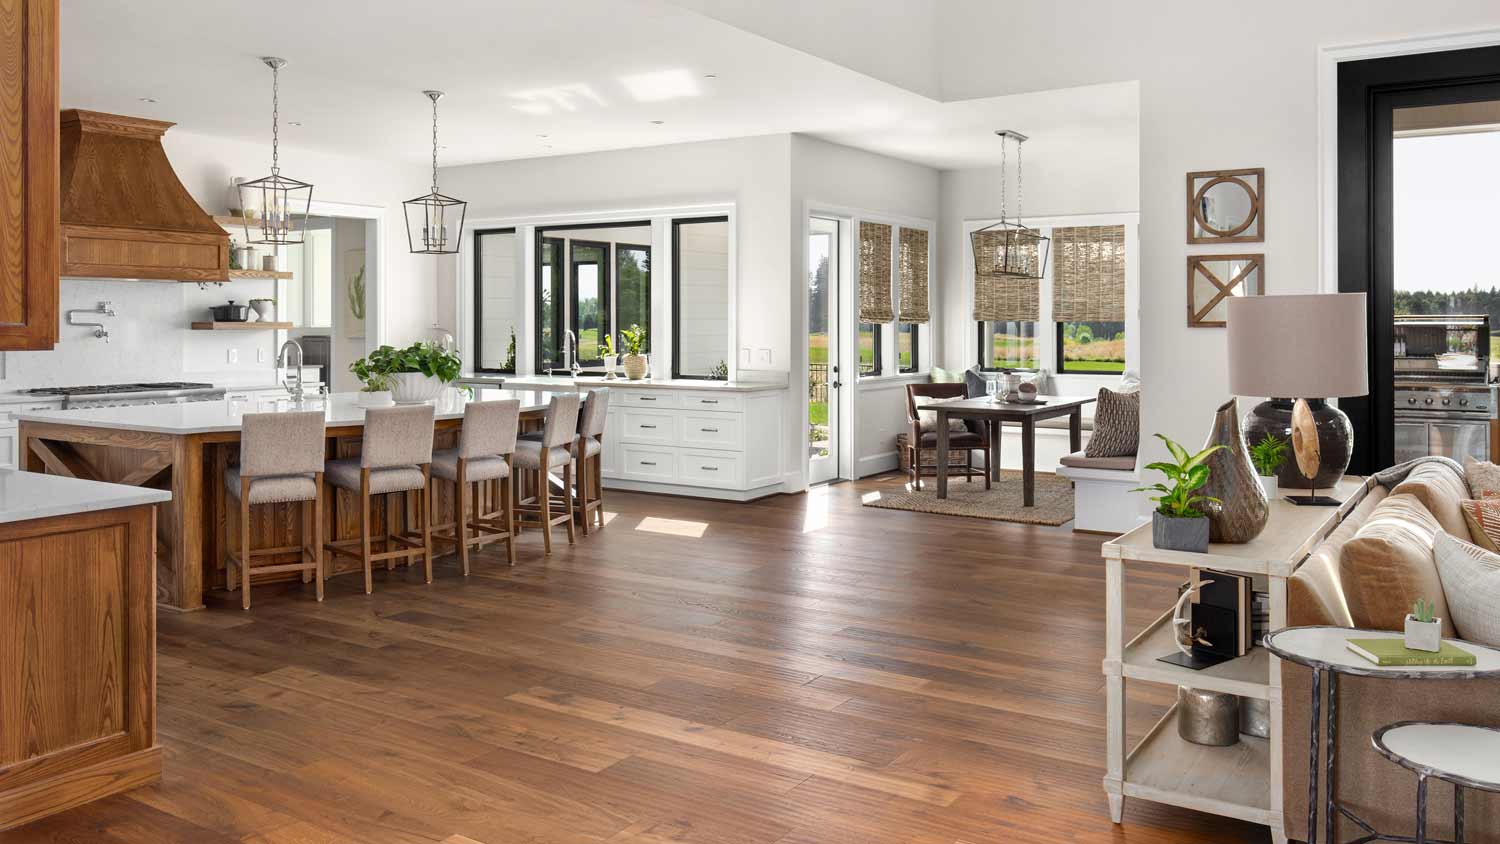
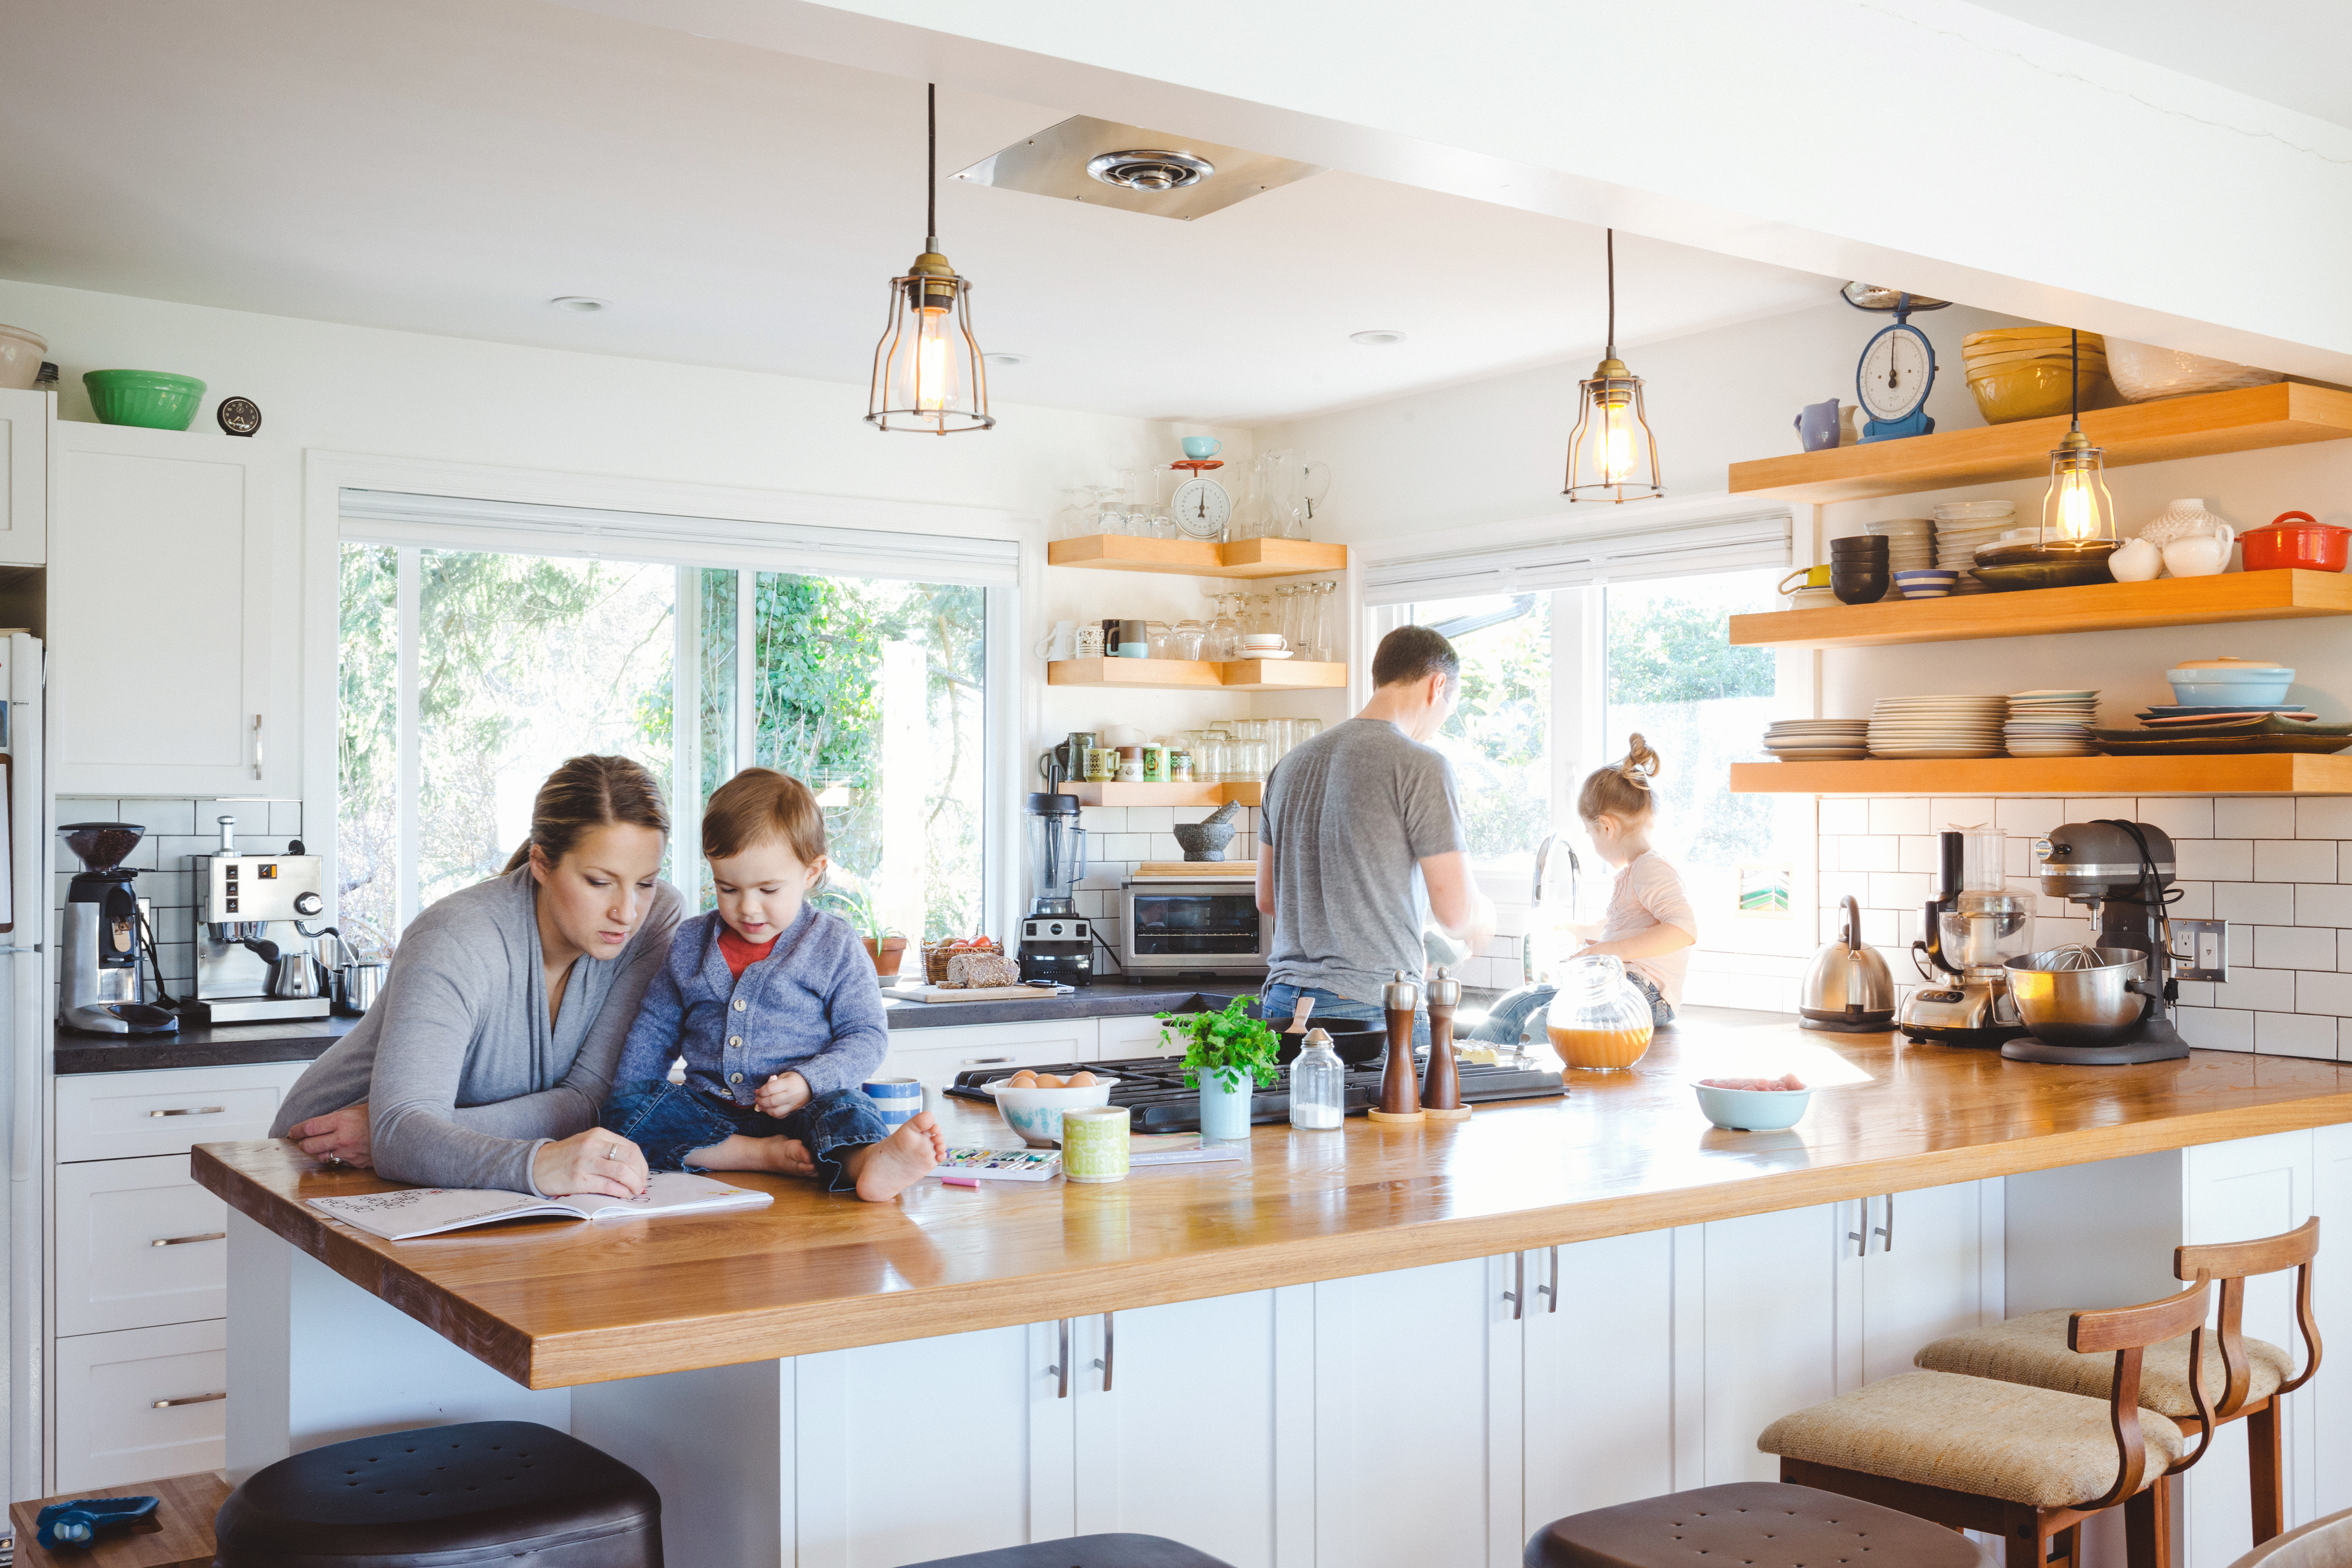
Wood flooring is a beautiful addition to any home, and it is functional, too. Hardwood can make cleaning up spills and scrubbing off dirt easy, so it is a great option for families with kids and pets.
But that does not mean hardwood is totally indestructible. In fact, there are some problems with hardwood floors that can pop up from time to time. But with the right know-how, you will be equipped to handle them.

One of the simplest and most cost-effective ways to prevent scratches and dents is by placing furniture pads under all furnishings, including chair legs. Pads come in handy when rearranging furniture, as some pieces can glide instead of being lifted. Adhesive felt pads come in a variety of sizes to match leg size. Another great option is plastic caster cups with carpeted bottoms for couches and beds. There are also no-slip varieties if that suits your needs better. Removing shoes and leaving them at the door can also prevent scratches and dents, as well as those pesky black scuff marks.
To get rid of scratches or dents, you can use a wood touch-up stick for small scratches or a steel wool pad for small dents, mechanically abrading the dent and refinishing it with a water-based finish.
Speaking of scuff marks, removing shoes when you first enter your home can prevent them. But if you should find some, there are some easy solutions to remove them. One is using a rubber eraser, either one found on a pencil top or a school eraser. Rub the eraser vigorously over the scuff mark until it disappears. Another solution is rubbing a tennis ball over the marks. One handy trick if you do not want to scrub on your hands and knees is to cut an X-shaped opening in the top of the tennis ball and then adhere it to the top of a broomstick or mop.
Other homemade cleaning solutions include using a soft wet sponge and water to remove the scuffs. Avoid the more abrasive side of the sponge since this may be too rough for the wood flooring. When done, dry thoroughly with a paper towel.

Like many home furnishings, hardwood floors can fade over time from UV light exposure. The simplest way to prevent this is to have curtains, drapes, and blinds drawn, especially during the midday sun. Placing plants and flowers in front of windows can also help offset some of the sunlight from shining directly onto the floors.
If you have faded wood floors, determine if the fading is superficial (on the surface) or structural (goes deeper). If it is superficial, you can deep-clean the floor and fix the surface with a wood touch-up stick. Structural damage, however, may require sanding and restaining the floor.
Crowning is when flooring turns down at the edges and raises in an arc in the center. When you see crowning in your floors, it means that there is more moisture on the surface of the floor than there is on the bottom in the subfloor. This can occur because there is humidity and moisture in the air, or water has come into contact with the floor directly.
To prevent crowning, do not mop your hardwood floors, as this provides too much moisture for your floor to handle. Avoid walking across the floor with wet and muddy shoes. If the floor does get wet, wipe it up immediately with a paper towel.
If your floor is crowning, immediately fix the moisture issue using a commercial-grade dehumidifier. Wait a few weeks to see if the crowning resolves itself. If the planks do not return to their normal shape, you may need to sand and refinish the floors.
You will also need to keep an eye on your home’s humidity and temperature. If some water damage does occur, a dehumidifier can be used to pull the excess moisture out from the air and wood.
Water damage can cause serious problems for flooring, such as warping, staining, and mold growth. If you suspect water damage is an issue, a flooring pro can diagnose the cause, make necessary repairs, and restore the integrity of your floor.

Cupping, while similar to crowning, occurs when the border of the wooden plank gets raised. It has an opposite look to crowning, appearing concave. Cupping is caused by water or water vapor that is below the flooring planks. More water below the floor causes the bottom to sink inward and curl. Typically, cupping is a warning sign of a bigger water problem.
In order to fix this problem, you need to determine the source of the water. Common causes are humidity and moisture from areas of the home that are not sufficiently insulated, such as crawl spaces, garages, or basements. It could also be due to a leaky pipe. You may need to have experts find the source if you cannot determine it on your own, as this is a serious and urgent issue.
If the damage is too substantial and cleaning alone is not doing the trick, your wood flooring may need to be replaced by you or by a local hardwood professional. Installing a new hardwood floor costs between $2,500 and $6,800 on average.
When a wood floor buckles, the planks lift off the floor. Buckling is one of the hardwood floor problems often caused by moisture, whether flooding, a damp concrete subfloor, or not acclimating the floorboards to the environment before installing them. Improperly installing wood planks can also cause buckling, particularly if the boards do not have room to expand or the wrong size nails were used during installation.
To prevent buckling, it is important to watch the moisture levels in the home. Run properly sized air conditioners and humidifiers, immediately wipe up any water or moisture, and check for leaks in ceilings and floors often.
Typically, the only option when a floor buckles is to replace the boards, especially if they are cracked, or the tongues and grooves come apart. If, however, the planks are still in good condition, you may take care of the moisture issue and see if the planks retain their original shape, allowing you to retain the boards and not replace them.
Gapping occurs when you install wood floors during periods of high humidity. Moisture and humidity make wood expand. When seasons change and the air becomes dry, the boards can shrink, causing gaps between them.
To prevent gapping, ensure the wood planks are properly acclimated, allowing them to adjust to your home’s environment before installing them. Once installed, keep the home’s temperature and moisture level stable to avoid excessive expansion and contraction.
Fractures in wood floors are most common on factory-finished floors. They happen most often from improper nailing, but can be prevented by using adapters for nailers to avoid cracking the floor’s surface.
Some natural wood floors crack, too, and some are more prone to cracking than others. Cracking and fractures can also happen when the wood is not given adequate time to dry. If forced to dry too quickly in a kiln, it can crack.
Most manufacturers supply repair kits that include wood filler, a touch-up marker, and finish. To fill the crack, you apply wood filler, touch up the area, and reapply the finish to make it look new again.
Hardwood is easier to clean than carpet if your pet has an accident, but pet stains can still be problematic. The moisture created by pet stains can cause warping, especially if it is not cleaned up immediately, so it is important to know how to care for hardwood floors.
To clean pet urine from hardwood floors, blot it up as soon as possible. Absorbing the moisture promptly is important not just for preventing warping, but to remove odor, too. Plus, urine contains ammonia, which can cause dark stains on the wood.
You can use a store-bought hardwood cleaner or make a homemade odor-absorbing cleaning solution. Here are two you can do yourself:
White vinegar and grapefruit oil: White vinegar is a multipurpose home cleaner and odor remover, and grapefruit oil adds a fresh citrus scent. Mix one cup of white vinegar and a few drops of grapefruit oil to a bucket full of warm water and clean away the pet stains.
DIY cleaning paste: Mix baking soda and vinegar together until they form a thick paste. Apply the paste directly to the affected area and allow it to dry out. Once dried, you can wipe it away and the stain should be lifted. Use a wet paper towel to wipe after so no residual ingredients remain and then pat dry with a paper towel.
Sometimes when wood floors are finished, the polyurethane coating drips to the floorboard’s edges. As the environment causes the boards to expand and shrink, the remaining droplets may rise to the wood floor's surface.
If you catch the droplets early enough, scrape them off with a putty knife or a soft rag. If you did not catch them early enough and they have been walked on, you may need to use a razor blade to carefully remove the droplets or balls.
If your floor starts peeling in certain areas, it is usually a result of improper preparation before installation. The floor may have been oversanded, leaving nothing for the finish to stick to, or the top coat may have been applied before the floor dried.
The most effective way to fix this hardwood floor problem is to start over. Sand the floor down to bare wood (without overdoing it) and refinish it. This gives the floor a fresh start, ensuring the finish sticks this time without interference from waxes, oils, or residue. Knowing the cost to refinish hardwood floors can help you determine if you will DIY or hire a professional.
This company does it right. Firstly, I want to say that Landan was a joy to work with. He was so kind, transparent, and had everything under control. His entire team showed up ready to work and they were all very respectful of the fact that we were in an office space. A little backstory – we...
Terrible experience. Walls/trim/floors/cabinets/doors all have drip marks, overspray, etc. Tiling at the fireplace had to be redone by another vendor due to incorrect and shoddy install by Profect. Contractor had his children in our house while he was on site without prior authorization or...
 Profect painting & exteriors
Finished Basements Plus was wonderful from beginning to end! First, they came out quickly for an estimate. I had 4 estimates and theirs was by far the best. (2 of the estimates were more than $20K higher than for the exact same work). Beyond their fair pricing, the work was excellent. They...
 Finished Basements Plus Inc.
AFS was excellent from start to finish. Jess, the sales associate, was fantastic...very knowledgeable and very professional. The installation crew was excellent. I couldn't be more pleased with the process. Best of all, my new floor looks fantastic!
 America's Floor Source
It was wonderful working with Yordy and his team. They were very professional and are experts in what they do. They have completed the work on time, with better quality and with in fairly reasonable price. We just started with backsplash work , but liking his work, we went on to provide...
We were having 2”x 2” tile installed . There was a small installation error and the new additional replacement tile was from a different lot and the colors didn’t match. Joe assured us that he would rectify everything , which he did without hesitation. We decided to go with the 18” x 36” tile...
 CarifaTile
We hired Jim to replace our hardwood floors with new hardwood. He and his helper Jerry did a fantastic job. Their work ethic is impeccable!! We would highly recommend McColl Floors!
Description says they handle window repair including rotten hardwood - they called me back right away but didnâ t leave a voicemail. I followed up 3 days later and they said they donâ t do that kind of work.
Chaz, the owner, was very responsive and he communicated with us throughout the entire process. The overall cost was in the middle compared to the three estimates we received. The installation crew was very professional. Chaz was considerate enough to send a crew back to our home to repair...
 Unique Hardwood Floor LLC
Despite written and verbal direction they installed floor in wrong room.
From average costs to expert advice, get all the answers you need to get your job done.
Hardwood floor repair costs depend on the problem. This guide breaks down common costs based on factors like the type of problem, repair method, and whether you hire a pro or DIY.
Both materials and labor determine hardwood floor installation costs. This guide breaks down all the prices you need to know before starting your new flooring project.
Materials and labor determine hardwood floor installation costs in Detroit, MI. Learn the prices you need to know before starting your hardwood project.
Love the classic look of hardwood flooring? Experienced DIYers can use this handy how-to guide to elevate any space with beautiful new hardwood floors.
Deciding to add hardwood floors to your home isn’t a one-and-done process. There are some things you should know to make the most informed decision on the type of wood, finish, and style.
Keep your wood floors looking their best. Learn how often to refinish hardwood floors, what it costs, and if you can do it yourself.