Repairing ductwork in a crawl space is frustrating and difficult, which is reflected in the cost. Learn why limited access results in a premium cost beyond just a simple increase in labor hours.
A little bit of coil cleaning goes a long way


While cleaning your AC coils yourself costs less than $10, investing $100 to $400 for service from a local HVAC technician ensures the job is done safely and thoroughly.
Electrical components, coil cleaners, and refrigerant lines pose safety risks without the right training and gear.
DIY mistakes, such as bending fins or oversaturating coils with water or cleaner, can lead to refrigerant leaks, reduced efficiency, or even damage the unit.
A licensed HVAC technician has the experience and equipment to deep-clean coils, fix bent fins, and prevent corrosion without harming your unit.
There’s nothing as refreshing as stepping into a cool home on a hot summer day—or as frustrating as a broken AC. So before you face any setbacks, learn how to clean air conditioner coils yourself to help maintain your investment.
To keep your AC unit running efficiently, clean your air conditioning coils at least once a year.
There are two sets of coils in your AC system: evaporator coils and condenser coils. Both are sets of metal tubes that run through aluminum fins—and both need to be cleaned.
Evaporator coils are located inside near the air handler on your AC unit or furnace, while condenser coils are located outdoors in the condenser unit.

There are many benefits to cleaning your AC coils for both your AC unit and household:
Boost efficiency: The cleaner the AC coils, the more efficiently the air conditioning system can run.
Reduce utility bills: When dirt blocks the coils, the AC unit has to work harder to cool and move the air. Clean coils can reduce energy demand and lower your monthly bill.
Prevent unit damage: Dirt and debris can block the area around the coils, causing ice buildup and other damage to the unit that will cost more to repair or replace.
Extend AC lifespan: By minimizing damage and helping the AC work efficiently, cleaning the coils helps better maintain the AC unit.
Protect household health: Dirty and corroded coils can cause refrigerant to leak or mold to grow, which could then spread pollutants into the air in your home.
If dirt or debris blocks the system, heat won’t transfer efficiently, leading to higher energy usage, higher energy bills, potential ice buildup, and overworking your AC system. If the coils get corroded, refrigerant can leak, causing more damage, expenses, and possible mold growth.
If you notice your home resembles a sauna, but you have your AC on full blast, take a look at your condenser coils. They could be the issue.
It costs less than $10 to clean AC coils yourself if you have the tools. If you call in a tech, this HVAC maintenance will cost anywhere from $100 to $400. Contact a local HVAC repair technician if you’re not comfortable or confident cleaning your unit.
A trained tech can clean your AC coils without damage or personal injury. They can also inspect your AC unit and fix any issues before they become more extensive.

You can clean evaporator and condenser coils with a few tools and supplies. Most importantly, take the right safety precautions before you start to ensure you know how to clean air conditioner coils properly.
You’ll need a few tools to clean your AC coils:
Air compressor or shop-style vacuum
Soft brush
Spray bottle
Garden hose with sprayer attachment
Cleaning cloth
Chemical-resistant gloves
Safety glasses
Respirator face mask
AC coil fin comb or brush
Work gloves
Screwdriver (to remove access panel)
You’ll also need a commercial coil cleaner or a mixture of household detergent and water (50:50 ratio) in a spray bottle to clean air conditioning coils. If using a commercial cleaner, wear safety gear, including protective goggles and a respirator, to protect your eyes and lungs.
Shut off your AC unit and turn off the power at the electrical breaker before removing any panels or cleaning the AC coils. Working with the power still on can be extremely dangerous and lead to serious injuries.

Cleaning your evaporator coils takes about 30 minutes, depending on your experience and the condition of the unit. The process involves brushing out debris, cleaning with a wet solution, and letting the unit dry. Remember to turn your AC unit off and shut down power at the breaker before starting.
Here’s how to clean air conditioner coils indoors:
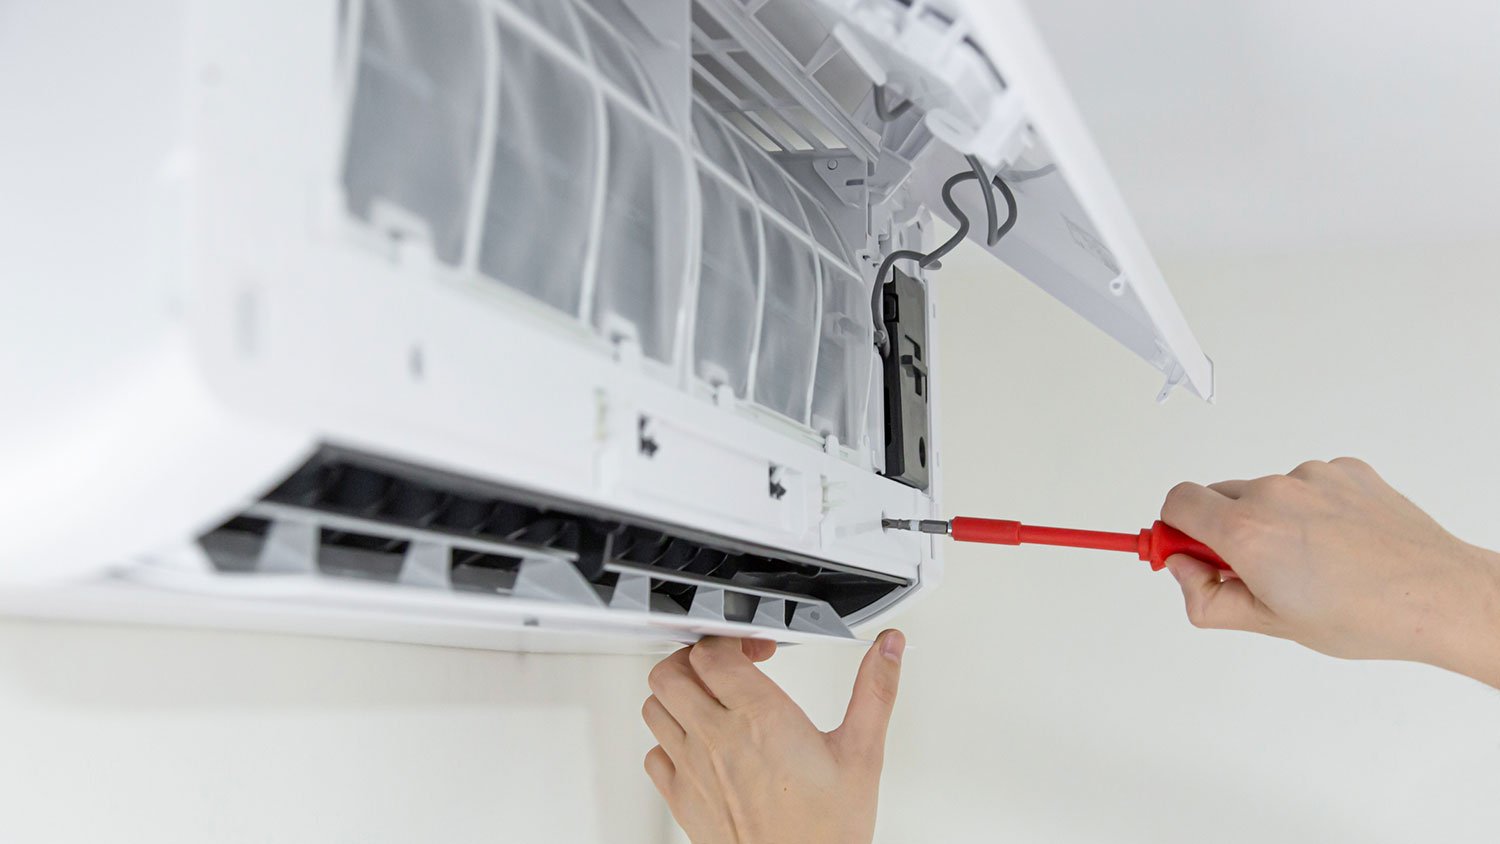
The evaporator coils are found inside the house, typically attached to the furnace, the air handler unit, or the fan coil. You will need a screwdriver to remove the panel or small door that contains the evaporator coils.
Check the user manual or research your AC unit model online for help if you can't locate the evaporator coils.
Start by looking at the evaporator coils. The coils are in a tent-shaped structure, and you can expect to find the most dirt and debris buildup inside this structure. Once you’ve spotted the grimiest coils, use your hand to remove large pieces of debris, like twigs or leaves. Make a note of any bent fins at this point as well—you’ll be fixing them later on.
Sweep the evaporator coils with a soft brush to clear away any dirt and debris. Apply more pressure if there are dirtier areas but don’t use a brush with hard bristles—it can damage your coils.
If you noticed bent fins during the coil inspection, you can gently use a fin comb or brush to reshape the coils. Run the comb or brush parallel to the fins and move slowly and carefully. This can help straighten any bent fins, but moving quickly or vigorously could damage more fins.
Once the main debris is clear, apply a thick coat of cleaner across the coils and fins. Follow any instructions listed on your cleaning solution.
Let the solution sit for five to 10 minutes to allow the heavier buildup to break down. Wipe down the coils with a soft brush or cloth. If necessary, reapply the solution on tougher areas, then wipe away the dirt.
Spray clean water on your evaporator coils with a spray bottle. Avoid soaking the coils, as excess water can damage your indoor unit. You may need to mist the coils a couple of times to rinse them thoroughly.
Let the coils and units dry completely, then reassemble your indoor unit, putting the cover back on. Turn back on your power and AC system once the unit and coils are fully dry.

Before you can get back to enjoying the cool breeze of your air conditioning unit, you’ll need to clean your condenser coils, which are located outdoors.
Like with evaporator coils, it’s crucial to turn off your AC and disable power at the electrical breaker before starting this project to avoid injury and costly damage. Call an HVAC company in your area if you need help.
Here’s how to clean air conditioner coils outdoors:
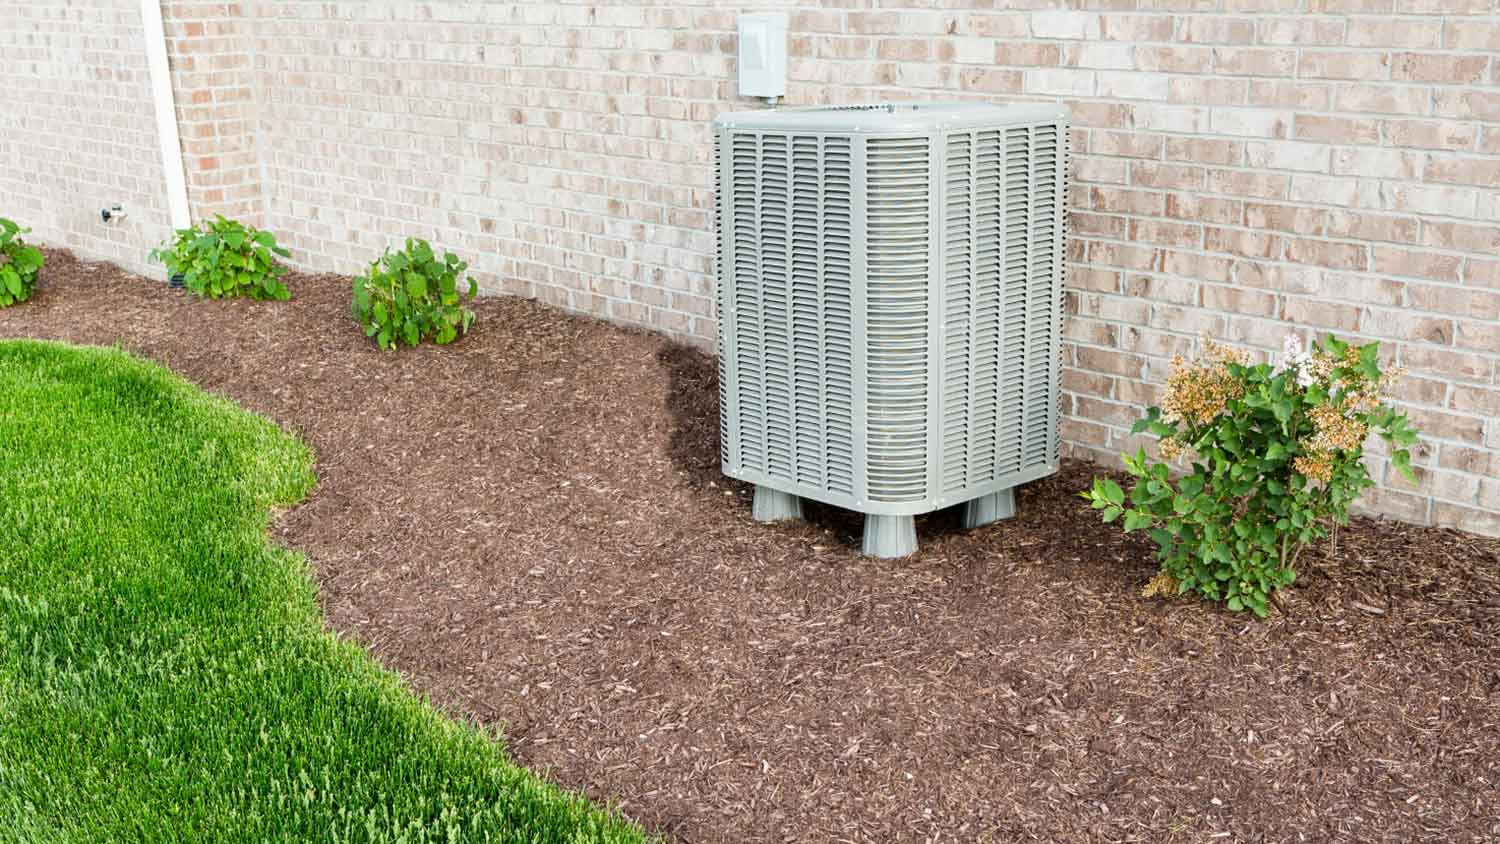
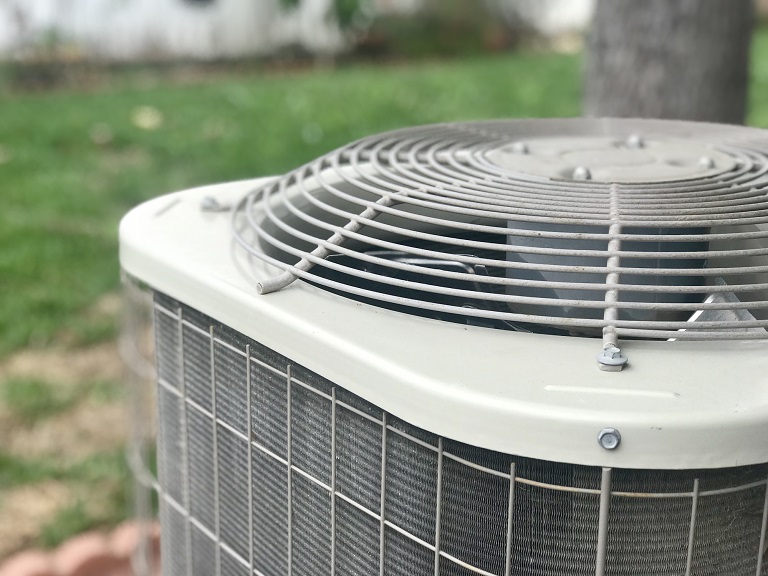
Now, it’s time to head outside to find the condenser coils, typically around the inside of the outdoor condenser unit. They may be visible and contained by wire coils or protected behind a metal panel. The condenser unit is usually located outside, opposite the electrical panel.
Once you locate the condenser unit and double-check that the electric breaker is disconnected, use a screwdriver to remove any protective panels or covers on the top and sides of the air conditioner. Make sure to set the screws aside in a safe place, so you can reinstall the covers after cleaning the condenser coils and the unit.
If you haven’t already, put on your safety gloves and goggles and inspect the inside of the air conditioner unit. Check for bent fins, which you can fix later in the cleaning process, and look for any damage. If you see any broken pieces of the AC unit, loose wires, corrosion, or other damage, you’ll want to call an HVAC specialist to repair the unit before moving forward.
With work gloves, remove any larger debris, such as sticks, leaves, pebbles, and grass clippings. Debris can get stuck between the protective grille and fins.
Then, blow an air compressor into the coils opposite of the normal airflow to get smaller debris out, or vacuum the coils with a shop-style vacuum. Wear protective eyewear to avoid particles getting into your eyes and causing injuries.
Just like with the evaporator coils, you may come across bent or crushed fins in the condenser coils outside. Use a fin comb or brush and slowly run it parallel to the fins until they straighten out.
Apply a thick coat of cleaner across the coils and fins. Follow the instructions listed on your cleaning solution.
Allow the solution to sit for five to 10 minutes to break down grime and dirt buildup. Wipe down the coils with a cloth or soft brush. Reapply the solution if needed, then wipe away the dirt.
Clean your coils with water to remove the final dirt and remaining cleaning solution. Spray each side from top to bottom with a hose sprayer. Use a wide spray to avoid damaging the fins.
After you rinse the condenser coils, spray the outside of your unit with water from top to bottom, including the grille and cabinet. Avoid directing the water inward to prevent damaging the fins and coils.
Let the coils dry, then reassemble the outdoor unit, putting the cover panels and grilles back on. Turn on your power and AC system once it’s fully dry.
To ensure things go smoothly when cleaning air conditioner coils—and you stay safe—follow these pro tips.
Turn the electricity off completely before working on your AC unit.
Use safety glasses, a respirator, and chemical-resistant gloves when using commercial coil cleaners.
Ensure you have enough ventilation by opening windows indoors when cleaning evaporator coils.
Don’t remove any coils or fins—leave that to a professional AC repair technician in your area, as it could damage your unit if not done properly.
Prune trees and plants around and above your outdoor unit to limit debris and foliage from falling inside. Contact a local lawn care company for a quote if you need help.
Consider placing a mesh leaf guard on top of your outdoor AC unit to limit debris from entering the condenser.
It’s fairly straightforward to clean AC coils yourself—especially if you’re an intermediate DIYer—and it’s important to handle this task once a year. But if you damage the coils or fins, you could be up against a hefty repair bill.
Hiring an HVAC company near you ensures a trained pro handles the job who can spot other issues or repairs before they can become a problem, and a tech can get your coils clean as part of your pre-season HVAC service call.
Jenna Jonaitis contributed to this piece.
From average costs to expert advice, get all the answers you need to get your job done.

Repairing ductwork in a crawl space is frustrating and difficult, which is reflected in the cost. Learn why limited access results in a premium cost beyond just a simple increase in labor hours.

Inspections are an essential part of furnace maintenance. Prevent inconvenient breakdowns by budgeting for furnace inspection costs and repairs.

Discover the primary whole-house air filtration system cost factors when installing one in your home to help remove airborne contaminants and allergens.

Discover the average air handler replacement cost, including labor and materials, plus expert tips to help you budget and save on your HVAC upgrade.

Is your furnace not blowing hot air? Find out 13 common culprits behind a cold furnace, plus tips for how to get the warm air pumping again.

A HEPA filter can help clear airborne particles that plague your home, such as dust and pollen, making the air cleaner and easier to breathe.