Learn how much plumbers cost in Columbus, Ohio. Discover pricing for faucet repairs, pipe work, and emergency services, plus how you can save money.
Knowing what to look for can help prevent costly water damage outside your home


Water leaks can cause significant damage to your home and property, from promoting the growth of dangerous mold to causing your home’s concrete and wood structures to crack and rot. In fact, bathroom repair costs alone can top $7 per square foot when a leak goes unnoticed and unrepaired.
Detecting and resolving outdoor leaks can save you lots of time, effort, and money. If you’ve sustained water damage to your floors or drywall, the cost of repair can range anywhere from $200 to more than $800. And repairing water-damaged plumbing can cost you as much as $4,000.
But to identify an outdoor water leak, you have to know what to look for, both inside and outside your home. Luckily, it just takes a few easy steps.

Even an outdoor water leak can sometimes show signs inside the house. For instance, if you’re experiencing low water pressure from any of your faucets, that can mean you have an outside or underground leak. Another sign is water discoloration, so collecting water from different faucets in the house, including tubs and showers, can help you spot the signs of trouble in your pipes.
Leaks in the basement are another common sign of an outdoor water leak, as the concrete surrounding your basement is susceptible to small cracks and perforations that allow rainwater to seep in from the outside. Basement waterproofing costs around $5,000 on average. Lastly, check your ceiling for water damage, as an exterior leak from your roof could be a sneaky culprit behind what appears to be an indoor leak.
Your outside faucets are likely “frost-proof,” but they can still freeze and break if you've left a water hose attached to them during cold weather.
A frost-proof faucet works by shutting the water off inside your home and allowing the water near the exterior wall to drain out of the actual faucet. This way, there’s no water left in the drain that could potentially freeze and lead to a busted faucet or pipe. When you (or your careless teenager) leave a garden hose attached, the water can’t drain completely. And, before you know it, you’ve got a busted pipe or faucet.
Unfortunately, you probably won't know it’s happened until you try to turn on the outside faucet. Then, you’ve got water dripping or running out of the faucet, into the soil, onto your bricks, or, worst of all, beneath your home’s foundation or back into the interior walls.
So, perform a quick test on each of your faucets by turning them on for a bit and then turning them off. If you see water in places it shouldn’t be, you’ve got yourself a busted pipe in the wall that will need replacing. Depending on the amount of piping involved, you can expect replacement pipes to cost around $1,100.
But what if your outside faucet only drips water? If you can catch the leak soon after it starts, you may be able to repair the faucet by replacing a washer inside it. However, if your hose bib has been leaking for more than a couple of weeks, you’re probably going to need a replacement because, even over a short time, water creates a groove inside the faucet that you can’t repair.

When it comes to preventing and detecting harmful outdoor leaks, your inconspicuous little water boxes can save you a lot of hassle.
Most houses have a valve that allows you to quickly shut off the main water supply. The shut-off is usually located in a valve box located in a flowerbed (or possibly under some bushes or shrubbery).
First, locate your shut-off valve to quickly cut the water supply in case of a leak. If you can’t locate your valve box, then try the round meter box near the street and follow a straight line toward the house.
You might need to dig around a bit to uncover it, but be very careful if you need to do more than a bit of surface-level digging. You don’t want to end up running into utility or power lines, or disturbing your neighbor’s property. So, beyond moving a bit of the surface soil around, make sure to check your property boundary lines and confirm with your municipality that you won’t be running into any utility lines should you need to dig a bit.
Once you’ve received the all-clear for digging and you’ve located your shut-off valve, remove the lid and take a look inside. If you see water in the box (and it hasn’t rained recently), you might have a leak.
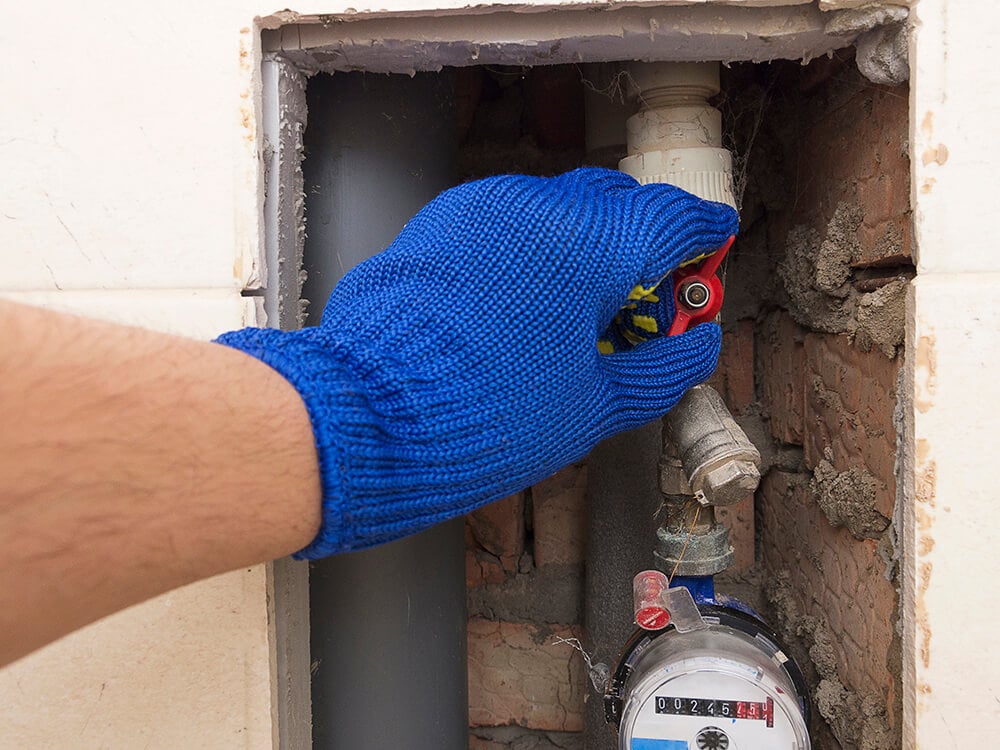
While you’re there, you should test the valve to ensure it will work in the event of a leak emergency. Old valves tend to rust out, sometimes leaving no handle at all. If you find yours in this condition, you’ll need a new one.
If your valve has a round handle, then you probably have a gate valve that shuts the water off by lowering a gate as you turn the handle. Gate valves have a bad reputation for sticking, either in the open or closed position, so handle with care. You don’t want to turn it off only to discover you can’t get it to turn back on.
To gingerly operate your gate valve, try turning two turns down and one turn up until you get it turned off. This can help break up the calcification, but it's not a long-term solution for operating an old valve. Instead, you should opt to replace this type of valve with a quarter-turn ball valve with a lever handle.
Be sure to take care when you turn your water supply back on. Go slowly because changing the water pressure on old plumbing valves can cause them to leak. Try to have someone inside to monitor fixtures and shut-off valves (behind toilets, under sinks, behind washing machines, water heaters, and so on) to ensure no leaks spring up.
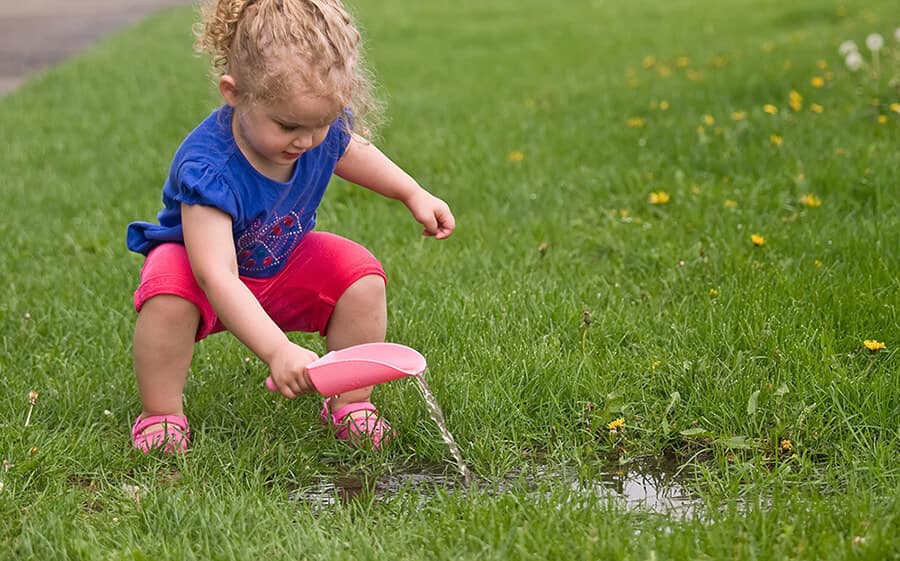
Wet or soggy areas in your yard, or a wet sidewalk when it hasn’t rained may also indicate an underground outdoor water leak.
If you notice some unexplained puddles, you’ll need to determine whether the leak stems from your main water service to the house or your irrigation system. Although water travels in the path of least resistance, soggy spots far from the main water line usually signal a leak in the irrigation system.
To find out, isolate your sprinkler line from your house line. First, open your meter box. There you’ll find a counter or series of dials. Most modern meters have a red triangle that spins when water flows through it.
Next, find the irrigation box (or double-check the valve box), which you can probably find close to the street near the round meter box. If you turn that off and the meter stops spinning, you know the leak comes from the sprinkler system, and you need to call an irrigation company.
However, if the meter continues to spin, the leak originates on the main water line to the house, and you need to call a local plumber.
If you find that you have a significant water leak outside, you should shut off the water, if possible, until you can get it repaired.
To shut off the water at the mainline, you'll probably need a special tool called a meter key, which you can find at your local hardware or plumbing supplier. This can give you a bit of time to get estimates for the repair or replacement of the line while preventing water waste and potential water damage.
Some utility companies give you a bit of a break on your fees if you let them know that you intend to make the repairs in a timely fashion. And when the only indication of a leak is revealed through an extraordinarily high water bill, you’ll probably appreciate that bit of leniency.
Some water leak repairs can be handled at home with simple DIY measures. For example, if your toilet flapper needs replacing, you can easily learn how to fix a leaky toilet flapper and stop the leak. On the other hand, larger plumbing issues—like underground water leaks—typically require the experience of a licensed plumber to diagnose the problem and find the leak and a water restoration company near you to repair any water damage.
The cost to hire a plumber to repair a water leak falls anywhere from $45 to $200 per hour, depending on your location, the plumber’s expertise, and the job's complexity. Meanwhile, the average water damage restoration cost ranges from $1,300 to $5,900.
From average costs to expert advice, get all the answers you need to get your job done.

Learn how much plumbers cost in Columbus, Ohio. Discover pricing for faucet repairs, pipe work, and emergency services, plus how you can save money.

Learn about main water line repair costs in Columbus and what affects pricing to be prepared before you start getting estimates.

Discover the leading factors affecting your main water line replacement cost in Columbus, including length, material selection, and installation details.

Is the water pressure in your shower lacking? Here are common solutions to increase it so you can enjoy your showers again.

Read how to properly vent your toilet, sink, and shower and learn the importance of effective plumbing ventilation to ensure a well-functioning and odor-free bathroom.

Frozen underground pipes can lead to costly damage to your home. Use this guide to learn how to safely thaw them, prevent future freezes, and protect your home from expensive water damage.