
Wondering how to find irrigation valves on your property? Locating them can be challenging. Learn how to tackle this project with our guide.
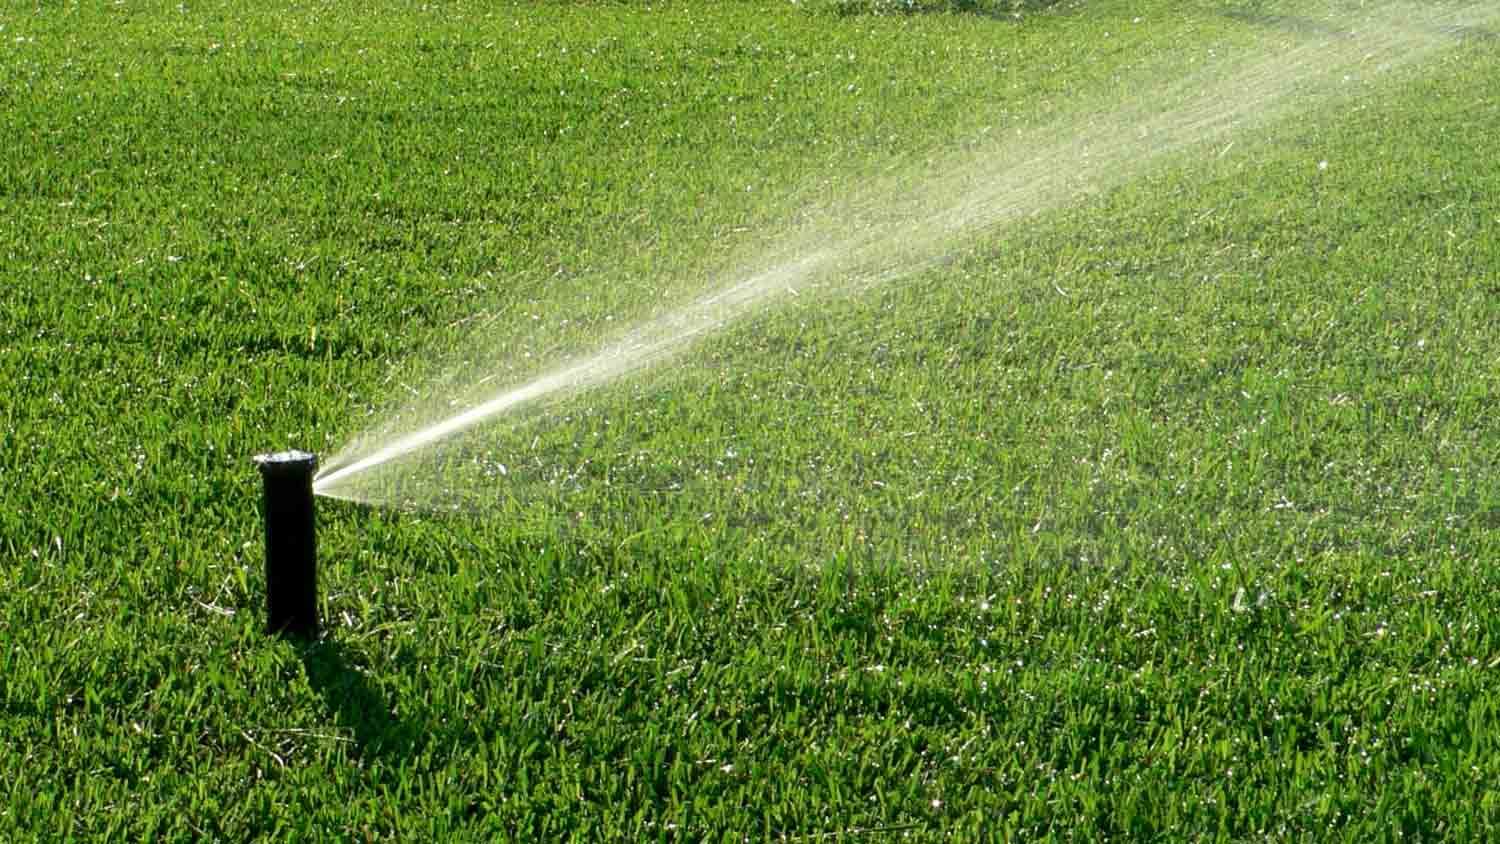
Lawn looking less than lush? Change the irrigation valve.

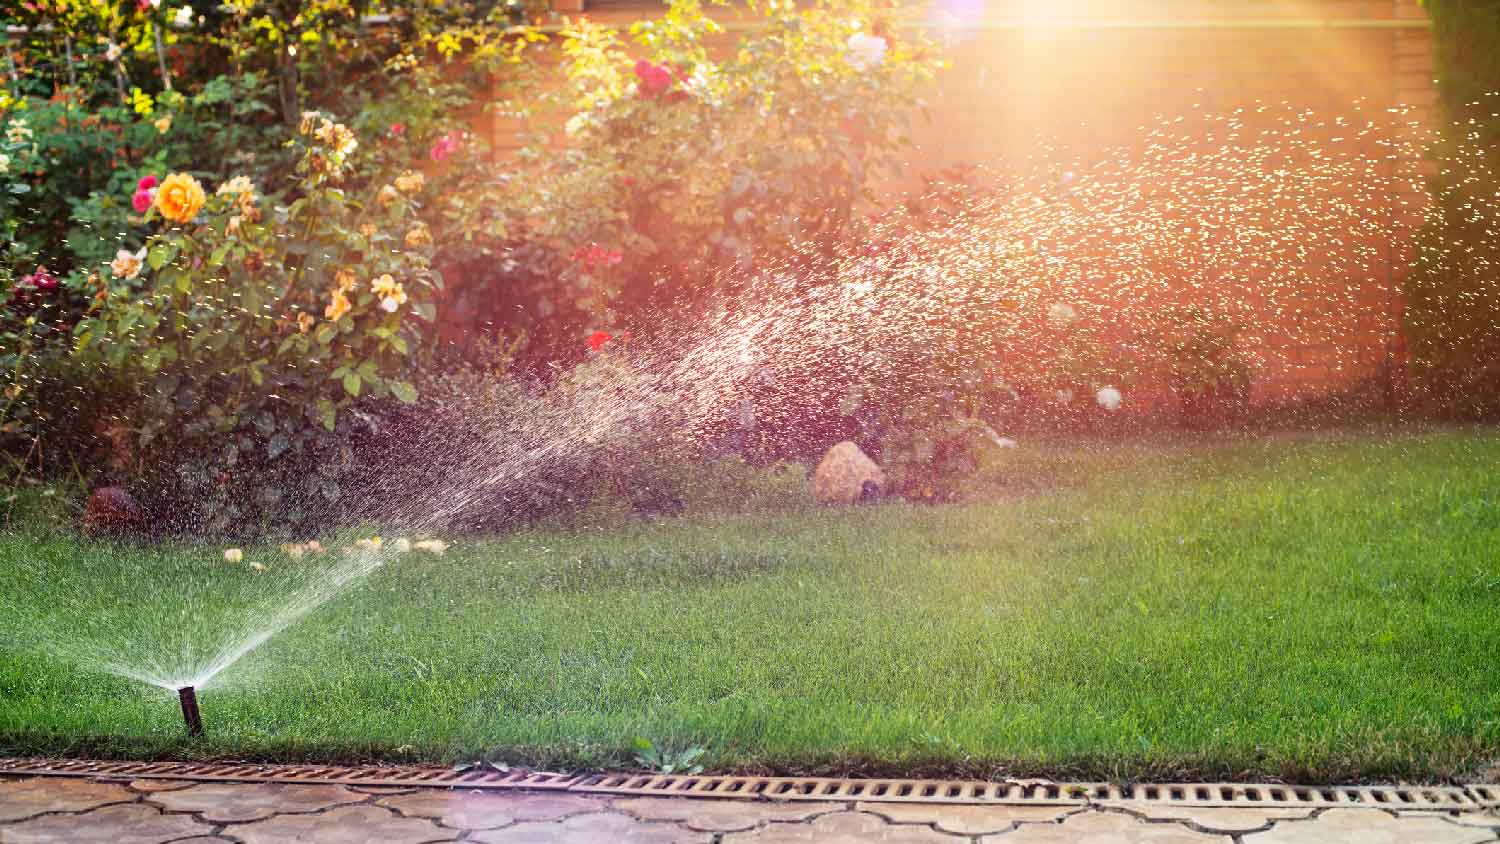
Owning an irrigation system comes with a new set of responsibilities. Understanding common repairs, including how to change your irrigation valve, keeps your yard looking healthy and prolongs the life of your sprinkler system.
Here’s how to diagnose if your irrigation valve has an issue and how to swap out the valve yourself. Don’t hesitate to hire a sprinkler repair professional if you need assistance with this task.
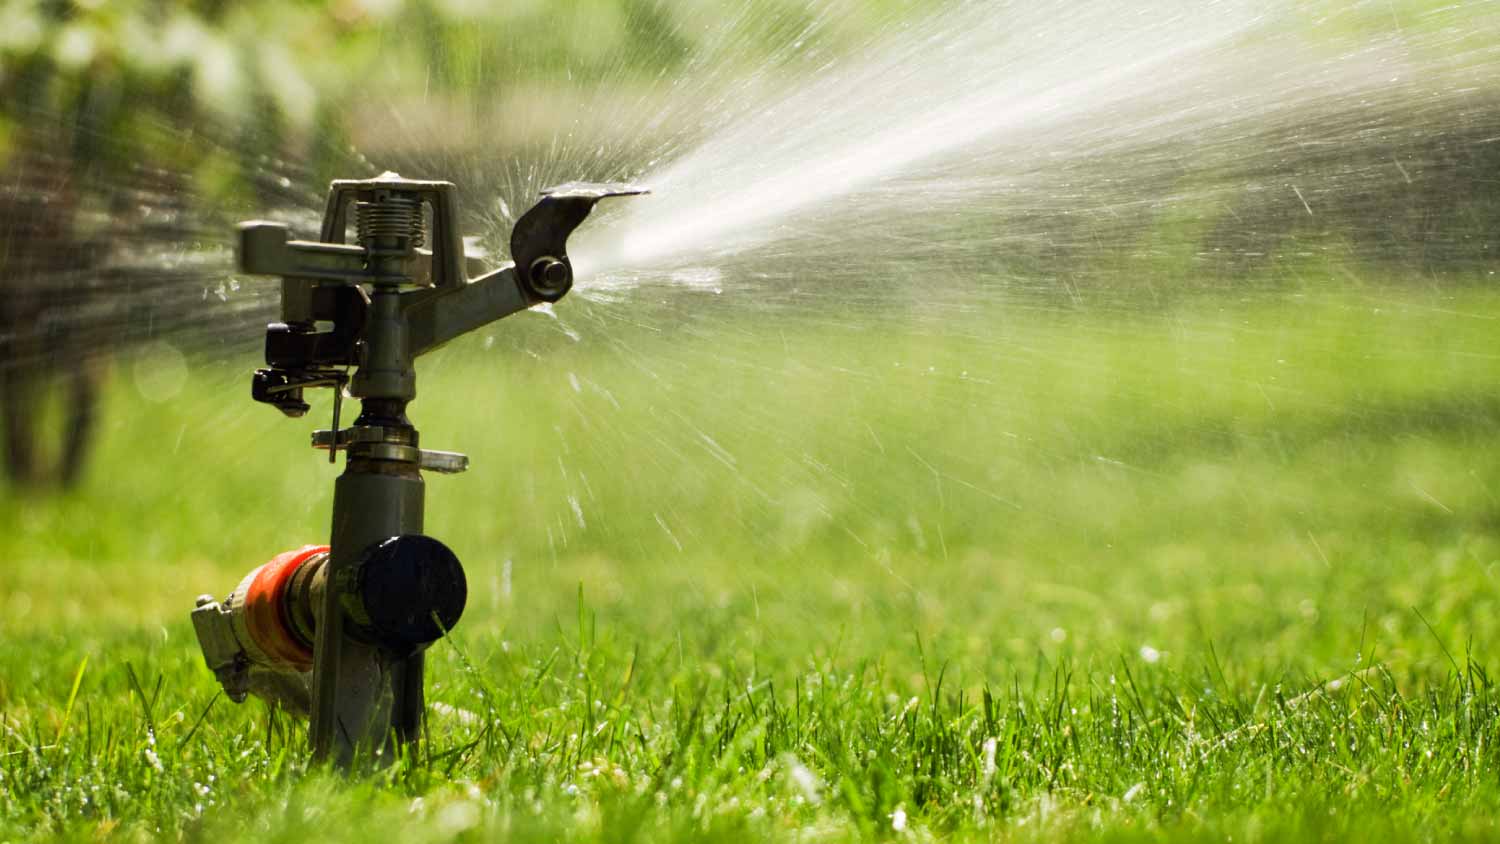
Before you can change an irrigation valve, it’s important to understand which specific valve you’ll be changing. An irrigation valve uses a timer to release and distribute water from the water source to the irrigation lines for even, consistent watering.
There are two main valves: a master valve, where water enters the irrigation system from a source, such as an outdoor spigot, and an irrigation valve that controls water flow to each node or irrigation line. The irrigation valve, not the master, is what you’ll want to change for this project.
Before you disconnect anything in the sprinkler system, turn off the water supply connected to the system. This ensures you won’t be drenched when you finish the project.

Pro tip: Before disconnecting the wiring, take a picture of the system. That way, you can refer to the photos for reassembly.
Remove the wire caps and disconnect the wires connected to the irrigation valve. This could be anywhere between two to four wires connecting it to the system.
You’ll need to cut the pipes connecting it to the system to remove the entire irrigation valve. Cut off the valve just after the PVC adapters are connected to the system. You’ll still be able to connect the new valve with new pipes and adapters.
Before installing the new valve, connect it to adapters (similar to the ones you just cut). Install the “male” PVC adapters to the valve using Teflon tape to ensure a snug fit.
Lower the new valve into the system, attaching it on both sides using PVC glue. Swipe the glue along the insides of the adapters attached to the new valve, then attach them to the irrigation system pipes.
Once you apply the glue, take care to work quickly; it sets fast!
With the new valve in place, it’s time to reconnect the wiring. Refer to the photos you took before disassembling the valve and copy the connections to ensure everything is in the right spot.
With the new valve installed, it’s time to check your handy work. Turn the water back on slowly to test the system and check for leaks.
If the sprinkler leaks even when the timer is off or releases water at a low pressure after changing the irrigation valve, it could be an issue with the solenoid valve, an electronic part of the irrigation valve. Check your sprinkler make and model to order a replacement solenoid valve, then shut off the water supply and master valve before replacing the solenoid.
To replace a solenoid, you’ll need to detach the wire connectors leading to the solenoid and turn the valve counterclockwise to remove it from the sprinkler valve. Then, insert the replacement solenoid and reconnect the wires, finishing it off with wire connectors. Because wiring sprinkler valves can pose shock risks, it’s best to leave this repair to the pros.

This project involves dealing with water lines and electrical wires. If you wire the valves incorrectly or don’t get the new valves on snugly enough, you could risk frying your sprinklers, shocking yourself, or flooding your lawn. Instead, a local sprinkler repair pro can do the work safely and minimize costly damages to your irrigation system.
Cody did a great job!
Wonderful. I am going to have them remove and replace my driveway in the spring.
 All Star Paving and Sealing
We had a 20+ year old landscape lighting system that needed replacement. Midwest Lightscapes worked with us to design a much improved lighting system, lighting the exterior of the house and the back yard. Installation of the 45 light system took one and one-half days, and went very smoothly....
 Midwest Lightscapes
Did an amazing job transforming my yard. Also installed sod in places, would recommend to everyone.
Always been satisfied with the service work and how they have taken care of my pool.
Bill Gerhardt sold the company to his employees at the end of 2019, apparently without a workable succession plan and without notifying prospective customers of this fact. Most aspects of the maintenance contract have not been fulfilled: no installation of anual plantings per contract, no...
They show up and they did take us on as a client which seems to be a problem with other lawn care providers. We have multiple properties and this one was located close to downtown and no one really wants to mess with it.
I was very happy with the service provided by AK Irrigation. They responded quickly to my email, and the woman I spoke with was polite and professional. I was able to get an appointment that same week. <br /> The technician (Tyler) arrived on time. He was very knowledgeable, and worked...
 AK Irrigation
The worker came out when he was supposed to come. He informed me he would honor the Angie's List deal, but would not do any more work for me since my son in law owns lawn care company as well, even though they do not do the same type of work. He said he did not feel comfortable giving me...
 Bello Giardino LLC
E & L Lawn Care was super. They were very responsive before and after service. They were efficient and were able to complete the job within 1 day. I have had concern about one section of sod - the owner was pro-active and did a visit to evaluate. I have no doubt they will stand behind...
 E&L lawn care
From average costs to expert advice, get all the answers you need to get your job done.
Wondering how to find irrigation valves on your property? Locating them can be challenging. Learn how to tackle this project with our guide.
Are you wondering how irrigation valves work? Read our guide to learn more about these important sprinkler system parts.
You’ll need to call a professional lawn care service for your sprinkler and irrigation needs. Learn who to call to fix your lawn irrigation system.

Whether you need to make a repair or are prepping to winterize your sprinklers, learn how to find your irrigation shut-off valve location with this guide.
Sprinkler valves work hard, opening and closing to control water flow to your sprinklers. So, how long do sprinkler valves last? Find out in this guide.
Irrigation controller on the fritz? Here’s how to tell whether your sprinkler controller is bad—and some steps to take to mitigate the problem.