

Add a wow factor to your home with a chandelier. Chandelier installation costs depend on style, location, and labor, so learn what you can expect to budget.
Hang in there—you’ll be swinging from it in no time


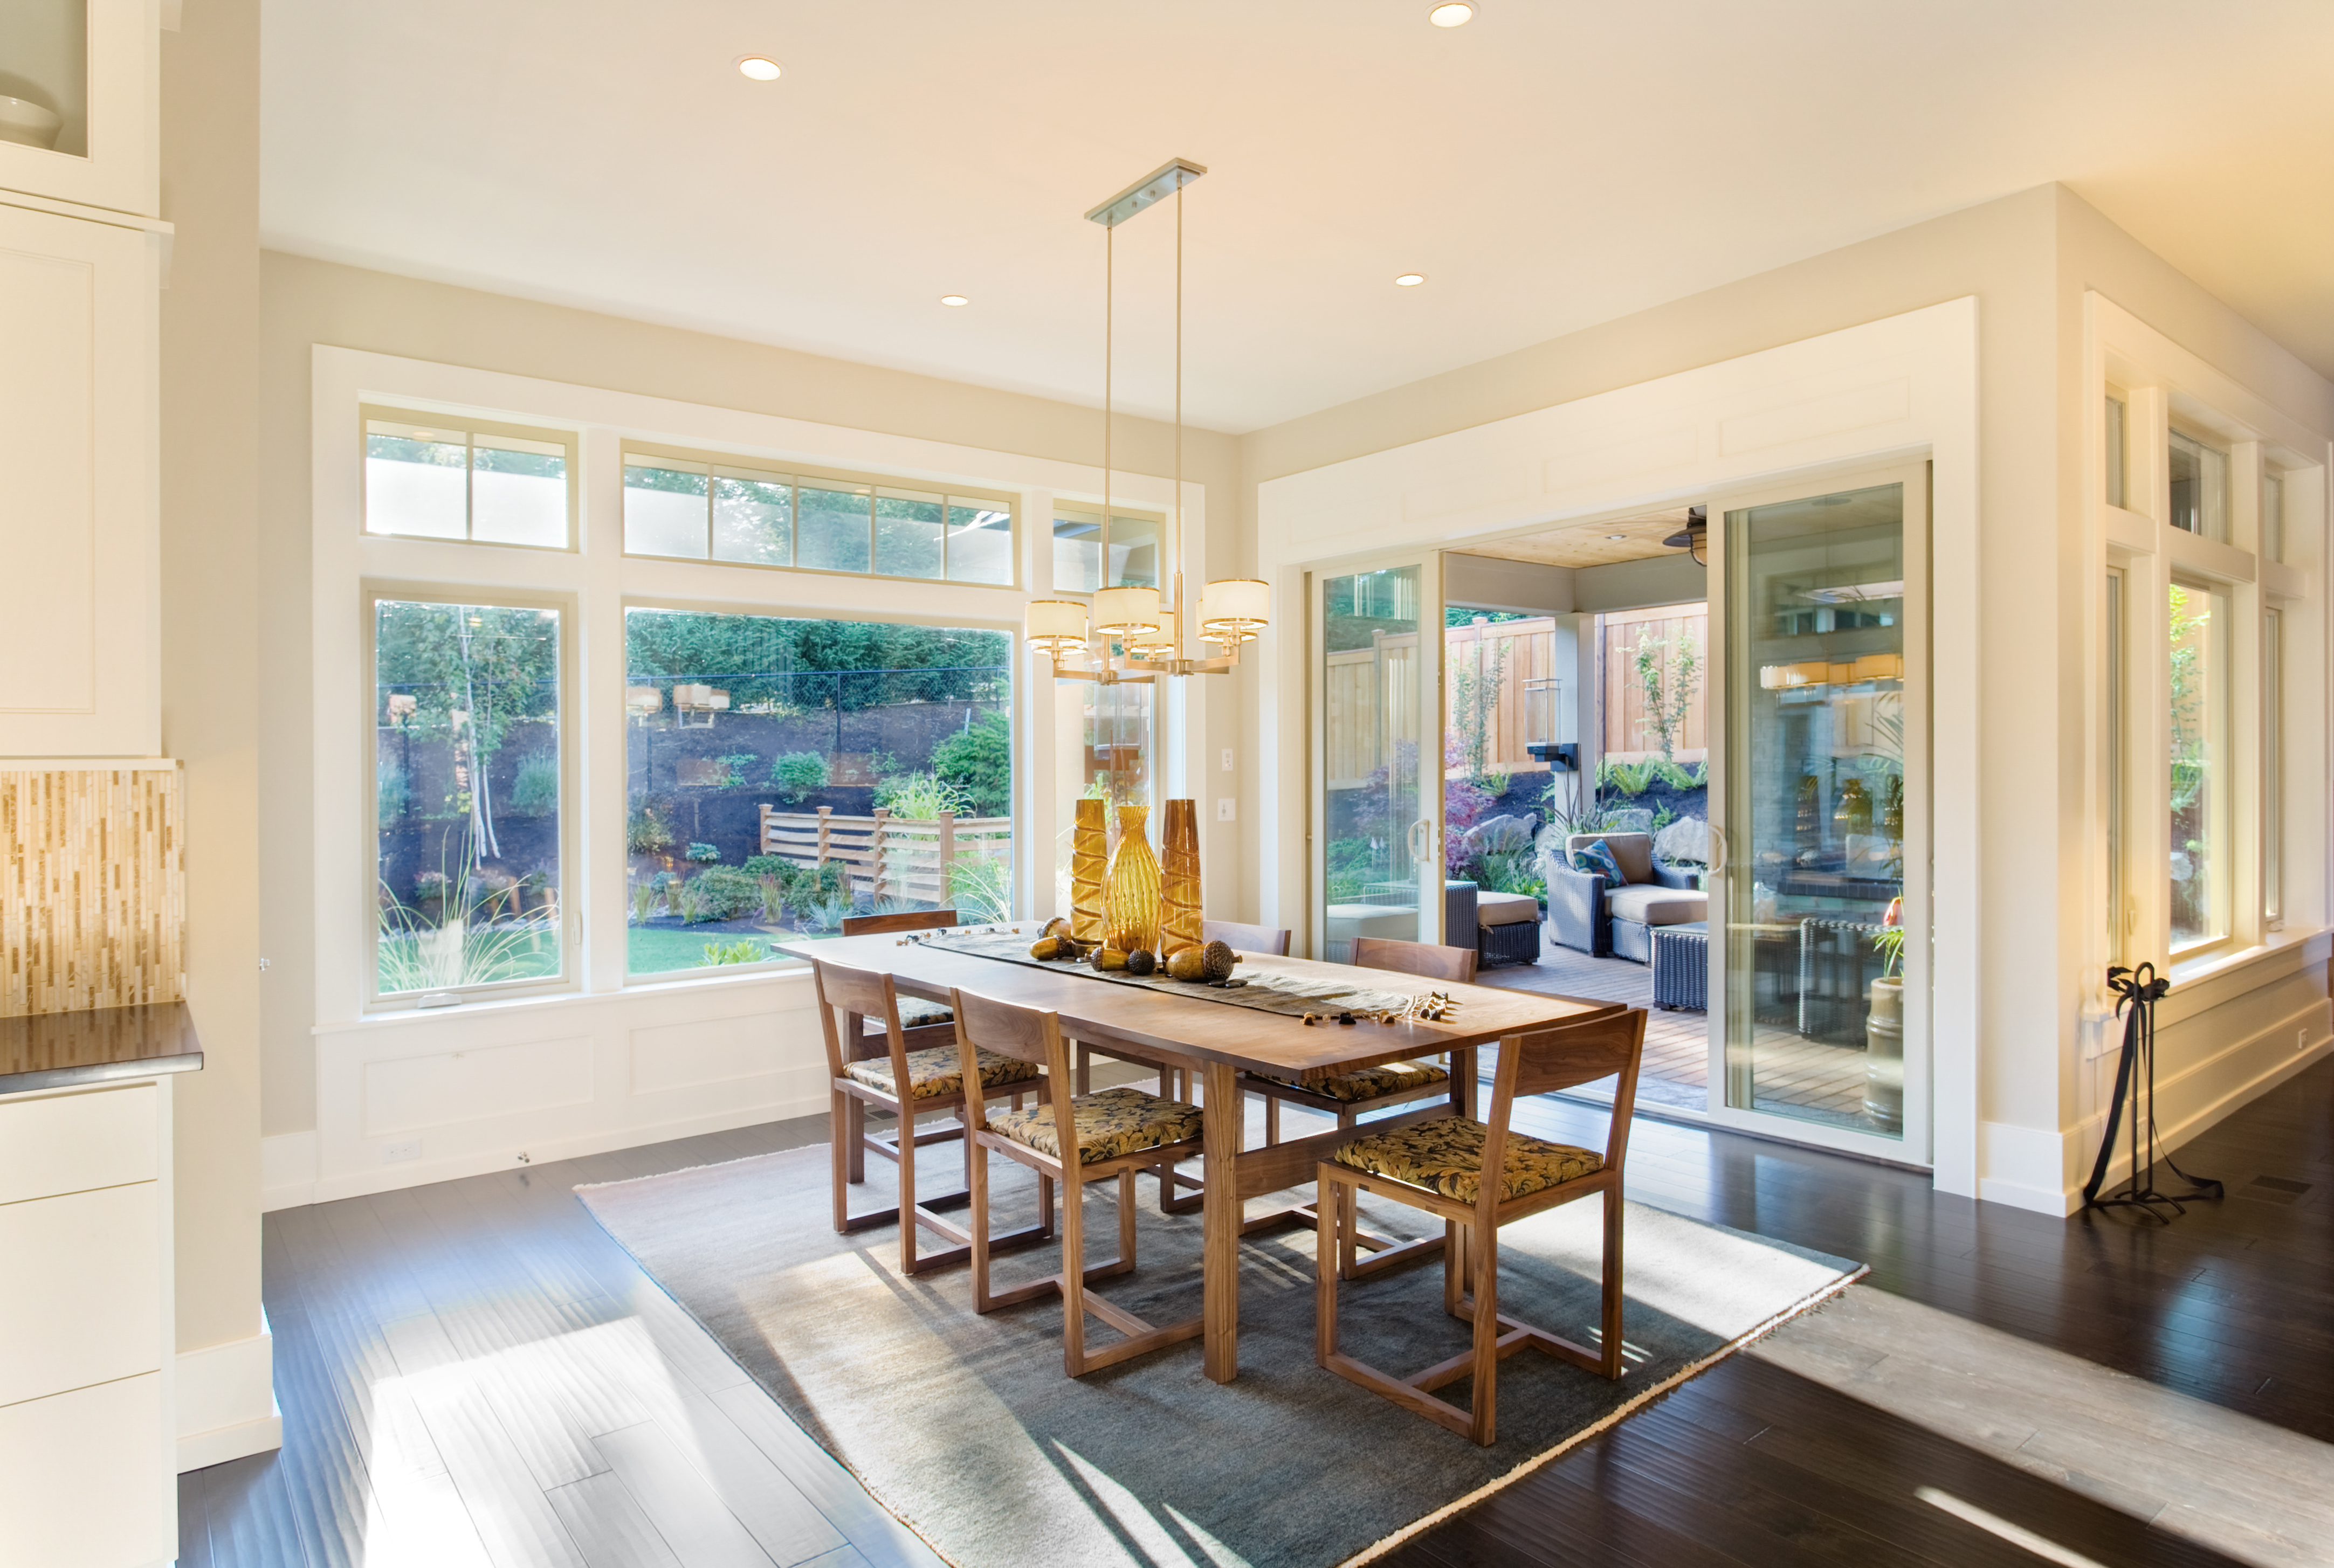
We don’t recommend literally swinging from your new chandelier, but adding one to a room can take it from basic to beautiful. There’s an inverse relationship between difficulty and impact when it comes to changing recessed lighting to a chandelier. In this step-by-step guide, learn how you can change recessed lighting to a chandelier in no time.
Before working on anything electrical, it’s important to take the right safety precautions. Electric currents can still flow to the fixture with the wall switch off, so turn the breaker off to cut off power to your project at the source. To verify that there’s no current, use a voltage meter at the fixture.

With the power off, set up a ladder so that it’s secure, and climb up. Remove the recessed light by removing the bulb, twisting off the housing, and releasing the clips that keep the fixture in place.
When using a converter kit, you should be able to leave the light socket in place. Most kits have an adapter that screws in, so you don’t have to do anything with the existing wiring.
Always refer to the manufacturer’s instructions when installing a converter kit. Most start with attaching the bulb socket adapter and then installing a mounting bar, which requires you to center the mounting bar across the ceiling hole and drill it into the can with the included screws.
With the mounting bar in place, reattach the mounting bracket with screws where indicated. If your recessed lighting can is five or more inches across, you can use a washer with the screw. Most kits have a green ground wire that you need to attach from the mounting bracket to the side of the metal lighting can.
Conversion kits include a cap or plate that covers the ceiling hole that houses the old can light and your new mounting bar. The adapter wires should feed through the center hole of the cap, and the cap should simply twist to secure it in place. If the ceiling hole is wider than the provided cap, you can purchase a larger ceiling cap to use instead.
Most chandeliers are compatible with converter kits, but double-check the weight rating on the converter kit before continuing the installation. Conversion kits are generally rated for up to 50 pounds.
To avoid spending unnecessary time balancing on a ladder later on, assemble the chandelier before hanging it. With the chandelier resting on a table or on the ground, install the light bulbs, and attach any globes, shades, or other decorative parts.
Prepping the chandelier before connecting the wiring is ideal since you won’t risk the chandelier falling off. To prep the chandelier, rest it securely on the top of your ladder or have someone else hold it. Your chandelier should have a crossbar connected to a decorative medallion—screw the crossbar into the mounting bracket according to the manufacturer’s recommendations.

Chandeliers usually come with an automatic wiring system, which means the lights are already connected to central wires that go into the junction box or adapter. Unless there are damaged wires that block electrical currents, you shouldn't need to do extra wiring for chandeliers with multiple lights.
Connect the wires of your new chandelier with the wires of the socket adapter. Most wires are color-coded, which means connecting black wires with black wires, white wires with white wires, and so on. Connect the wires using the twist caps or wire nuts that should be included with your new chandelier.
With the wires connected, turn the power on to see if the light turns on — if it does, turn the power back off, tuck the wires into the cap, and continue with the install. If the light doesn’t work, recheck your wiring.
To make this step easier, temporarily attach your ceiling medallion to the ceiling with clean-release tape. This keeps the ceiling medallion in place while you finish the installation but won’t peel off any paint or finish. From there, most ceiling medallions attach to the ceiling with a cap and threaded socket. With the medallion in place, you can strip off the tape and turn the power back on.
If you have basic knowledge and are comfortable working with electrical units, converting recessed lighting to a chandelier is an approachable task that you can do with no more than a few spare hours.
Working with wiring and electricity isn’t for everyone, in which case this project may be better left to a local electrician. Having a pro do the job is also helpful if you’re not able to stand on a ladder, and they have the knowledge and experience to complete an installation quickly and efficiently while with any surprises that could otherwise delay the process.
An electrician charges about $50 to $100 per hour to install a chandelier. Not including the fixture itself, you can expect to pay as much as $200 to have a single recessed light converted to a chandelier.
From average costs to expert advice, get all the answers you need to get your job done.
Add a wow factor to your home with a chandelier. Chandelier installation costs depend on style, location, and labor, so learn what you can expect to budget.

Discover the cost to install recessed lighting. Discover how price factors, labor, and other considerations can help you save on your lighting project.
Discover the average cost of lighting design, including price ranges, key cost factors, and tips to help homeowners budget for their lighting project.

You don’t always need a pro for recessed lighting fixes. Learn how to change a recessed light bulb on your own for an easy, affordable home repair.

Ceiling lights come in a wide array of styles and functions. Use this guide to learn about the types of ceiling lights to find one that suits your space.

Make sure you practice safety first when DIYing your shower light. Use this guide to learn how to remove a shower light cover effectively.