Discover the average feng shui consultant cost, what impacts pricing, and how to save on your consultation.
You can install crown molding at just about any angle with the right tools


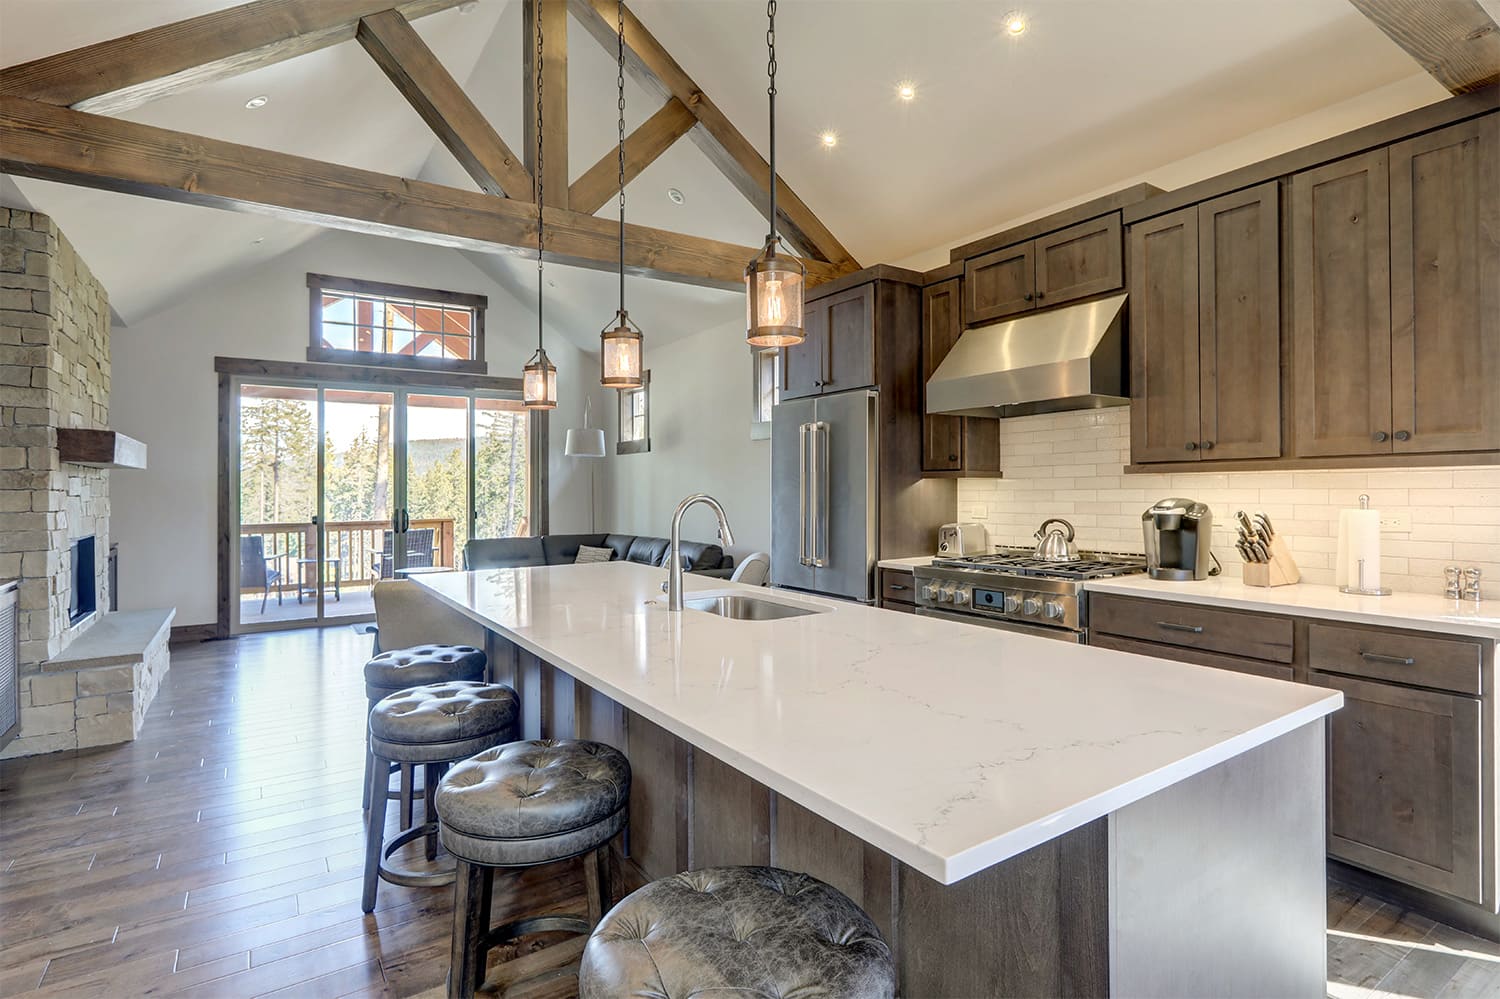
Installing crown molding on vaulted ceilings or cathedral ceilings may seem out of reach, but it’s actually easier to do than many realize. This project only requires a couple specialized tools, like a compound miter saw and an angle finder, and is relatively easy to do on your own—as long as you don’t mind making a few mathematical calculations.
Whether you’re interested in going the DIY route or would rather hire a local crown molding installation pro, this is what you need to know to install crown molding on sloped ceilings.
Crown molding is definitely more difficult to install on vaulted or cathedral ceilings than it is on traditional ceilings, but that doesn’t mean it’s totally impossible. In order to do it yourself, you might need to rent out certain equipment and dust off your old calculator, but the difference in effort is negligible.
If it would normally take you one day to add molding to a ceiling with only 90-degree angles, working on sloped ceilings will only add a couple hours to your workload.

Installing crown molding on a vaulted ceiling requires more tools than many other DIY home improvement projects. Some tools, like a compound miter saw and power nailer, should be handled with extreme caution by novice DIYers. So if you’re not confident using them, you may be better off hiring a pro.
Though some seasoned DIYers will already have everything they need to complete this project, beginners may need to stock up on the following:
Measuring tape
Angle finder or miter divider
Compound miter saw
Power nailer
2-inch finishing nails
Caulk and caulk gun
If you’d rather have to do as little math as possible, using an angle finder or miter divider will greatly simplify the process of measuring your slopes. These tools are available in both digital and manual options.
While it may seem difficult—if not impossible—to install crown molding on slanted ceilings, a few tricks and the right tools are all it takes to complete the job. Follow these instructions to figure out the angle of your slopes and properly cut the molding so each piece fits just right.
You’ll need to measure the angle of your vaulted ceiling before you can do anything else. If you’re using a miter divider or a digital angle finder, the process is relatively easy. Simply hold the tool up to the point of the slope and adjust it until it fits snuggly along the border between the wall and ceiling.
Once you know the degree of your angle, divide the number you get in half to determine how to cut your molding. For example, if you have a 30-degree angle, each piece of molding will need to be cut to 15 degrees in order to fit together neatly. Use measuring tape to determine how long each piece of molding needs to be to fit the length of your ceiling.
Once all the molding is cut and ready to go, you can begin installing it to your ceiling. Use a pencil to mark the spot on the wall where you’ll place each piece of molding. Then, use a power nailer to attach 2-inch finishing nails to the studs and ceiling joints.
Finally, fill any cracks or spots with a bit of caulk. You may also want to use caulk to ensure the separate pieces of molding are securely bonded.
The cost to hire a pro to install crown molding can be anywhere from $4 to $15 per linear foot for both materials and labor. Labor typically makes up 25% of what you pay, and doing it yourself can reduce costs up to that much.
But attaching crown molding to a vaulted ceiling can be difficult for beginners to get right, and hiring a local crown molding company may be the best way to ensure everything looks as it should.
From average costs to expert advice, get all the answers you need to get your job done.

Discover the average feng shui consultant cost, what impacts pricing, and how to save on your consultation.

Need a little extra room for clothes storage in your home? Learn about the average cost to build a closet, some cost factors to consider, and more.

Discover the average cost of tin ceiling installation, including labor, materials, and key factors that impact your budget. Learn how to save and plan your project today.

Create a stunning and functional home or remodel with an interior designer. Follow these common interior design questions to prepare for working with a pro.

There are a lot of crown molding materials to choose from, and you’ll need to know the benefits of each to know how to pick the best one for your needs.

Discover the cost to install a built-in wardrobe. Learn about average prices, installation factors, and ways to save on your custom storage project.