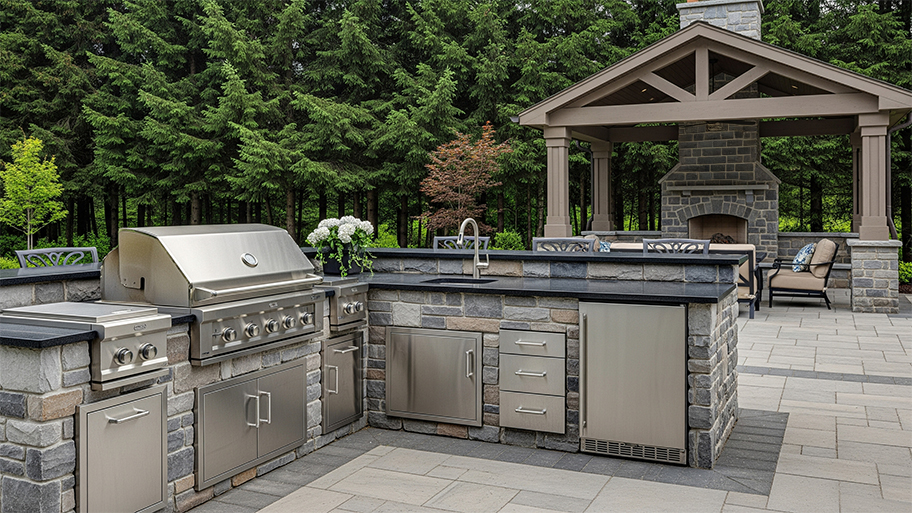
Discover the cost to build an outdoor kitchen, including average prices, cost factors, and tips to help you plan your project and maximize your investment.
Choose from a menu of simple outdoor kitchen ideas


A kitchen has four activity zones: prep, cook, serve, and clean.
Portability is the key to any low-budget DIY outdoor kitchen.
A pergola or perimeter lighting can define a luxury outdoor kitchen.
Outdoor kitchens cost anywhere from $1,000–$30,000.
An outdoor kitchen is on everybody’s wish list. Whether it’s a low-budget DIY outdoor kitchen or a luxury kitchen with every amenity, the good news is you can incorporate a cooking station into almost any backyard plan.
The layout you choose for your outdoor kitchen will naturally depend on your budget, space considerations, and how badly you need that wine fridge. Even the simplest outdoor kitchen ideas include activity zones that align with the four things we do in every kitchen: prep, cook, clean, and serve.
To get started, measure your outdoor space, be mindful of cost, and take a look at these four inspired layout ideas.
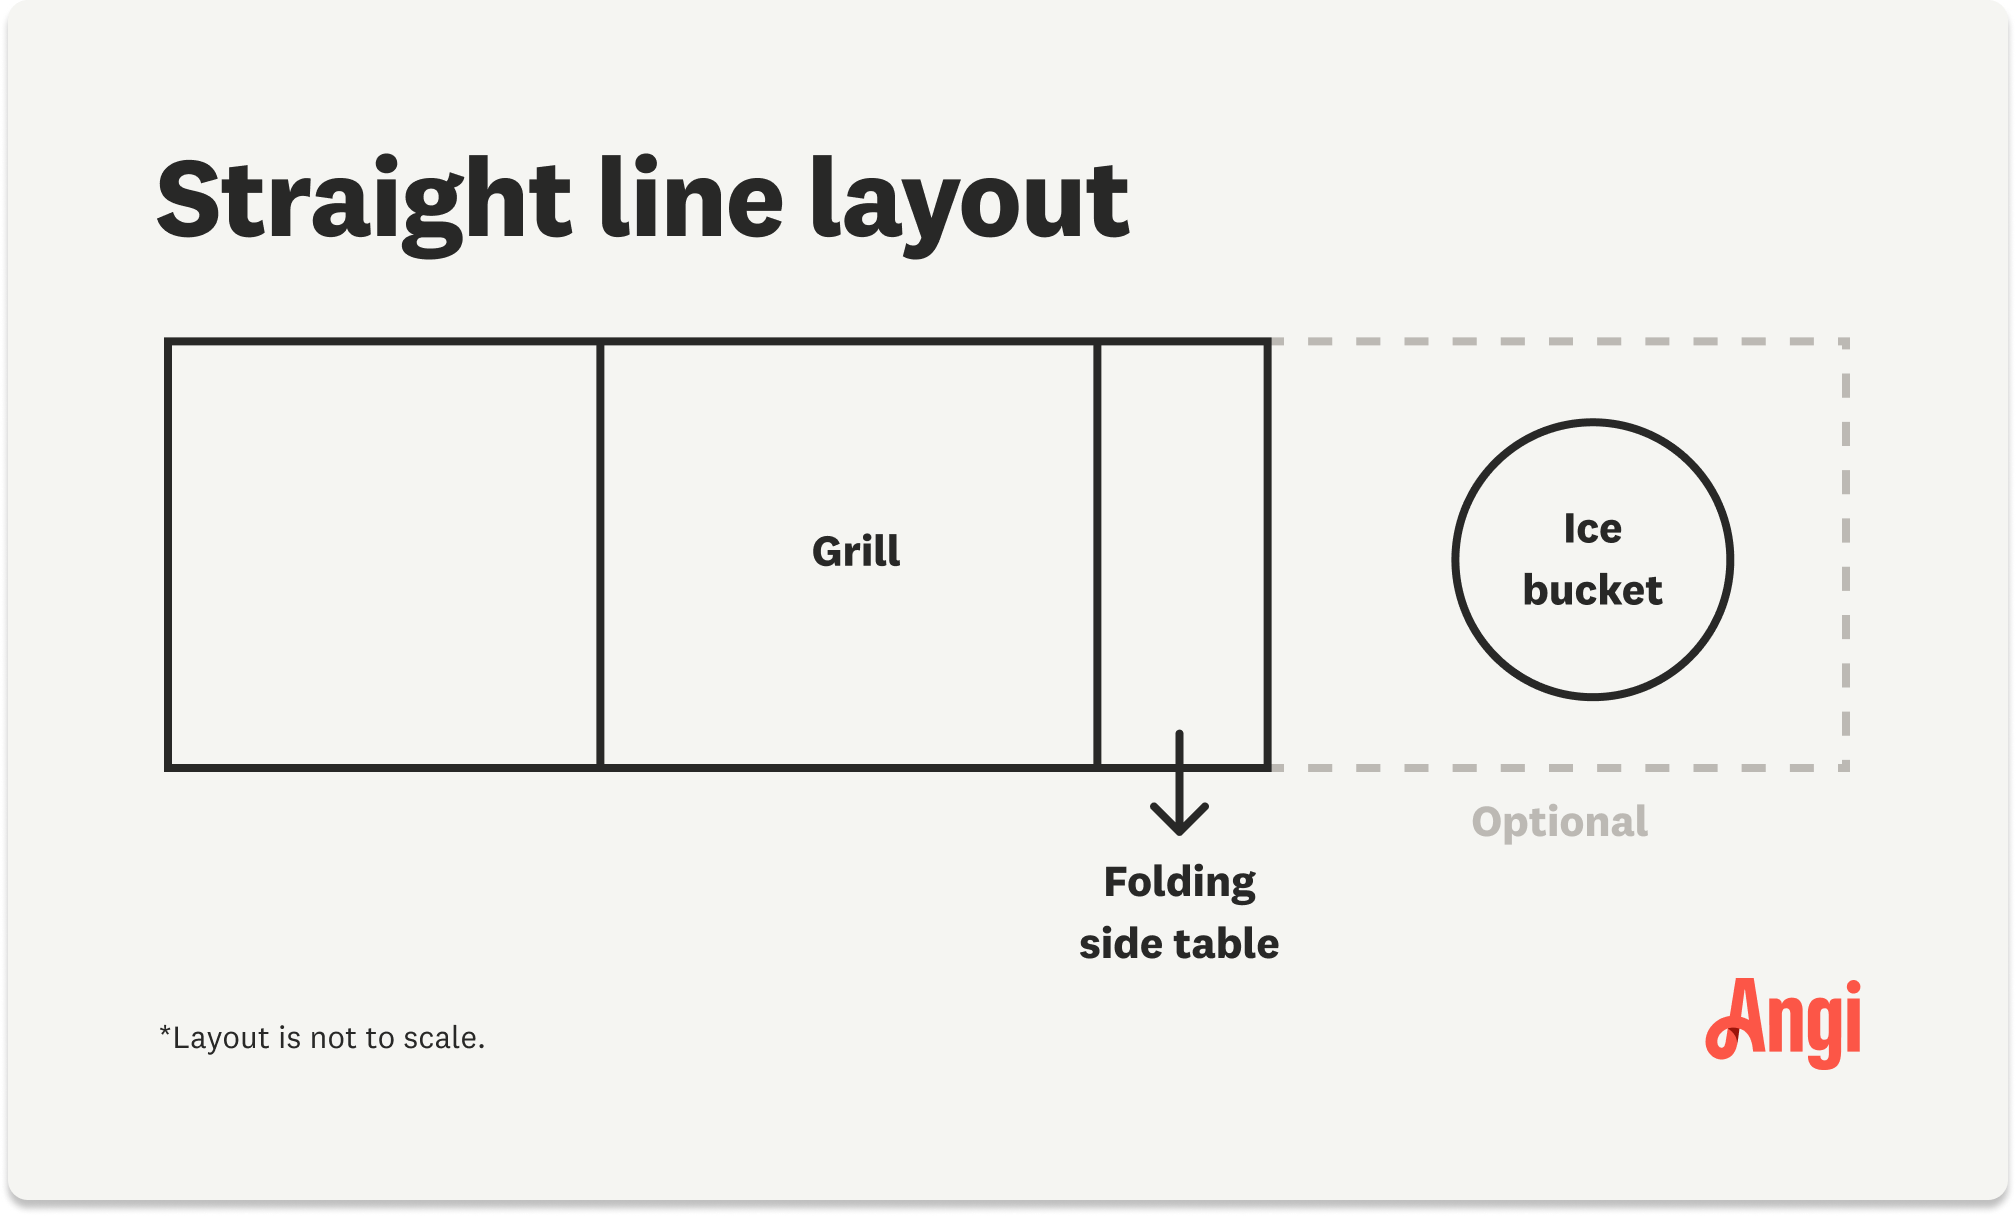
The layout: Outdoor kitchen with grill and work table on one wall
Good for: Compact spaces, tight budgets
Portable appliances are an excellent choice for a small outdoor kitchen. In this outdoor kitchen design, nothing is locked down and no construction is required.
You’ll just need a grill, folding side table for meal prep and serving, and an ice bucket to keep drinks and food cold. Add a mini-fridge and a kitchen cart if your budget allows.
Trying to keep your budget in check? This layout works with a variety of grills, so you can hit a price point you’re comfortable with. Visit restaurant supply stores to find great deals on carts, tables, and buckets. Ask about gently used secondhand merchandise, too.
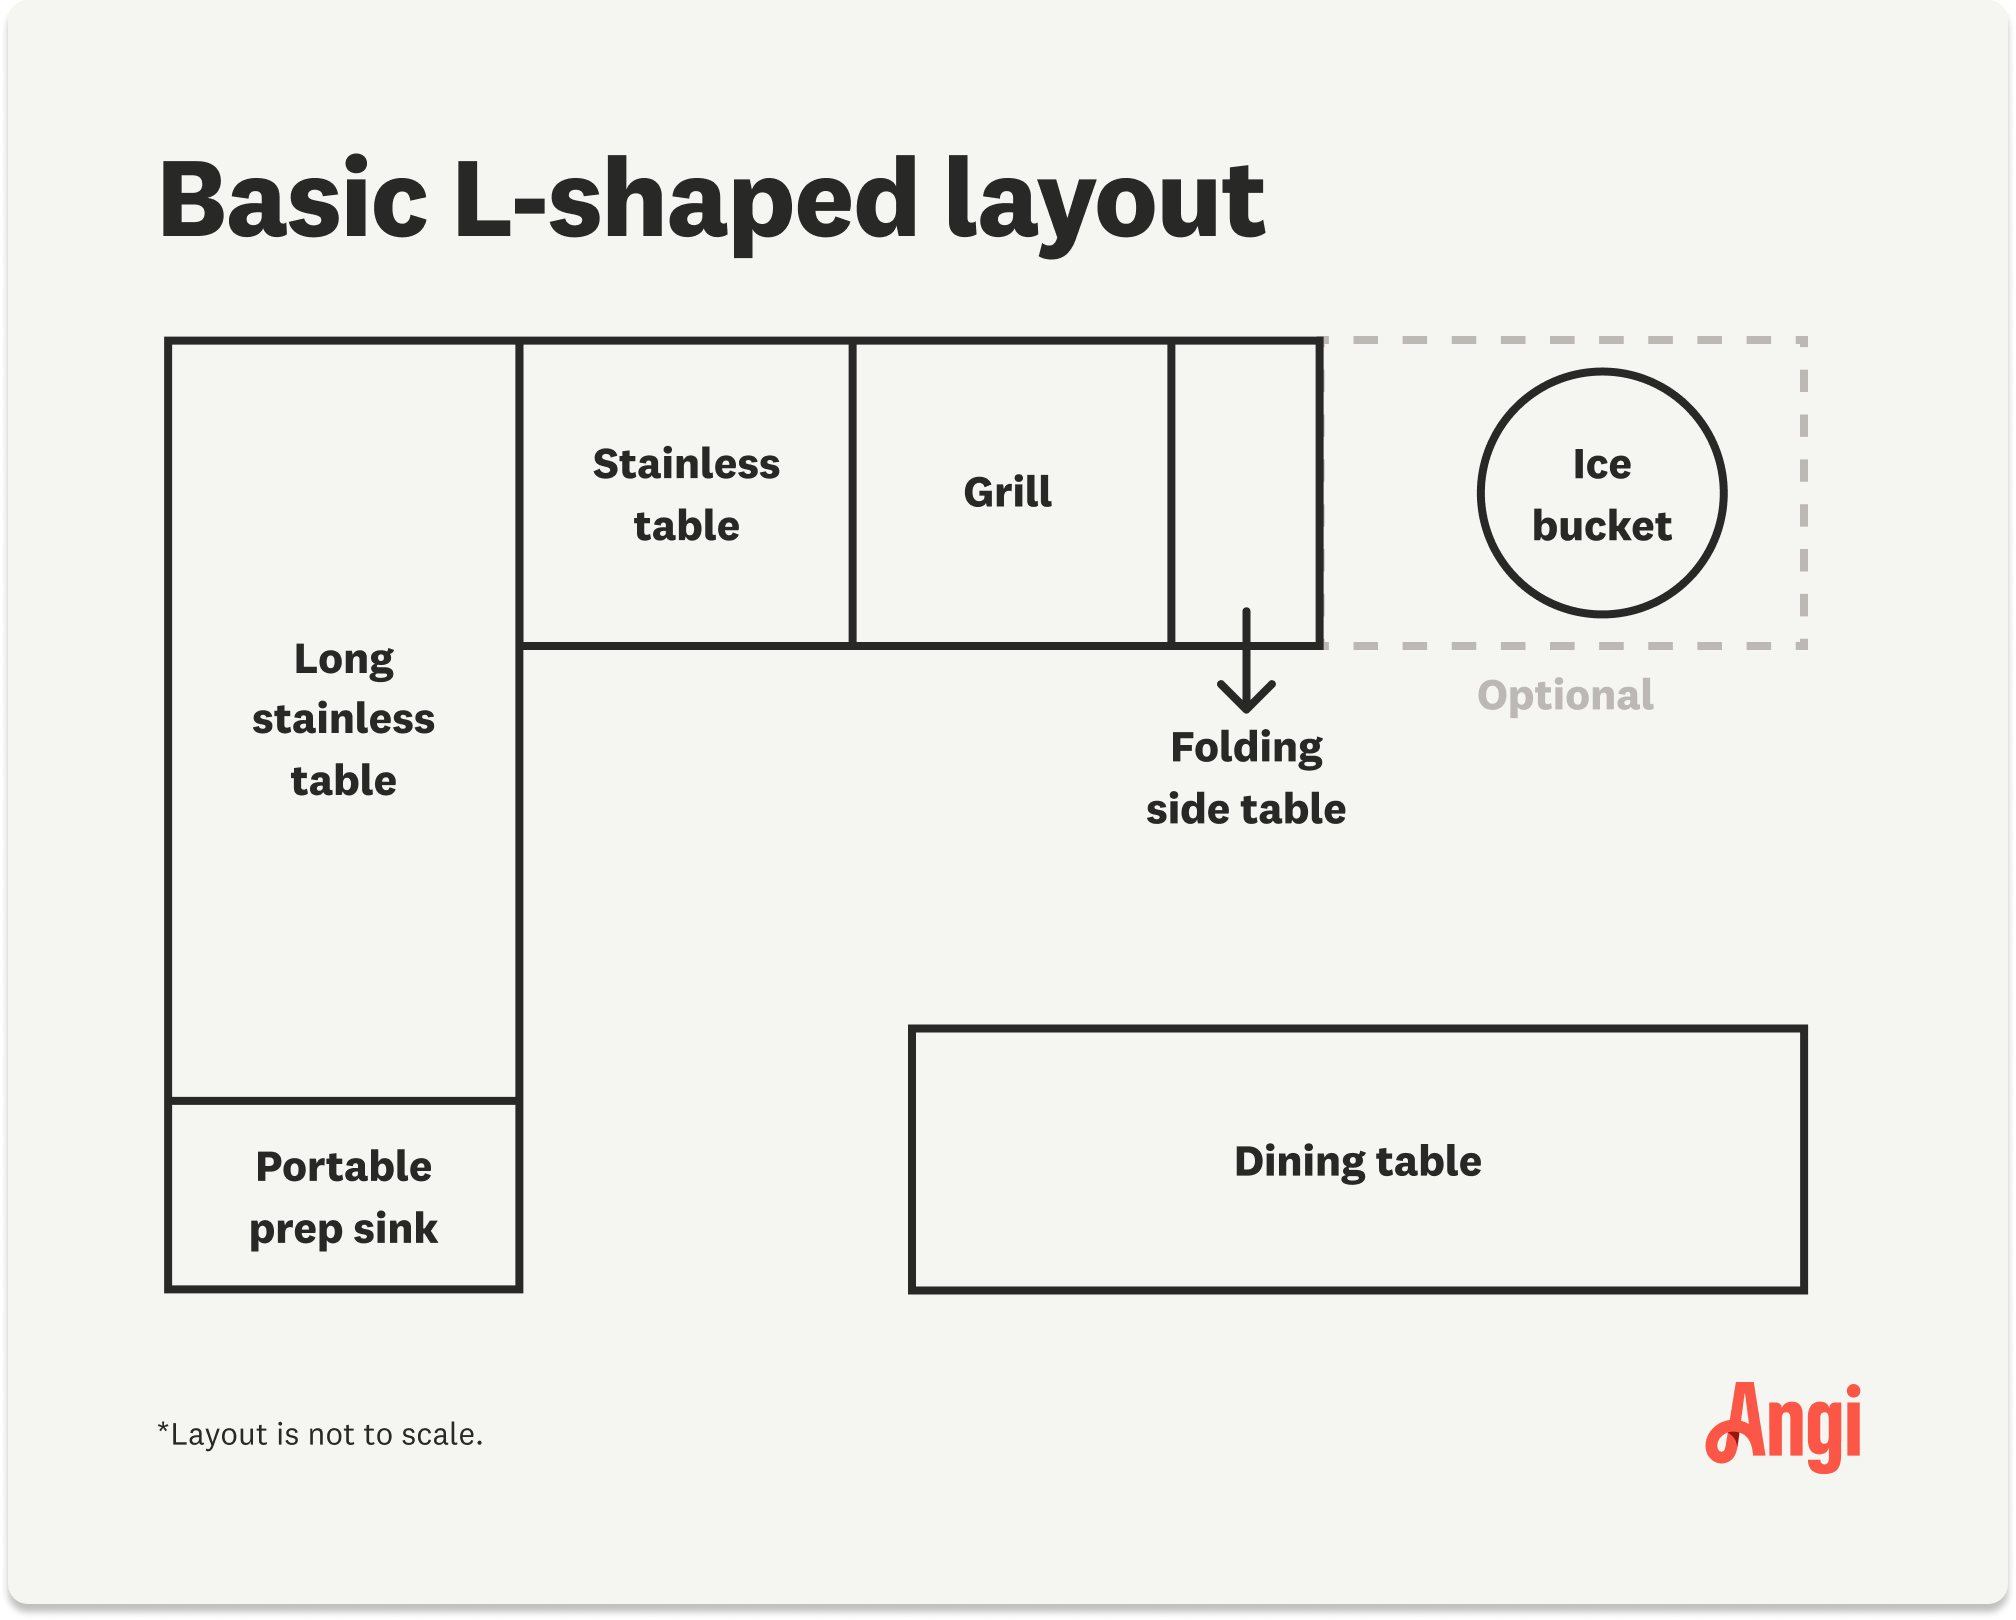
The layout: An efficient layout with perpendicular work areas
Good for: Introducing a few creature comforts into your low-budget DIY outdoor kitchen
This simple outdoor kitchen idea works even if your grill is modest and your budget is limited. This layout can accommodate a portable grill with a portable prep sink, a small refrigerator (electrical outlet required), and a larger work surface (look for a used, stainless steel workbench like you’d see in a commercial kitchen).
Add extra outdoor kitchen features only if your budget allows, like an umbrella on a movable stand for shade and comfort.

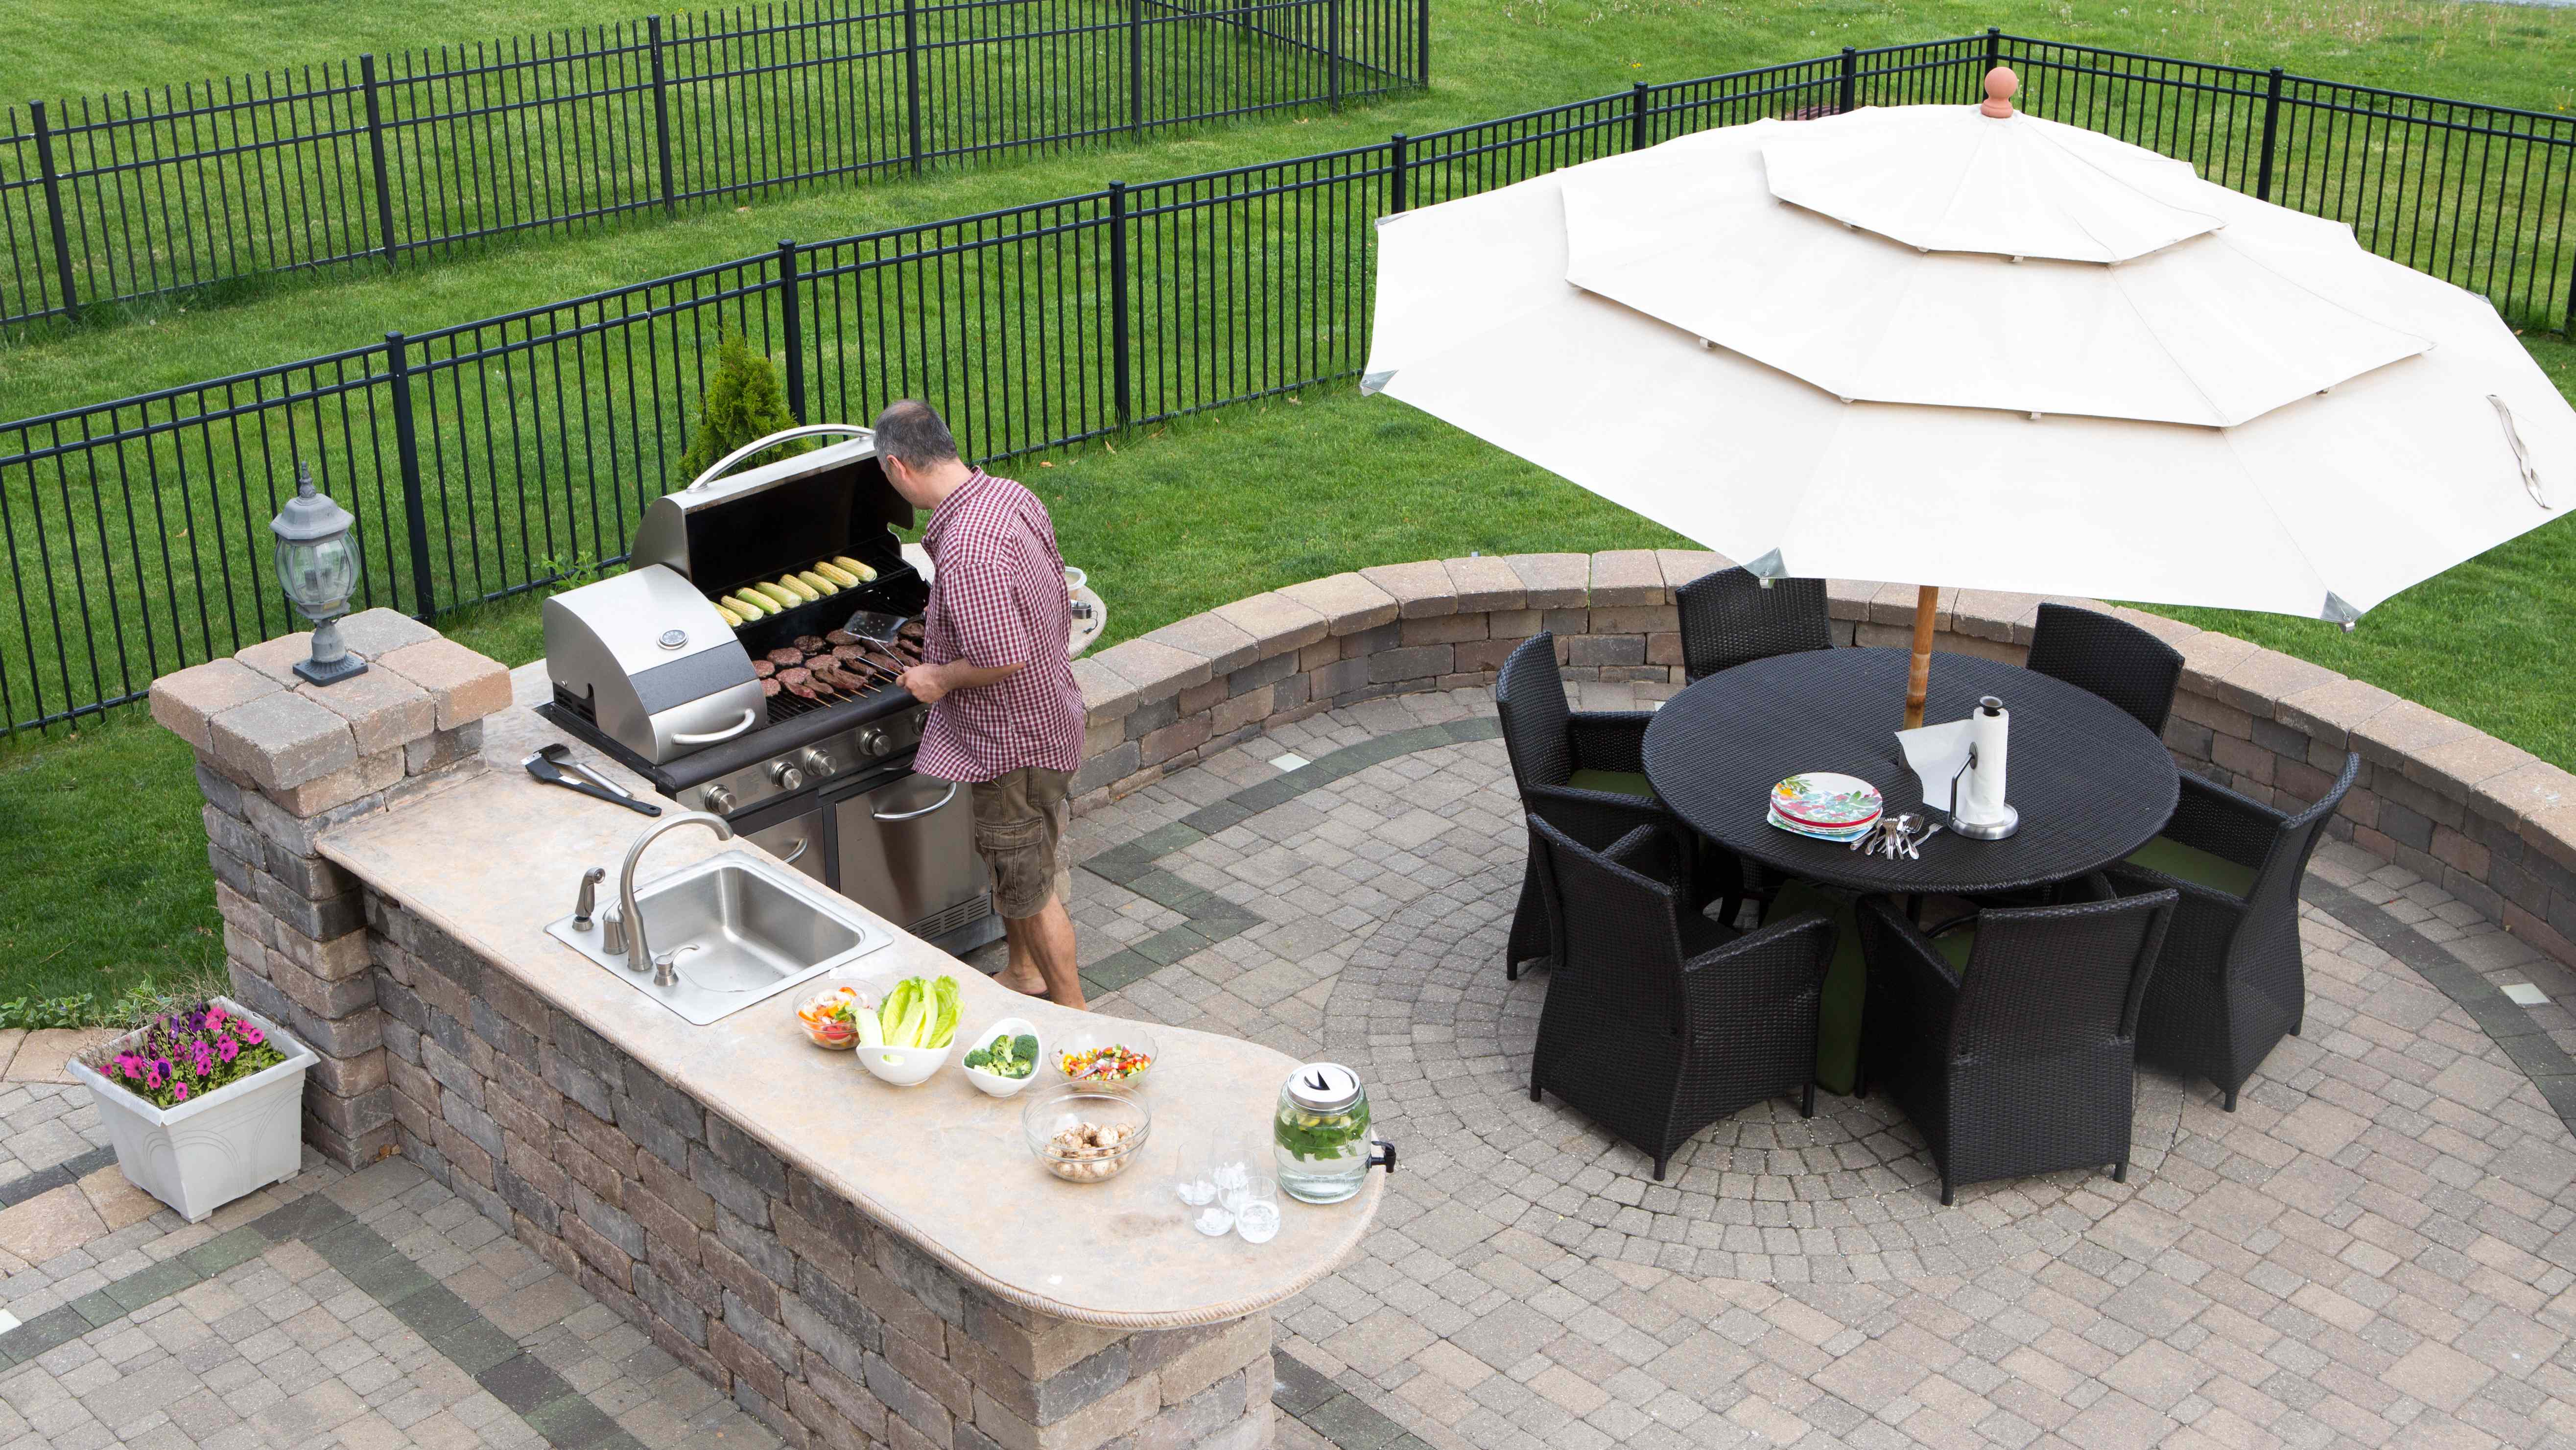
The layout: An L-shaped layout with a twist: a bar and corner sink
Good for: Providing a dedicated space of any size for drinks
This outdoor kitchen bar plan kicks things up a notch with a dedicated bar area for serving up drinks and food. There are a variety of ways to configure it, but the island layout is especially efficient.
One side is for cooking; one is for hanging out (consider a raised counter to nearly double your surface space), and place the sink on the corner. While you can DIY some of the setup, it is best to hire a plumber and electrician in your area for safe installation.
This layout is readily available in a prefabricated, modular outdoor kitchen kit; just choose your cooker, appliances, sink, storage, and countertop materials. One of the best ways to keep this layout budget-friendly is to do your homework and shop for bargains in the appliance category.
An ice maker is nice, for example, but ask yourself if you can make do with a small fridge instead.

The layout: Two parallel countertops with appliances and counters on both
Good for: Improving traffic flow for large gatherings
This galley-style plan makes the most of your space and money. Two fully equipped parallel islands allow for a smooth traffic pattern.
This layout is ideal for a permanent custom kitchen, with lots of counter space, a grill with side smoker and side burners, a warming oven, and multiple refrigerators. You’ll need pros to install water, electricity, and gas lines.
However, this smart layout doesn’t have to cost a fortune. Shop for less-expensive appliances and durable but budget-friendly countertops, such as tile, limestone, and bluestone.
Let’s say you’re in a new home with a budget that allows for bells and whistles. Or you’ve finally decided to upgrade your outdoor kitchen in a big way.
It’s time to get cooking and add value to your home by designing a luxury kitchen that’s hardworking, the envy of all your neighbors, and beautiful, too.
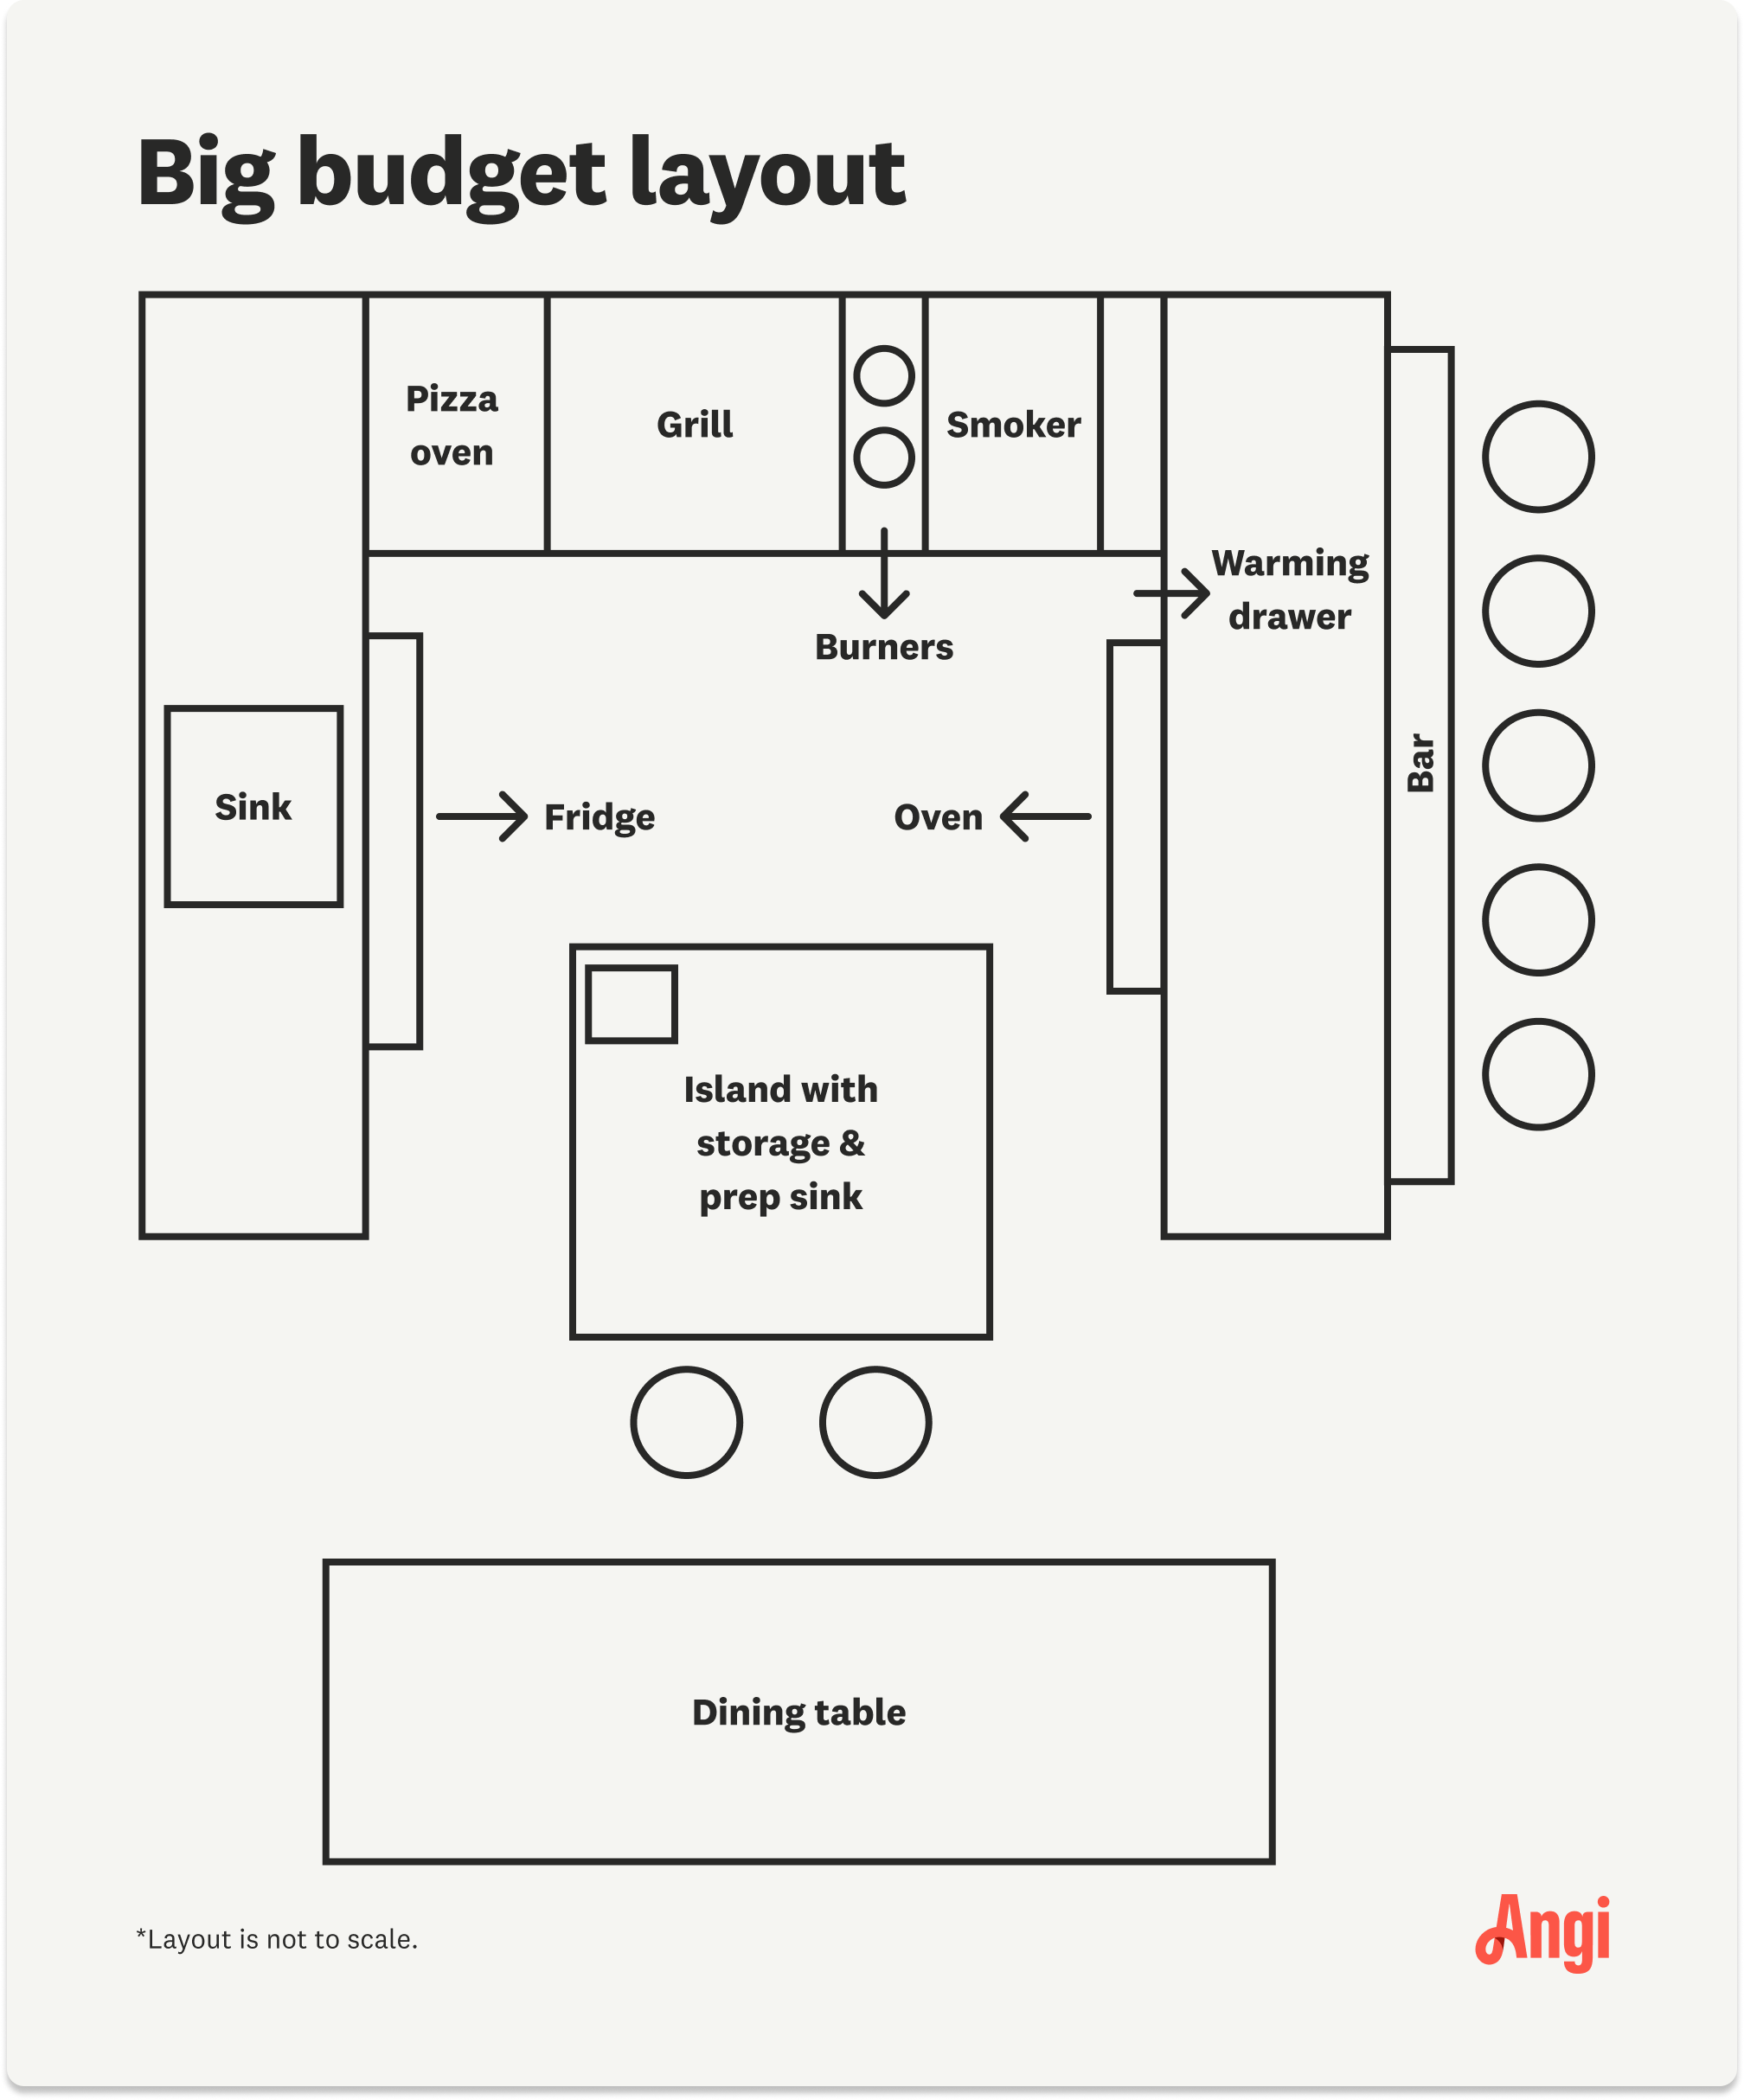
The layout: A combination U-shaped layout of considerable size
Good for: Multiple cooks and servers working at the same time
This kitchen layout rivals any you’ll find in a luxury resort. This layout is essentially U-shaped, but on a large scale, with an island (and prep sink) in the center, and a dining table beyond.
You’ll want to define the space in some way, either overhead (with a pergola) or along the perimeter (recessed lighting works well).
Needless to say, you can include every appliance in this layout: an expansive grill with smoker, several burners, a griddle, oven, warming tray, multiple fridges, and that pizza oven. Add a TV and sound system, and you may never want to go indoors again.
Outdoor kitchens range in cost from $1,000 to over $30,000. Luxury or high-end projects can cost as much as $200,000. However, you don’t need to (and probably won’t) spend nearly that much.
Keep in mind that, at minimum, an outdoor kitchen should include a patio, grill, prep and storage space, and an area to eat or entertain. If you have money left over, you might also want to spring for a fridge, sink, roof, or other covering.
Outdoor kitchen layouts are all flexible, whether you choose a low-budget DIY outdoor kitchen or one with all the bells and whistles.
Here’s what you can expect when you’re on a small budget. This outdoor kitchen project is so easy, you should be able to DIY.
Opt for a portable kitchen. In most cases, building permits aren’t necessary for kitchens that move.
Situate your kitchen on an existing patio near your house. This way, it will be close to your kitchen sink and fridge.
If you’d like to include a sink, buy a garden sink (less than $100) and hook it up to your garden hose. Or rinse dishes and hands directly from your hose.
If your kitchen location includes an empty wall, install cabinets or a bar-height ledge.
Buy a portable charcoal or gas grill with heavy cast iron or stainless steel grates and a grease trap. New grills start as low as $30, or even less if used.
Purchase a portable all-weather kitchen cart (about $200) with some storage and counter space. It can also serve as a surface for prepping and serving.
Purchase a clip-on grill light to illuminate your space.
Instead of a fridge, fill a large steel tub with ice, and use it as a cooler.

With this level of outdoor kitchen, you’ll get a few more features—still without the headache of applying for permits.
For a slightly more luxurious portable kitchen, purchase a deluxe grill on wheels (starting at about $1,000). It should include shelves and a work surface.
Buy outdoor furniture, like a table and chairs or potting bench, from a camping retailer or garden store.
Buy an umbrella or sail shade ($70 and up) or awning (starting at about $230).
For kitchens starting at this price point, you’ll need a building permit ($400 to $2,200, most likely on the lower end). However, the full features and stylish appearance of this level of kitchen justifies the effort and expense.
A prefabricated, semi-custom outdoor kitchen kit is a good way to go. You can choose from three different types of these kits, from $3,000 and up.
Finished outdoor kitchen islands include appliances, cabinets, and countertops. Once you’ve got utility hook-ups, these products are basically ready to go.
Prefinished modular outdoor kitchen kits let you choose exactly which components you’d like.
If you buy a ready-to-finish kit, you will need to supply the countertop surface and facade material.
Pre-framed ready-to-finish outdoor kitchen kits require you to choose all your components, then buy pre-framed cabinets that will accommodate them.
Add an outdoor ventilation hood ($600 or more, not including installation), if your grill is located next to your house and under a roof.
Hire a local plumber to lay a direct gas line to your grill ($135–$390) and install your grill ($150–$450) and sink ($225–$600).
Hire an electrician near you to run wiring to your under-counter fridge ($125–300) and light fixtures (about $300–$1,000).
A small to medium kitchen saves money on cabinets and countertop materials. Outdoor-rated ceramic tiles should cost $75–$325 (not including installation).
This is a big-ticket item with lots of moving parts, so you might want to skip the DIY at this budget level. Hire a local outdoor kitchen company instead to create your dream outdoor space.
Here are some features to consider:
Go for a permanent custom kitchen, including a bar with stool seating.
On the appliance front, consider adding a side burner or power burner and griddle.
Plan on a medium or large space with ample counter space. Spring for natural stone countertops, which should cost $340–$1,460 (not including installation), depending on the size of the kitchen.
Include drawers for trash and storage, marination, and warming.

You’re ready to spare no expense for your outdoor kitchen. Unless you have a specific vision, you might want to hire a local kitchen designer to help you create your dream space.
In addition to many of the features and amenities above, here’s a look at fun and chic extras you can add:
Pergola or gazebo ($2,200–$10,000)
Built-in wine fridge, smoker, and wood-burning pizza oven
Illuminated walkways
Outdoor TV and sound system
An outdoor kitchen significantly increases the enjoyment of your backyard, patio, or deck. Here’s a look at the top benefits of adding an outdoor kitchen to your home.
It invites socializing—we love gathering around the grill!
An outdoor kitchen can amp up your entertaining capacity, especially if your home is on the smaller side.
Even a low-budget DIY outdoor kitchen can reduce kitchen clutter by keeping smells and messy foods (like burgers and ribs) outdoors.
A well-equipped outdoor kitchen can expand your culinary options (think smoked meats and wood-fired pizza).
Audrey Bruno contributed to this article.
From average costs to expert advice, get all the answers you need to get your job done.

Discover the cost to build an outdoor kitchen, including average prices, cost factors, and tips to help you plan your project and maximize your investment.

Discover the cost to build an outdoor pizza oven, including average prices, key cost factors, and tips to help you budget your backyard pizza oven project.

Find out the cost to replace an outdoor spigot. Get a detailed breakdown of prices, labor, and tips to save on your next outdoor faucet replacement.
An outdoor kitchen can add significant value to your home. Learn about standard outdoor kitchen dimensions and how to choose the right size.

If you dream of dining and cooking al fresco, find out how to DIY an outdoor kitchen to reduce the typically high costs of a home addition like this.
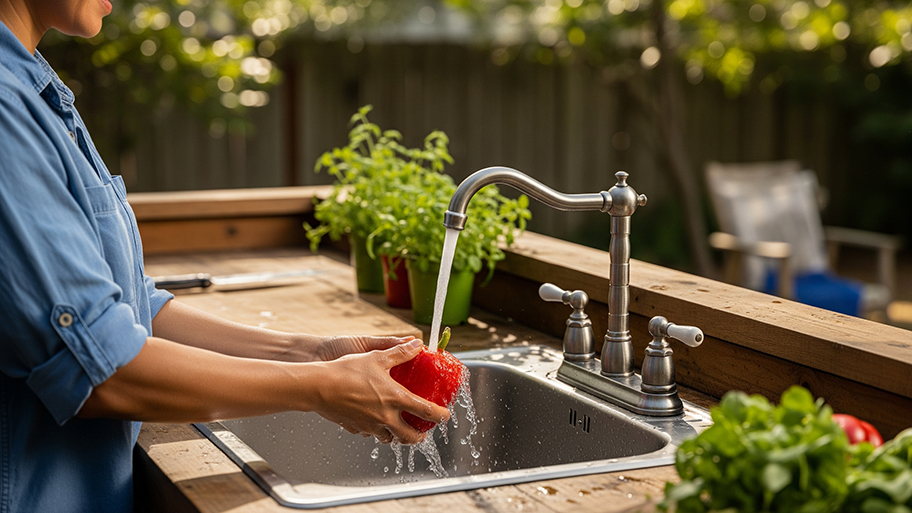
Learn how to install an outdoor sink and make your outdoors even more of an extension of your indoors–follow these step-by-step instructions to DIY.