

Considering a bow window for your dream reading nook? Find out everything you need to know about bow window prices, permit and labor costs, and more.
It’s not easy, but you’ll love the results

Bow window installation requires extensive framing work because these windows extend outward from your home, needing proper header construction and structural support for weight.
Expect to pay $1,500 to $15,000 for bow window installation, including $300 to $1,900 for labor and $1,200 to $14,000 for materials and the window itself.
Your installation involves removing the old window, building a new header with king studs and jack studs, and leveling the window carefully with shims.
Hiring a local building professional provides reliable help with framing work and header construction, keeping your walls and ceiling secure throughout the installation process.
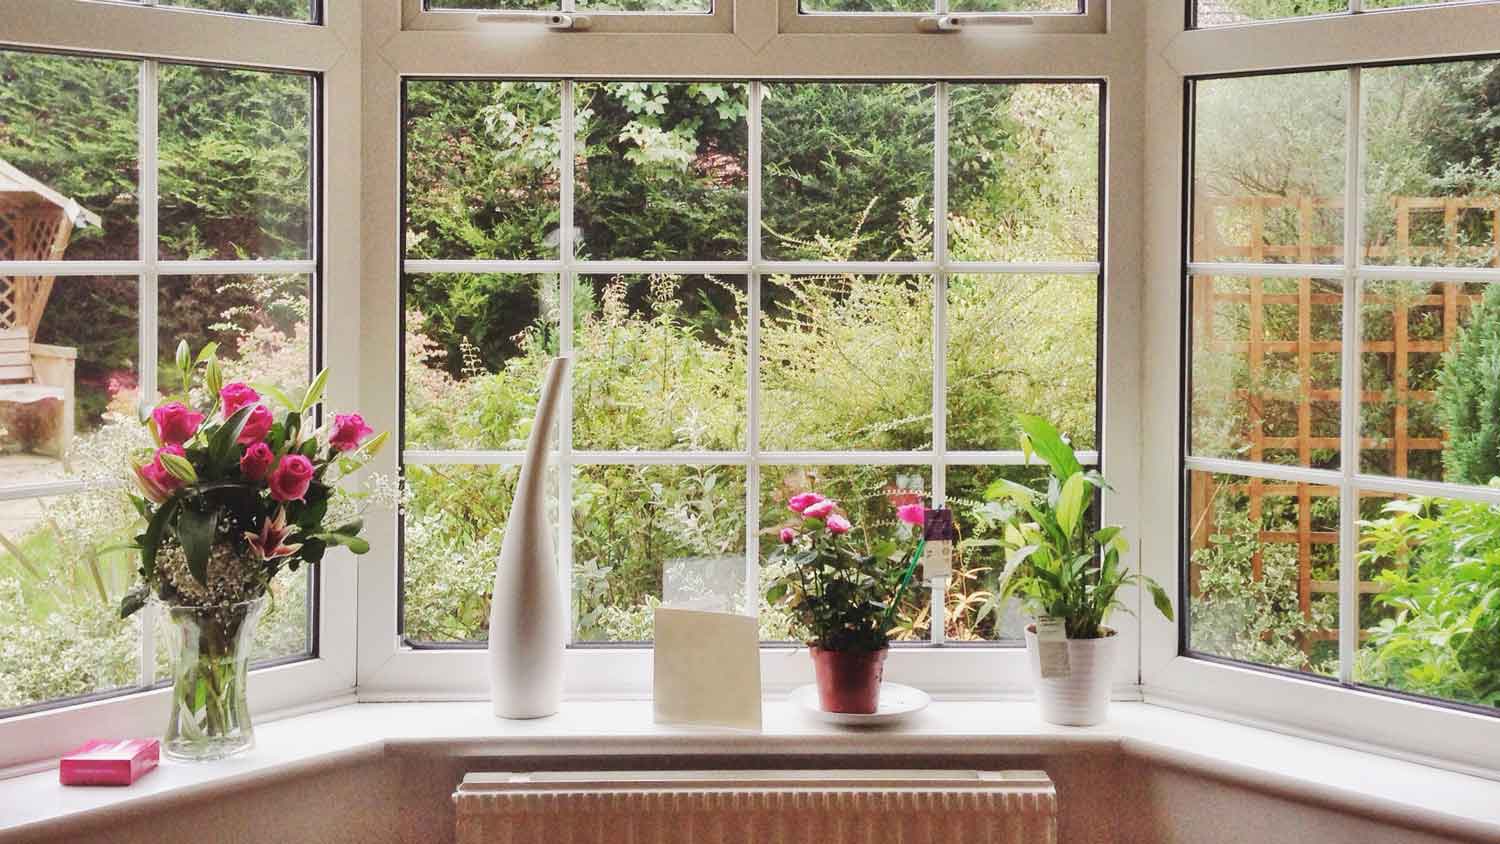
Bow windows are a great way to bring in more light and ventilation while also boosting curb appeal. These large windows extend outward from the home, making any room feel larger. Because bow windows have four to six glass panels and are large and heavy, bow window installation is challenging, to say the least. But the hard work is worth the reward. It delivers a big, beautiful window to bring in views of your surroundings or to accent your dream reading nook.
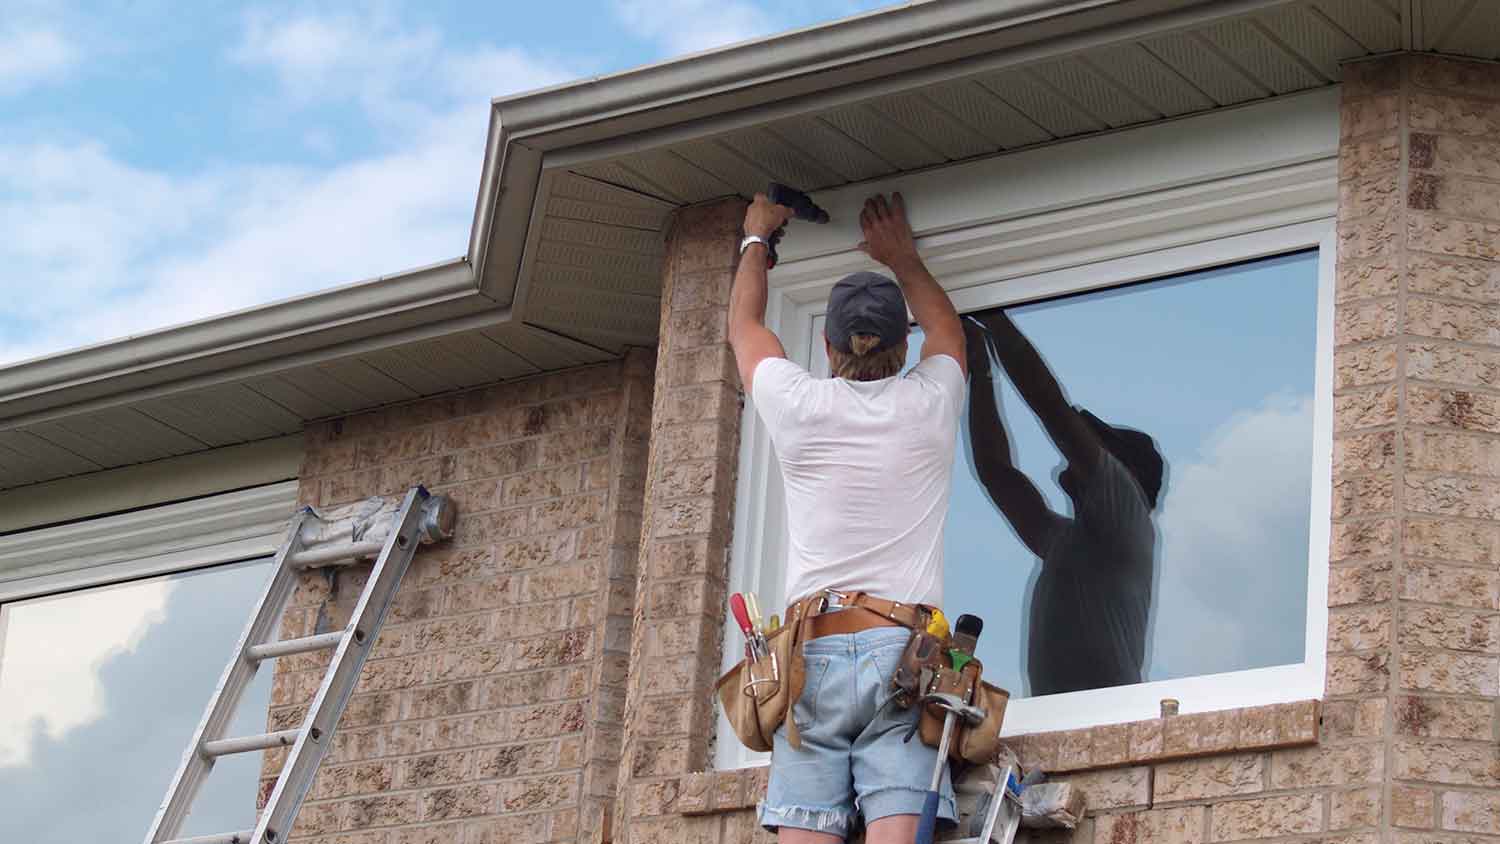
Note that you should always hire a window contractor for a bow window installation. Even if you’ve installed a smaller replacement window before, bow windows are large and complex, and they require extensive framing work and the construction of a header. Only professionals with experience in installing windows should complete this project.
Installing bow windows is a huge project, and below you’ll find the steps that pros always take to ensure the job starts off on the right foot.
Some bow window projects involve replacing a smaller window with a new large bow window or creating a brand new opening in a wall for a new bow window installation. Either of these options requires the help of a local window contractor to properly frame and finish the opening. Improperly finishing this space could result in water leaks, a sagging ceiling, and cold drafts around the new window.
Regardless of the complexity of the project you have in mind, the best option is to have your window contractor measure the window so you know the correct window size to purchase. This is a measurement that has to be perfect, so it’s best to rely on a pro.
Now it’s time for the fun part: choosing your new bow window. Using the measurements from your pro, you’ll want to start gathering quotes for bow windows based on any features you’d like to include.
You can choose the frame material, the number of glass panes, energy-efficient upgrades, like window tint or gas fill, and customizations for size or ornamental details.
Of course, your window contractor can handle all these choices for you, ensuring everything is perfect. If you’re unsure what kinds of features you want, describe what you’d like to see from the window’s design to the contractor for help with ordering the perfect window.
Because bow windows jut out from the exterior of the home, they require additional framing support and safety measures versus a simple, smaller window. Consequently, you’ll usually need local building permits before you can start construction.
When you work with a window contractor, they will secure the permits you need for your project while ensuring the framing delivers the necessary support.
Before listing the steps required for a bow window installation, we must mention again that, rather than learning how to install a bow window yourself, many people will simply choose to hire a pro to tackle this difficult project. A pro can handle every step, from removing an old window to installing the new one to finishing the interior and exterior walls.
For our steps below, we’re talking to people who have some experience installing bow or bay windows who might need a little refresher on the process, or people who are just interested in seeing what steps a pro would follow.
A window contractor usually will start by building a support wall using two-by-fours inside the home a couple of feet away from the window. This supports the ceiling when removing the existing window and header, when enlarging the current opening, or when creating a new opening. It’s vital for the vertical studs of the support wall to be directly under the ceiling joists, so use a stud finder.
Some window contractors may skip this step if they are putting in the exact same size bow window or if they are not changing the header in the existing window.
Pull the interior molding from around the existing window. Try to preserve this molding so you can use it again. Then, remove the molding on the exterior. Sometimes, the window may try to pull out as you are prying the exterior molding loose, so do this carefully.
Underneath the exterior molding, you may see flanges attached to the window. If so, the previous installer nailed or screwed these flanges to the original frame, holding it in place. In this case, you’ll need to pop these nails or screws out to loosen the window. If you don’t see the flange and nails, you may need to peel back a couple of inches of siding to find them.

With the window loosened, you can now remove it. For a bow window, this will be a multi-person job because of the weight and bulk of the window. Try hard to avoid breaking it, or you’ll have a huge, dangerous mess.
A contractor will need to cut drywall and some of the exterior siding to create a bigger opening or a new opening before building the new header and frame for the window.
If the new window is exactly the same size as the old window, you can skip ahead. Double-check the quality and integrity of the existing header and framing, though, to be certain they will still work for the new bow window. Make sure they are still perfectly square and have not settled over time.
Shut off the power before cutting into the wall, as you could have hidden electrical wiring in areas where the new framing and header will go. The wiring may need to be moved.
Remove drywall around the opening until you expose the studs. You may need to remove some studs with a reciprocating saw to make a larger opening, which is partly why you created a support wall in step one. You may need to remove the existing header to increase the opening for a larger bow window.
Some contractors will take down all the drywall along the wall where the bow window installation will go, as it’s easier to put up all new drywall versus trying to match a segment of existing drywall by patching after installing the bow window.

If you are installing a larger window or a new window in a space that was previously a solid wall, installing the header is a vital step. This is something a window contractor should do for you because it has to be perfect to maintain the integrity of the wall and ceiling. Even if you plan to try to install the window yourself, hiring a local building contractor or window contractor to build the header and to make sure everything is done to code is a good idea.
Continually use a level on the header and frame as you build them to ensure that the opening is perfectly square. Obtain the exact measurement of the width of the new window from its manufacturer. The measurement should be exact to 1/8 inch.
Then add the width of one jack stud on either side of the window (usually totaling 3 inches) to determine the proper length for the header. The jack stud supports the weight of the header, so it must go under the header.
Add king studs on either side of the calculated length of the header. The king studs should extend from the top plate to the bottom plate of the wall. The header’s length would need to fit precisely between the king studs.
The header for a bow window can be quite heavy, often consisting of a pair of lengthy two-by-eights. Lifting the header into place takes multiple people. After lifting it into place, nail the new header to the king studs. Add a two-by-four underneath the header to finish it.
Then attach jack studs to the interior of the king studs. Calculate the jack studs’ height from the floor to the bottom of the header.
Now obtain the exact measurement of the height of the new window. Figure out where the bottom of the new window will be as it extends from the bottom of the header. Add 3 inches to this measurement to account for the sill plate along the bottom of the window.
Next, cut vertical supports to go between the jack studs. These should be a height equal to the measurement from the bottom of the sill plate to the floor, as they will support the sill plate underneath the window. Attach one vertical support tightly to each of the jack studs. Then spread the remaining vertical supports roughly every 16 inches across the width of the window.
Stack a pair of two-by-fours over the top of the vertical supports to create the sill plate. Attach them to the jack studs and to the vertical supports. Finally, attach the window header to the jack studs with nails.
Now for the heavy lifting. Make sure you have plenty of people available to lift the bow window into the frame opening you just built. Have people inside and outside to be certain the window is firmly in place on both sides.
Once the window is in place, use blocks of wood and sawhorses on the exterior of the home to support the weight of the bow window. With this support in place while you install it, people don’t have to continue holding it.

Use a flat bar to carefully adjust the window’s position side to side until centering it in the frame. With a bubble level, ensure the frame is level along the bottom and top. If not, use shims to adjust it until it’s level. Then, use the bubble level on the sides of the window to ensure it is level vertically.
Once you are sure it is perfectly square and level on all four sides, it’s time to attach the window to the rough opening. Nail or screw the flanges on the window into the shims and framing. Go slow, as you don’t want to jostle a shim out of place with the force of hammering.
For especially large and heavy bow window installation jobs, the manufacturer of the window may have built support cables into the window. These would support the weight by going through eye hooks screwed into the header. The hooks are hidden behind the siding on the exterior wall.
Some windows have bow nuts on the bottom that you can adjust to tighten the cable.
Because the bow window extends outside the exterior wall of the home, you should enclose the bottom and top with soffits. The window manufacturer may include these pieces as part of the window. Otherwise, you may need to create them.
Add insulation around the window frame on the exterior of the home. Make sure you plug all gaps that could allow cold air to leak into the home.
Replace any siding materials that you peeled back or cut off during the bow window installation. You may want to peel back quite a bit of the existing siding to make the installation look more natural rather than having a series of small replacement pieces of siding around the window.
Add any insulation as required on the interior of the window frame. Add drywall to patch areas where you removed drywall earlier. Allow time to mud and sand the wall, as well. Or you could hire a local drywall repair contractor to do the work and then paint the wall to match what’s already in the room.
You can replace the molding around the window at any time, but you may want to wait until after the drywall is repaired and painted. If the new window is larger than the original, you’ll probably have to replace the molding.
Hiring a professional window contractor costs $300 to $1,900 per bow window, and that’s not including the cost of the bow window itself, which averages around $3,900. But this is one project that you shouldn’t DIY unless your day job involves carpentry and installing windows.
Bow window installation requires structural changes to your walls, and it may involve rerouting electrical wires. It’s an extremely challenging job to do correctly that requires a lot of skill to keep the window, ceiling, and walls secure and supported.
Bottom line: Hire a local window installer to make sure this job is done right.
We have used Window Warriors many times with no issues. They arrived on time and were very professional . We have pets and Window Warrior team treated them very well, well trusted team.
I am highly satisfied with the window replacement service I received; the professionals from Savvy Exteriors were punctual and did an amazing job that exceeded my expectations.
I hired windows depot USA of central to install new windows in house in Oshawa. Ilya was very professional from the start, not only did he offered a great price, he also made sure the installation was on time. I am very satisfied with final outcome. The windows look great and the overall...
The team is awesome!! I can generally pick up and clean throughout the week, but they CLEAN! Windows, stair rails, microwave. All the things I can’t ever seem to get to regularly. The house looks and smells great after they leave.
Description says they handle window repair including rotten hardwood - they called me back right away but didnâ t leave a voicemail. I followed up 3 days later and they said they donâ t do that kind of work.
We had a gutter blockage that was causing water to sheet down the side of the house and ultimately it started to come in at a window (need mortar people next). Called around 7:30am, and he responded by 8am. He was able to come out the same morning and do a look over and clean out. He also...
From average costs to expert advice, get all the answers you need to get your job done.
Considering a bow window for your dream reading nook? Find out everything you need to know about bow window prices, permit and labor costs, and more.

The cost of new windows heavily depends on their size, but other factors come into play as well. This guide breaks down window costs based on various factors so you can make an informed budget for this project.
Discover the cost to install window trim. Learn about price factors, labor, materials, and tips to save on your window trim installation project.

Are you deciding on a new look for your home? We discuss the benefits and drawbacks of a bay window vs. bow window to help you decide.
Wondering who to hire for window installation? Compare window installers vs. contractors and see how pros handle measurements, removal, and sealing.

Looking for examples of Victorian windows? Explore our round-up of photos and details of some of the most common and charming Victorian-style windows.