
•
Discover the average chimney tuckpointing cost, key price factors, and expert tips to help you budget and save on your next chimney repair project.
Explore the do’s and don’ts of chimney painting

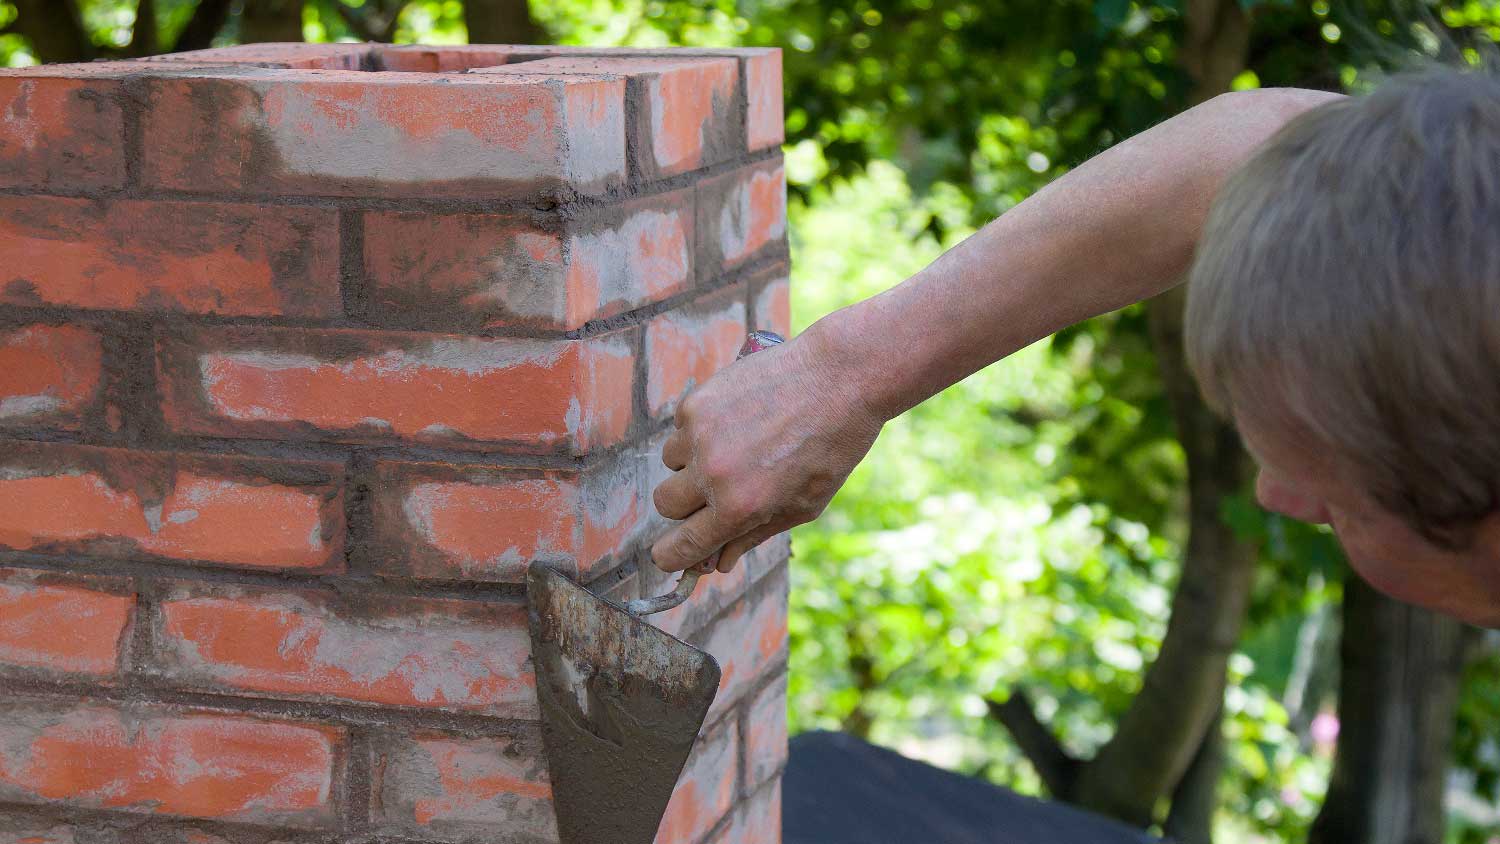
Keeping a brick chimney in working order is no small feat, especially if that chimney is older than you even know. While using regular paint isn’t exactly advisable for your brick chimney, there are plenty of options you can go with that will help you freshen up the look of your brick exterior. Here’s how to paint a brick chimney (without using actual paint) and keep it looking sharp for a long time.

If you’re ready to tackle this project, there are a few things you should prepare before you apply the sealant.
Painting your chimney with regular paint is not a great idea, but using a vapor-permeable sealant is a safe alternative to keep the brick looking fresh and help it last as long as possible. Check out the Chimney Safety Institute of America’s list of approved products to choose the vapor-permeable sealant that’s best for you based on your budget and availability.
For most brick chimneys, one gallon of vapor-permeable sealant will cover 100 to 150 square feet of brick. Measure your exposed chimney area before purchasing sealant so that you don’t spend too much on products you won’t use.
This DIY requires several days to complete, and you’ll spend most of this time waiting for the brick and mortar, caulk, and sealant to dry. Since your chimney is exposed to the elements, choose a mild week with low humidity and no rain in the forecast. The sealant alone takes at least 24 hours to dry, and it’s important that it stays completely dry during this time. Otherwise, you may have to redo your work completely.
First, remember: You’re going to have to get on top of your roof. We want to reiterate that this can be very dangerous for someone without experience and should never be attempted without full safety precautions. If this makes you nervous at all, put down the ladder and call a pro instead. If you’re familiar with the safety protocols involved in working on a roof and are confident that you can follow them to a tee, keep on chugging.
Lean your ladder against your home, and don’t place it in front of any doorways. Along with that little piece of advice, follow all other common ladder safety tips to ensure that you don’t fall and end up damaging your home or, worse, injuring yourself or others.
If your roof is slanted at an extreme angle, you need to use a safety harness and rope with a high minimum breaking strain (the force that would make a rope fail). Attach a roof anchor into the rafters at the roof’s peak, then attach your rope to the anchor and your harness. If you do happen to slip while working, this will stop you from taking a very dangerous and potentially fatal fall.
Before you start painting, thoroughly clean your chimney. A sturdy scrub brush and a bucket of water with mild soap or dish detergent will do the trick. Just be sure to get all the cracks and crevices before moving on to the next step.
If someone sealed or painted your chimney in the past, use 80- to 100-grit sandpaper to scrub off as much peeling and flaking material as possible. Then, inspect your chimney for missing or damaged brick mortar. If you find areas that need some attention, patch them using new brick mortar and a drywall knife. Allow your patchwork to dry and set for 24 to 36 hours.
Next, fill in any large holes or gaps in the brick with caulk to ensure a smooth surface and prevent water from ruining your paint. You want to seal any gaps larger than 1/16th of an inch. Let the caulk cure completely before moving on—usually about one to two days for chimney caulk.
Before you begin painting your vapor-permeable sealant onto the brick, cover the roof at the base of your chimney, the ground around your chimney, and the ladder with drop cloths. Use painter’s tape if necessary to secure the cloth to the roof. The drop cloths will catch any stray paint that may fall or blow in the wind, making cleaning up much easier.
Since bricks are porous, it’s much more effective to use a paint sprayer to apply your vapor-permeable sealant. However, if you can’t use a sprayer for any reason, you can use a paint roller and a brush to get the same effect—it may just take a slightly longer time and more detail to get full coverage.
Once you’ve got all the bricks covered, you can come back in with a small touch-up brush to fill in any hard-to-reach areas or odd angles that your sprayer or roller didn’t touch.
The cost of painting a brick chimney will depend on several factors, including the size of your chimney, its condition, and your location. In general, costs can range from about $200 to about $500 to paint it yourself. If you hire a pro, that price will go up to $400 to $1,500.
The size of your chimney is the largest factor, though, when it comes to painting costs. If it’s particularly tall or otherwise difficult to access, this will add to a pro’s labor costs.
The condition of the brick also adds to the scope of the project. Expect to pay more if you need to hire a local chimney repair technician for masonry repairs or a thorough cleaning. The average cost to repair a chimney is about $455.
Since you’ll need a lot of supplies and safety equipment for this DIY, the costs can add up quickly. You may be able to save a small amount on labor costs by doing it yourself, but you have to consider if the savings are worth it given the risks that come with working on top of your roof and the general labor involved. Plus, adding a protective coating on a chimney isn’t easy—it can cause long-term damage if done incorrectly.
The pros are called “pros” for a reason. They’re well-versed in safety protocols and know how to complete a job quickly with no incidents. We always recommend hiring a pro for any jobs on or around your home’s roof. When it comes to your safety, you can never be too cautious.
Positive experience. As previously stated, the replacement/repair could not be completed (no fault of the plumbing tech) b/c misinformation was rec?d by property management maintenance. Thanks to the plumbing tech for your efforts. Appreciate you!
 The Waterworks
Carpet repair done well. Scheduling was easy. Showed up on time.
 BR Flooring Installation
I would recommend this company to anyone! He showed up on time, was friendly, completed a very difficult repair on our dryer vent cover, was responsive, and pricing was extremely fair and competitive. I would have him back to do any of our repairs or cleanings without hesitation!
 U.S.A. Dryer Vent, LLC
Ace Fireplace Services came to the rescue for my chimney repair. They were quick to pinpoint the issue and worked their magic to fix it. My chimney is now in excellent shape, and I'm a satisfied customer.
 Ace Fireplace Services
100% satisfied with the work done by Supreme Brick & Chimney. Josh responded to my Angi request very quickly and squeezed our house into his schedule only a couple business days out. The chimney cleaning process was extremely clean with ZERO dirt going anywhere besides in Josh's vacuum. Very...
 Supreme brick & chimney
On Sunday 2/26 I requested quotes via Angi from 4 refrigerator repair businesses. Northwest Appliance responded to me Monday morning (2/27) and my refrigerator was repaired by noon the same day. Great communication, they did everything they said they would. The technician had the parts on...
Description says they handle window repair including rotten hardwood - they called me back right away but didnâ t leave a voicemail. I followed up 3 days later and they said they donâ t do that kind of work.
 Window-Gurus
They arrived on time repairs performed quickly very porvesinal
 Property-Tech Industries
Mike and his crew did a great job working through a very challenging task. The job required a full demolition of our ceiling, removing the blown in insulation and removing all the material from the site daily. It involved multiple inspections from the city and many challenges to get the...
 Rising Height Unlimited
Mr. Lopez was super nice and professional. He repaired our drywall just as he described during the estimate phase. Our dining room wall looks great again! Thanks Mr. Lopez!
From average costs to expert advice, get all the answers you need to get your job done.
Discover the average chimney tuckpointing cost, key price factors, and expert tips to help you budget and save on your next chimney repair project.
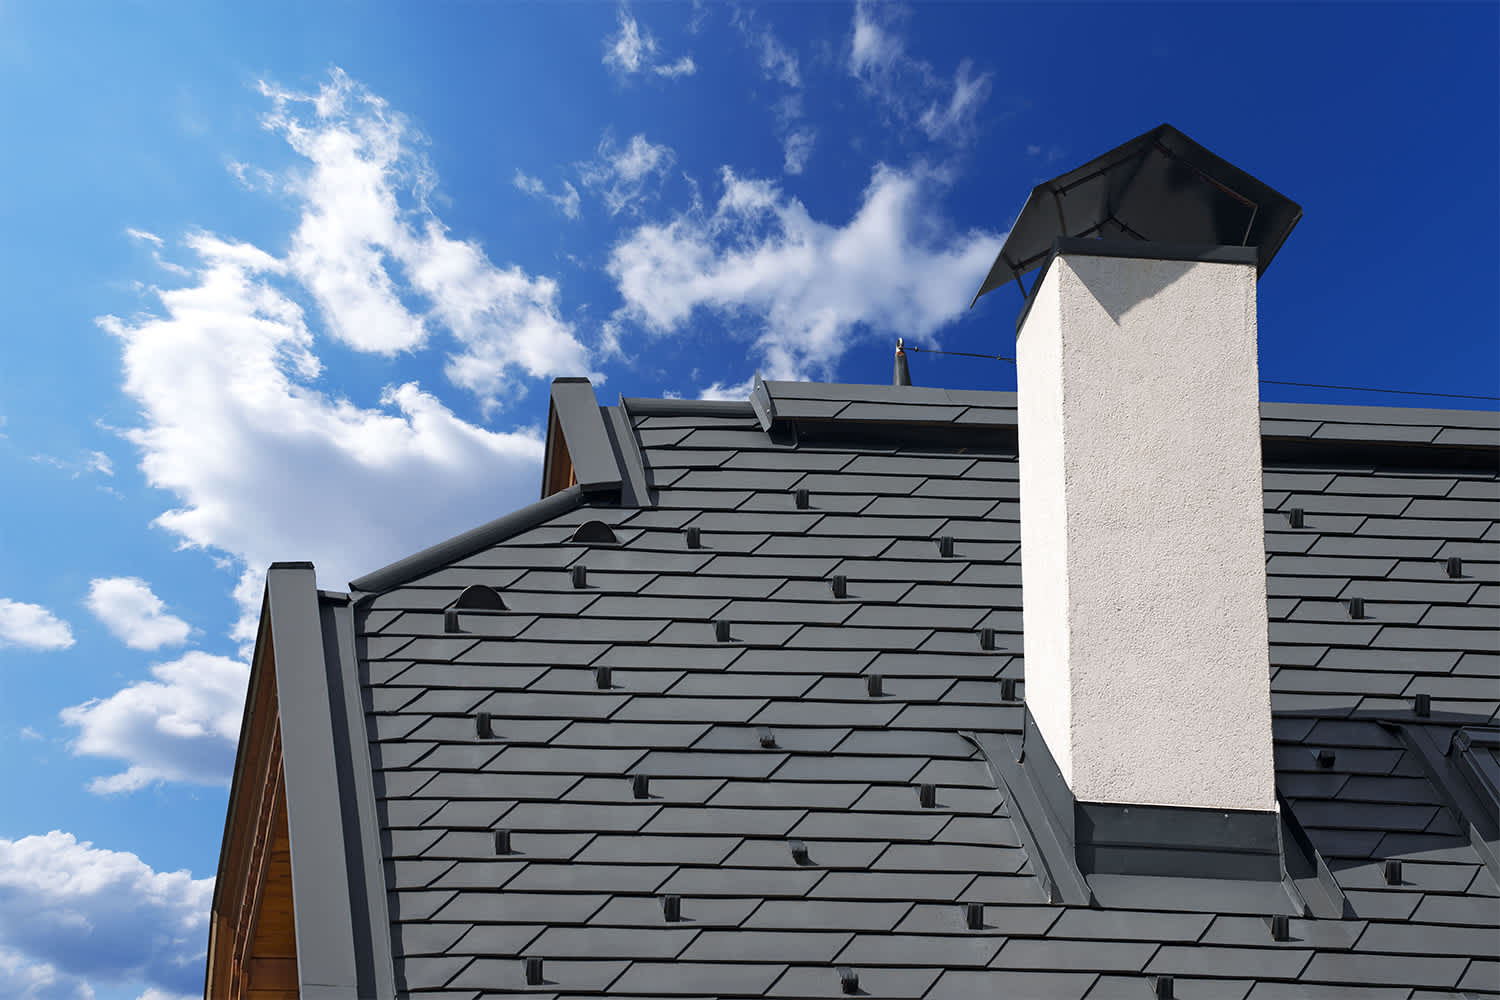
Replacing your chimney increases home value and prevents hazardous structural damage. Learn how much to budget for chimney replacement costs.
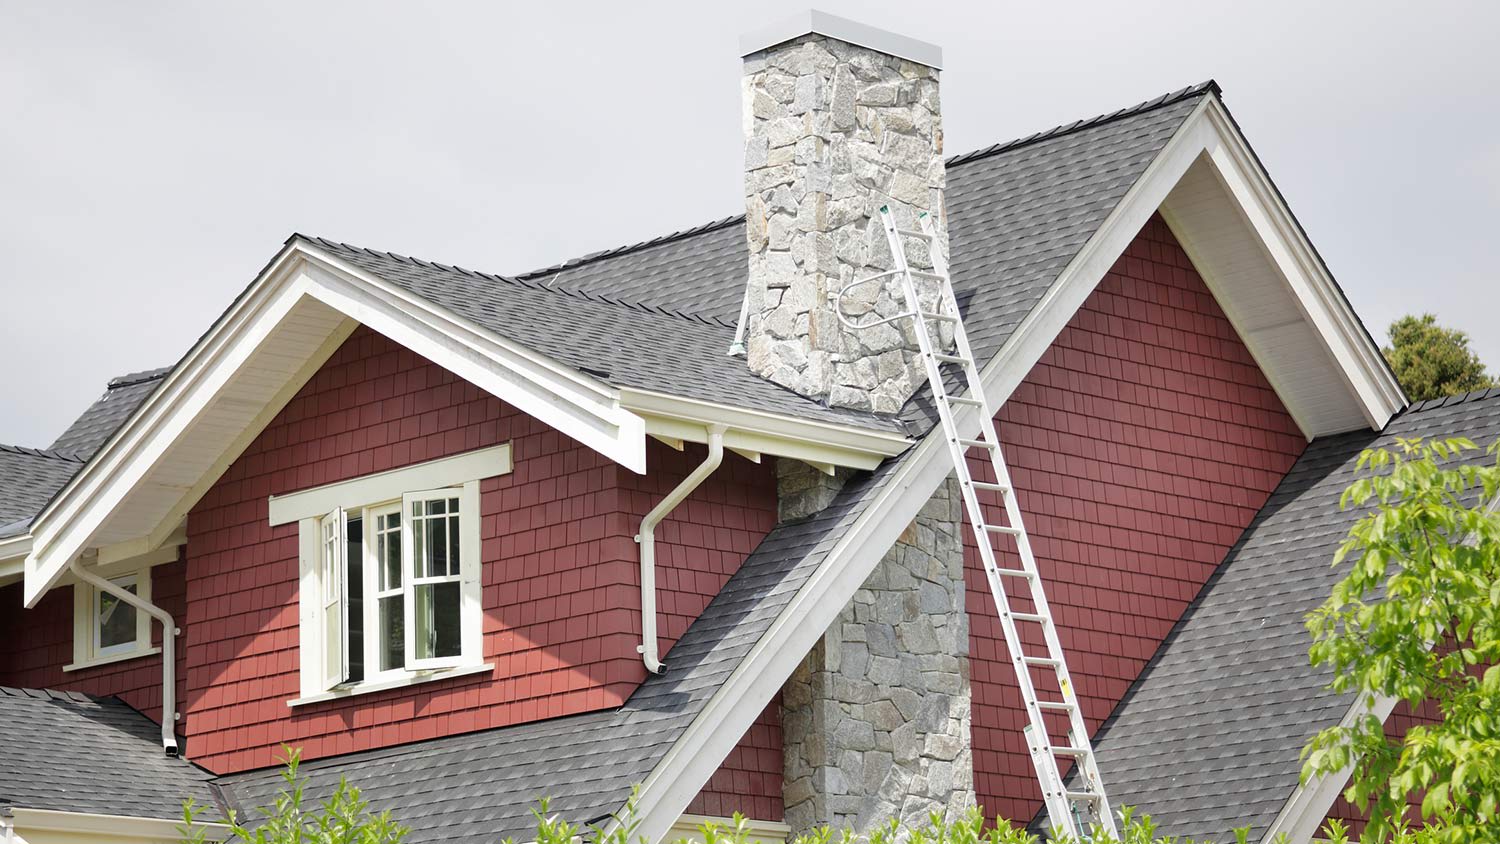
The typical chimney removal costs between $1,000 and $10,000, but much of that price depends on whether it’s a full or partial removal. Get the full cost breakdown here.
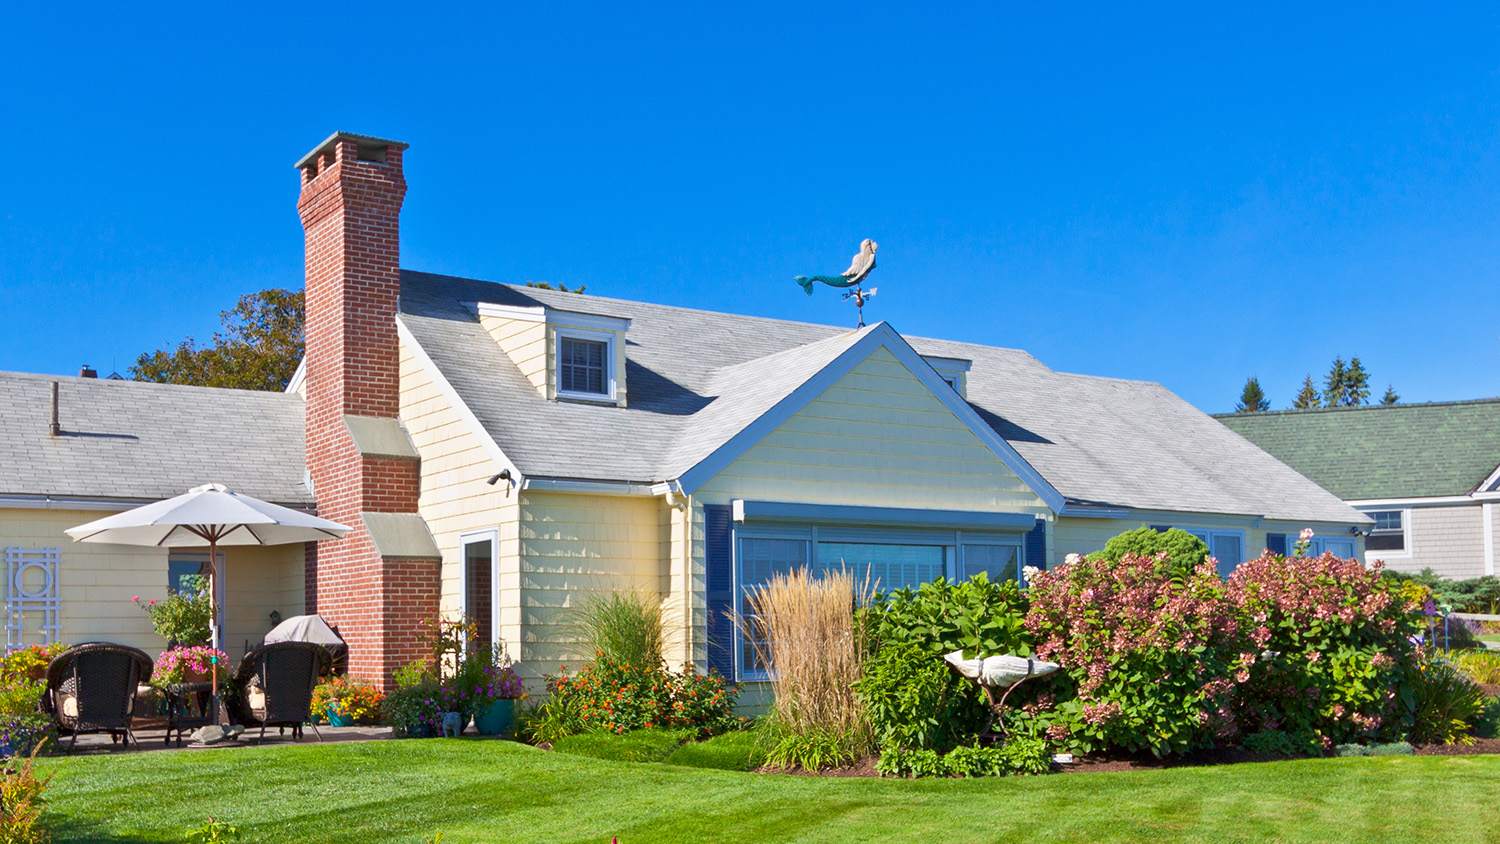
Protecting your home is priority #1 and that's why you need the best chimney siding ideas. Keep your family safe and your home visually appealing.
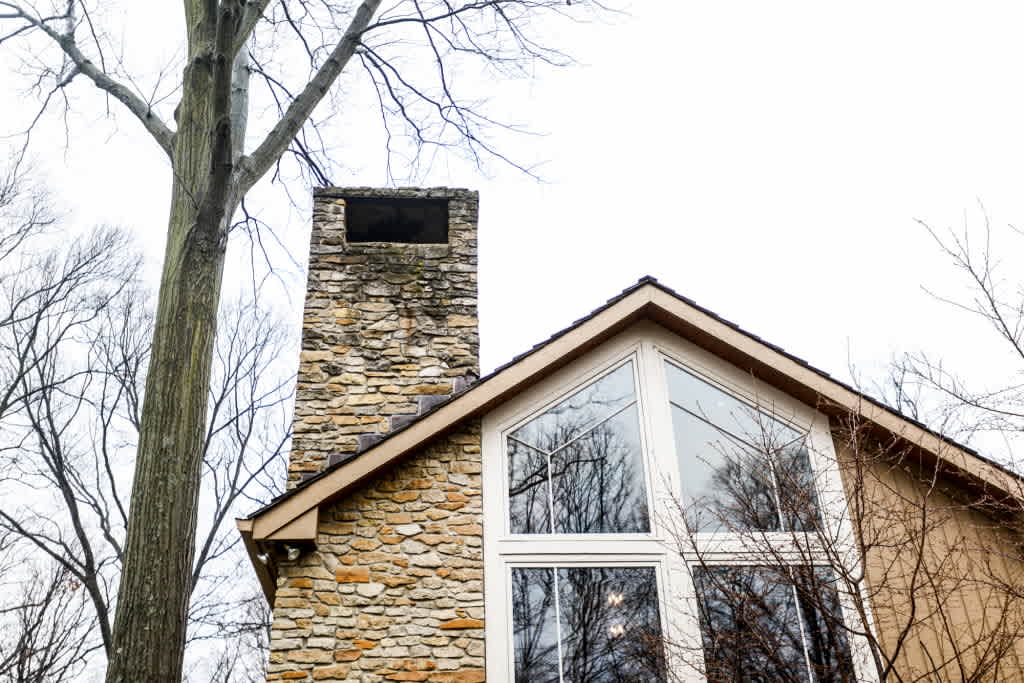
Avoid expensive chimney-related scams and learn more about maintaining your home's chimney.

Looking for painted fireplace ideas? Check out these eight top-notch paint colors to help you pick the perfect shade for your fireplace renovation.