How to Build a DIY Greenhouse
Use your green thumb to build your own custom greenhouse


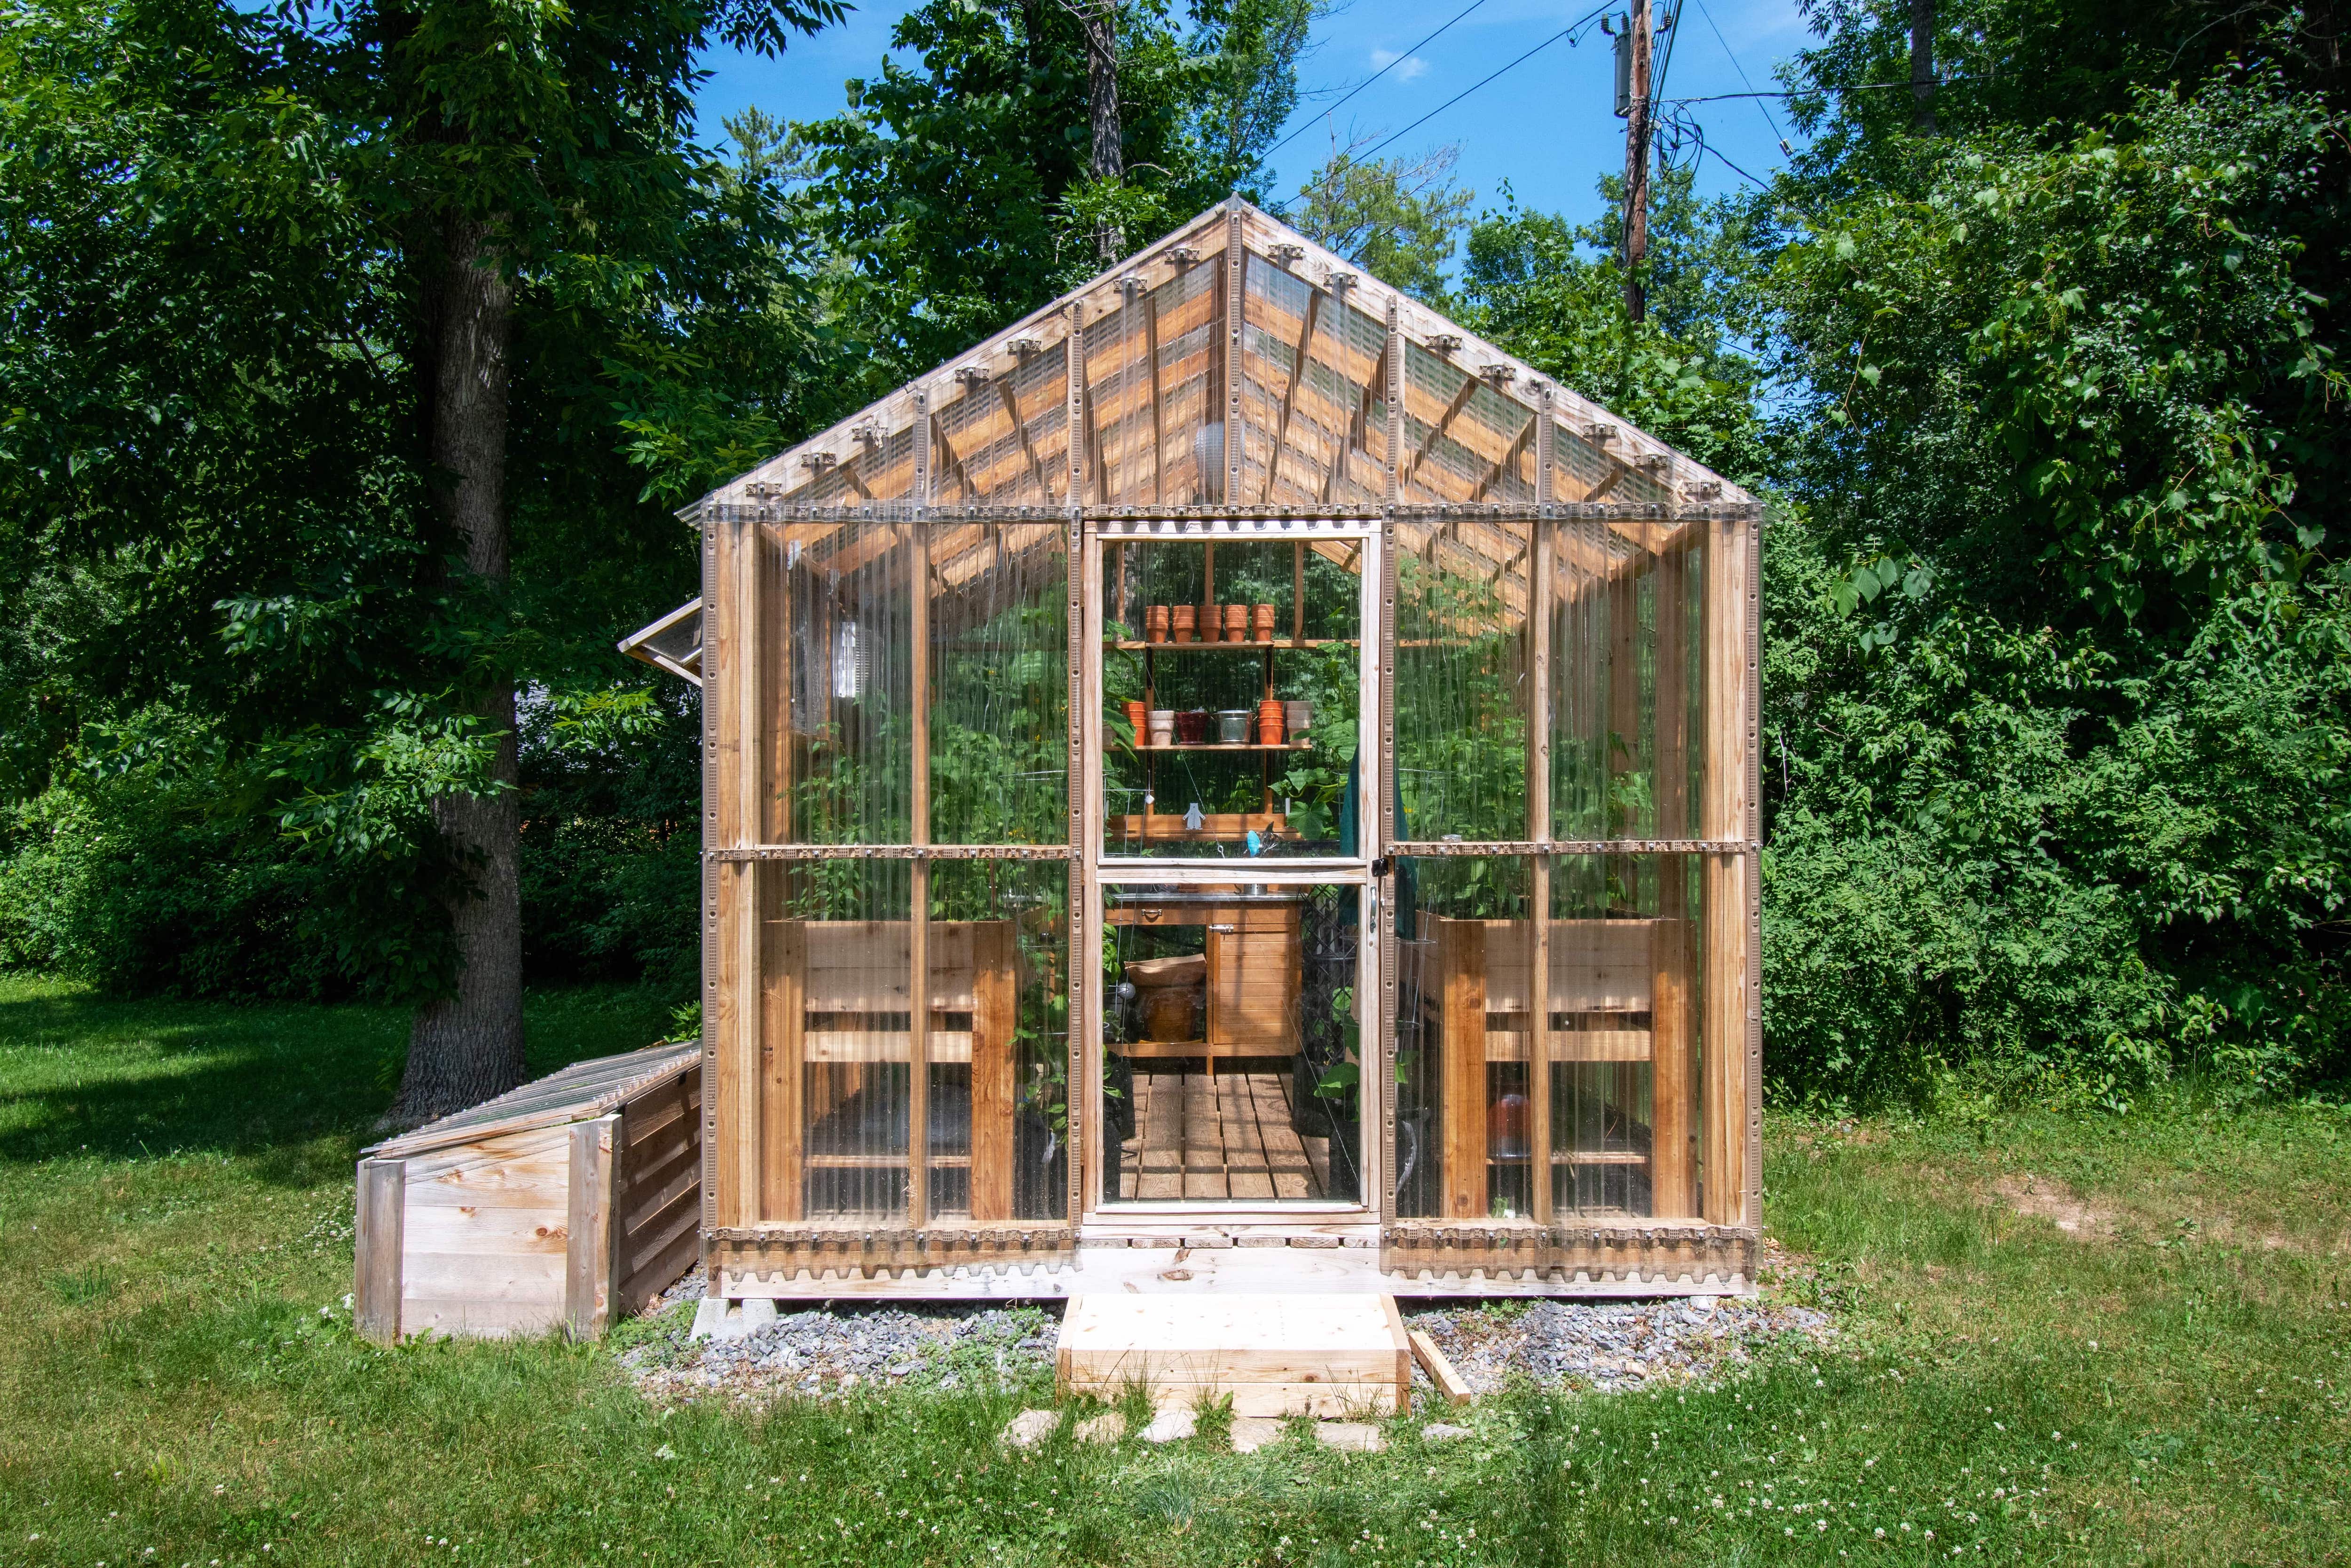
With a simple online search, you’ll quickly see how many options there are for building a DIY greenhouse. This guide will teach you how to build a wood frame greenhouse that’s small and simple, yet sturdy.
Difficulty: Hard (4/5)
This project is rated hard for those without building and woodworking experience. However, that rating changes to easy (2/5) for those with basic carpentry experience.
Project time: 1–2 days
How long it takes depends on your skill level and whether or not you have someone to help.
Cost: About $200–$400 The cost of a greenhouse will vary depending on size, design, and chosen materials.
Tools
Measuring tape
Pencil
Air nailer or power drill
Circular saw
16d framing nails
Caulking tool
Clamps
Materials
10–15 2x4 planks
Small window
Small door
Polycarbonate sheets
Caulk
Self-tapping screws with a built-in rubber washer
Things to Consider Before Building a Greenhouse
Consider these tips for building a homemade greenhouse before getting started.
Should you opt for a greenhouse kit instead?—Consider opting for a greenhouse kit instead of a complete DIY project. Kits are easier to build, and they come with all the materials you need already pre-cut to the correct dimensions. This is especially true if you’d like to build a small greenhouse.
Do you have building experience?—This DIY requires you to measure, cut, and drill wood planks, as well as build structurally secure wall frames to support a window and door. If this project is outside of your wheelhouse, consider hiring a professional contractor or opting for a DIY greenhouse kit.
Do you have a helping hand?— A project of this size will require an extra hand at times to ensure safety while building.
Can your backyard support a greenhouse?—Is your backyard large and flat enough to support a separate structure such as a greenhouse? Do you have the right climate factors to support growth (more sun than shade, low winds, weather conditions, etc.)?
Do you have the necessary permissions?—A greenhouse may require special permissions and restrictions by your HOA or local zoning board. The fines for breaking the rules can be hefty, so make sure you are granted the necessary approvals before you build.
How to Build a DIY Greenhouse Step-by-Step

Use this plan to build a small 8-by-6-foot greenhouse using 2x4 plywood planks.
Note: It’s important to choose your door and ventilation window before getting started. You’ll need the specific measurements of those elements in order to build the wall frames.
1. Choose a Spot and Prep the Area

When choosing a spot for your greenhouse, look for the following qualifications:
Adequate sunlight
Flat ground
Low winds
Once you’ve found the perfect spot, prep the area by removing any rocks, stumps, or trees if necessary. Measure out the length and width of the greenhouse and mark the corners using cinder block footers.
2. Frame the Walls

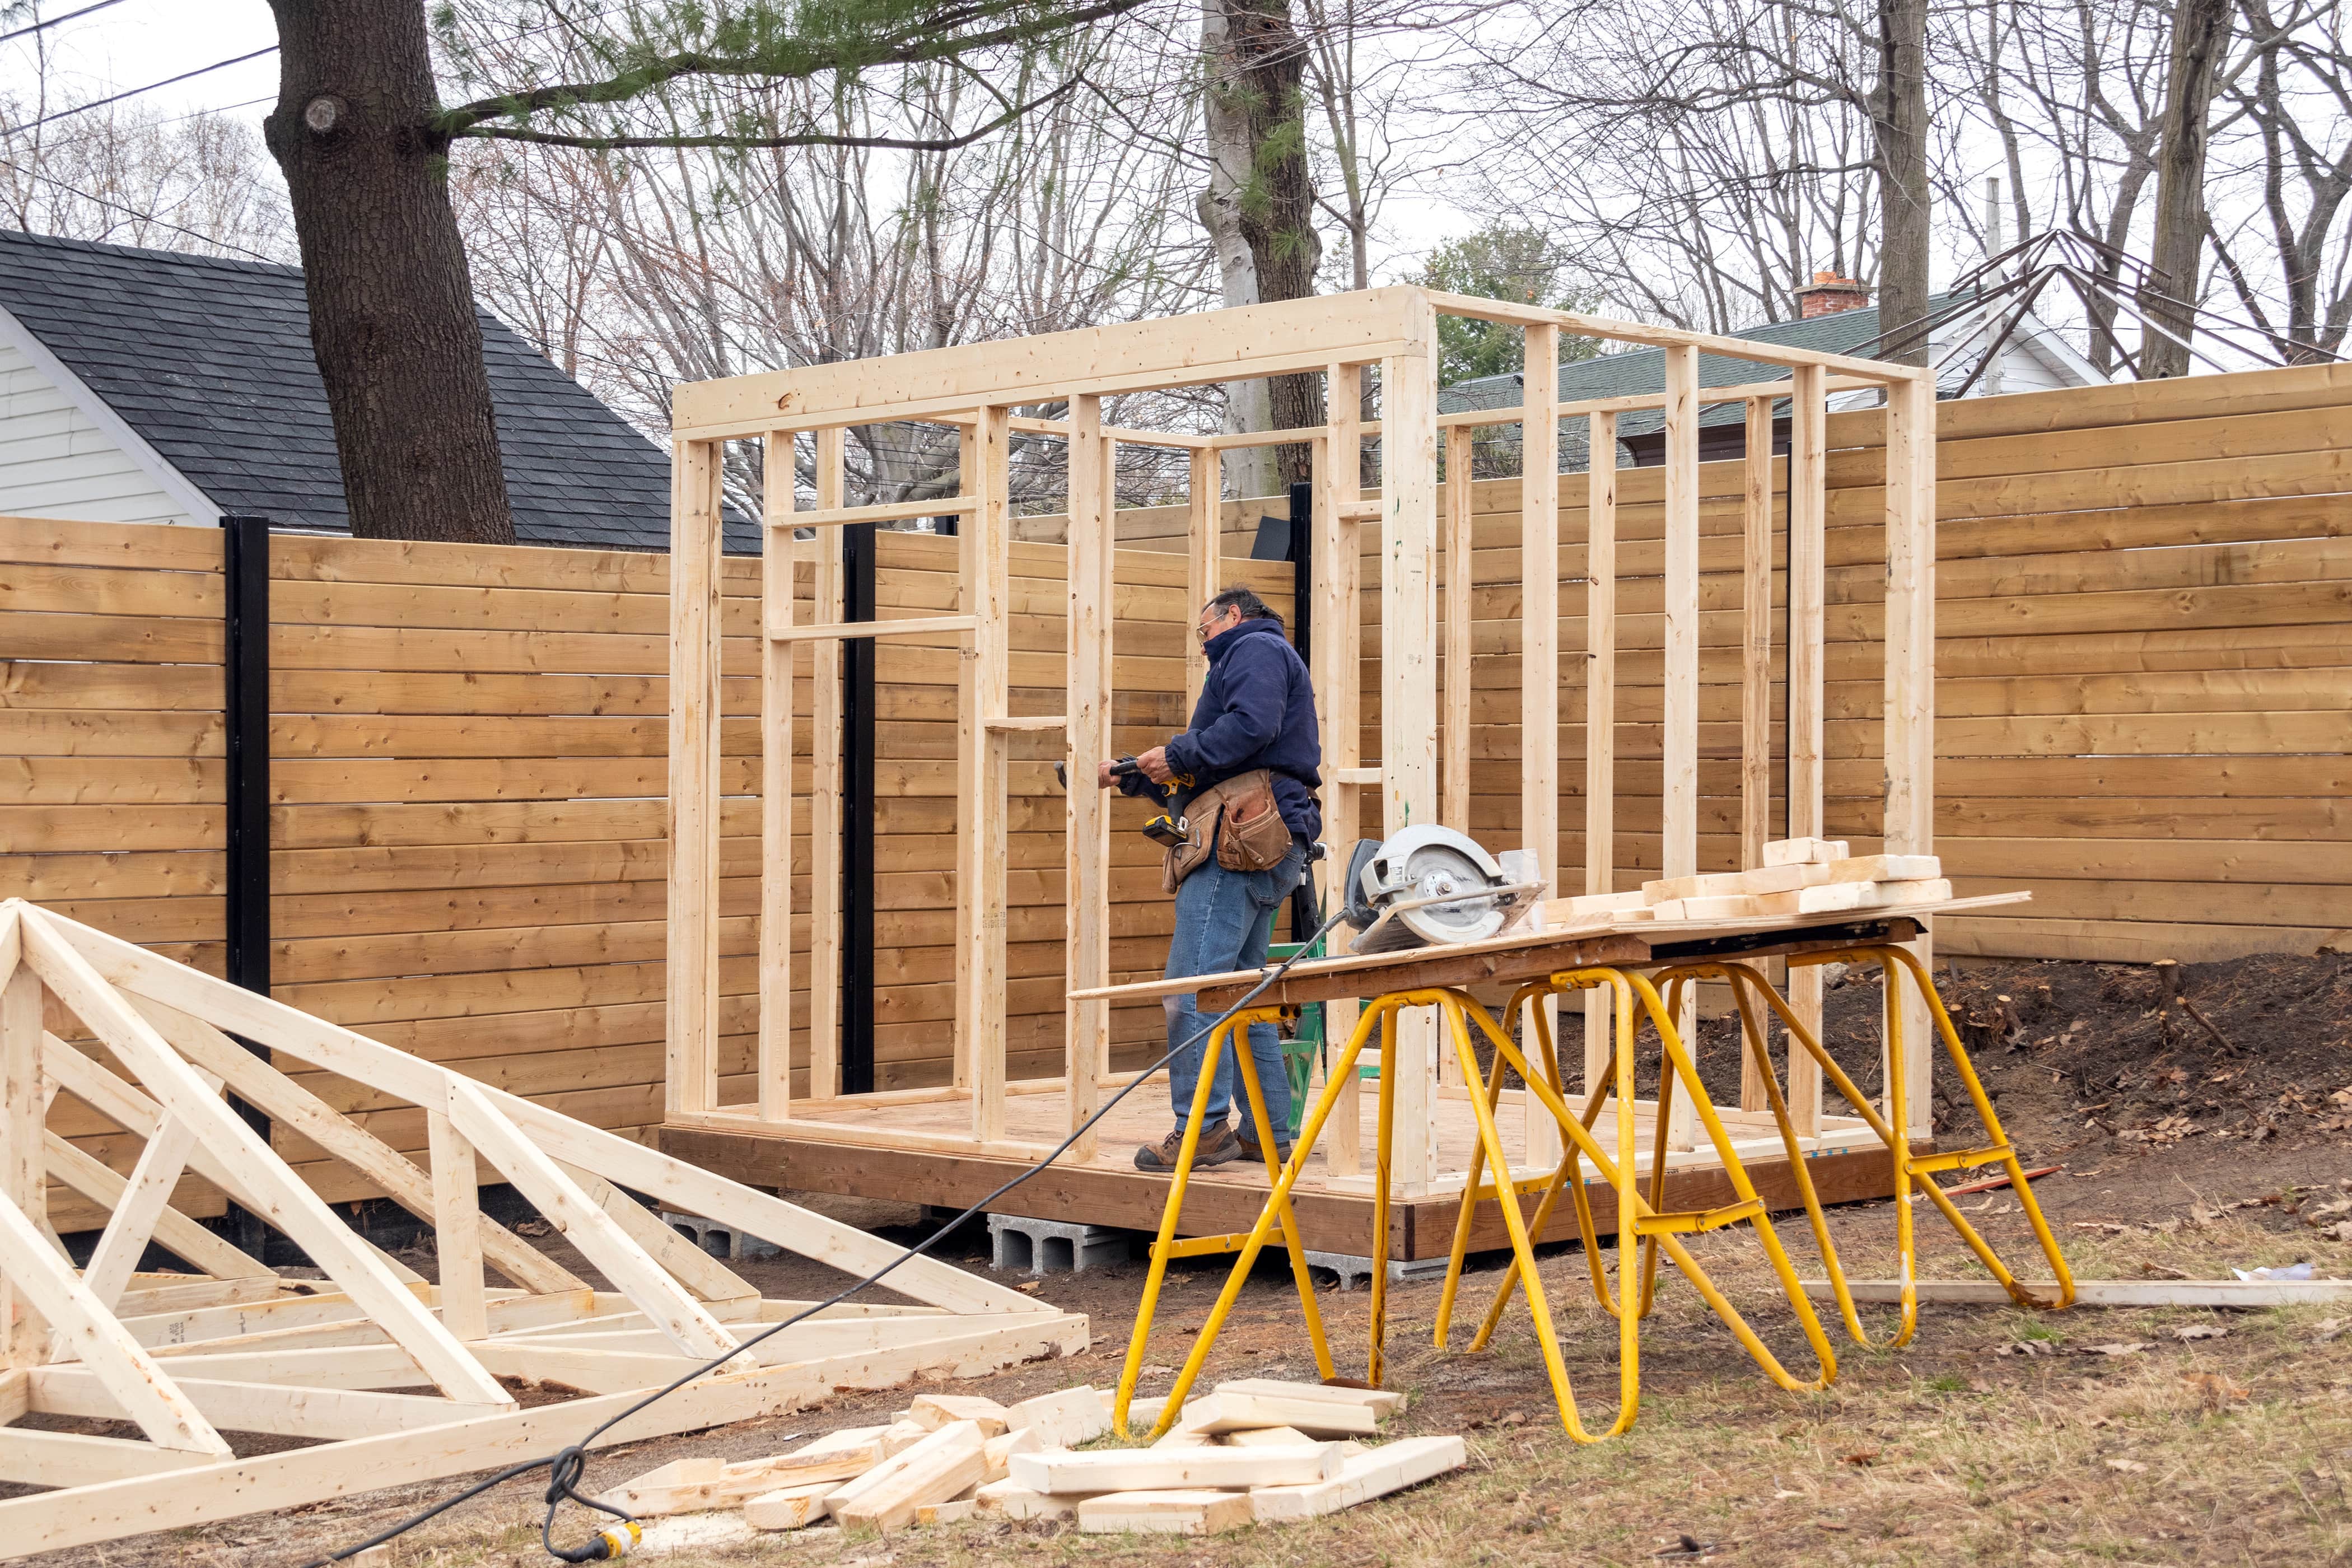
Once your greenhouse location has been picked and primed, you’re ready to start building. First things first—frame the 8-foot-by-6-foot walls.
Frame the first wall. Starting with two 8-foot 2x4 planks, use a measuring tape to mark the very center with a pencil. From the center, mark 24 inches from the left of center, and 24 inches from the right of center. These marks are where you will install additional 2x4 planks to finish the wall frame.
Secure the first wall. Use clamps to put the wall frame together without actually drilling to check that everything fits together evenly. You should have one 8-by-6-foot square with three supporting planks spaced evenly within the square.
Nail the boards in place using an air nailer or drill. If you use a drill, you will need to pre-drill the screws to prevent the wood from splitting. Repeat this bullet and the previous bullet to build the opposite wall.
Cut the planks for the front and back walls. Now it’s time to build the frames for the 6-foot front and back walls. Repeat the same process as above, just using 6-foot 2x4 planks across the top this time. You’ll still need to use 8-foot 2x4 planks for the length to keep all four walls the same height.
If the planks for your 6-foot side walls aren’t already pre-cut, you will need to cut them down on your own using a measuring tape and circular saw.
Make space for the door and window. These walls will be framed a bit differently since you’ll need to account for a door frame on one side and a small window frame for ventilation on the other. Instead of using three supporting planks like you did with the 8-foot walls, you will only need two this time.
Build the front and back wall frames. Start with the wall that will be supporting the door frame. Measure the door and install the two planks at that width from the center of the frame. Repeat this process on the other side using the measurements of the window you’ll be using.
3. Build the Roof

Cut the planks for the roof. Start with a 6-foot 2x4 plank at the base for your front-facing gable roof. Cut two additional 6-foot 2x4 planks, and measure a 45-degree-angle cut at both ends, creating a triangle when connected to the base plank. Nail these planks together, creating a point at the top, and repeat the process for the opposite side.
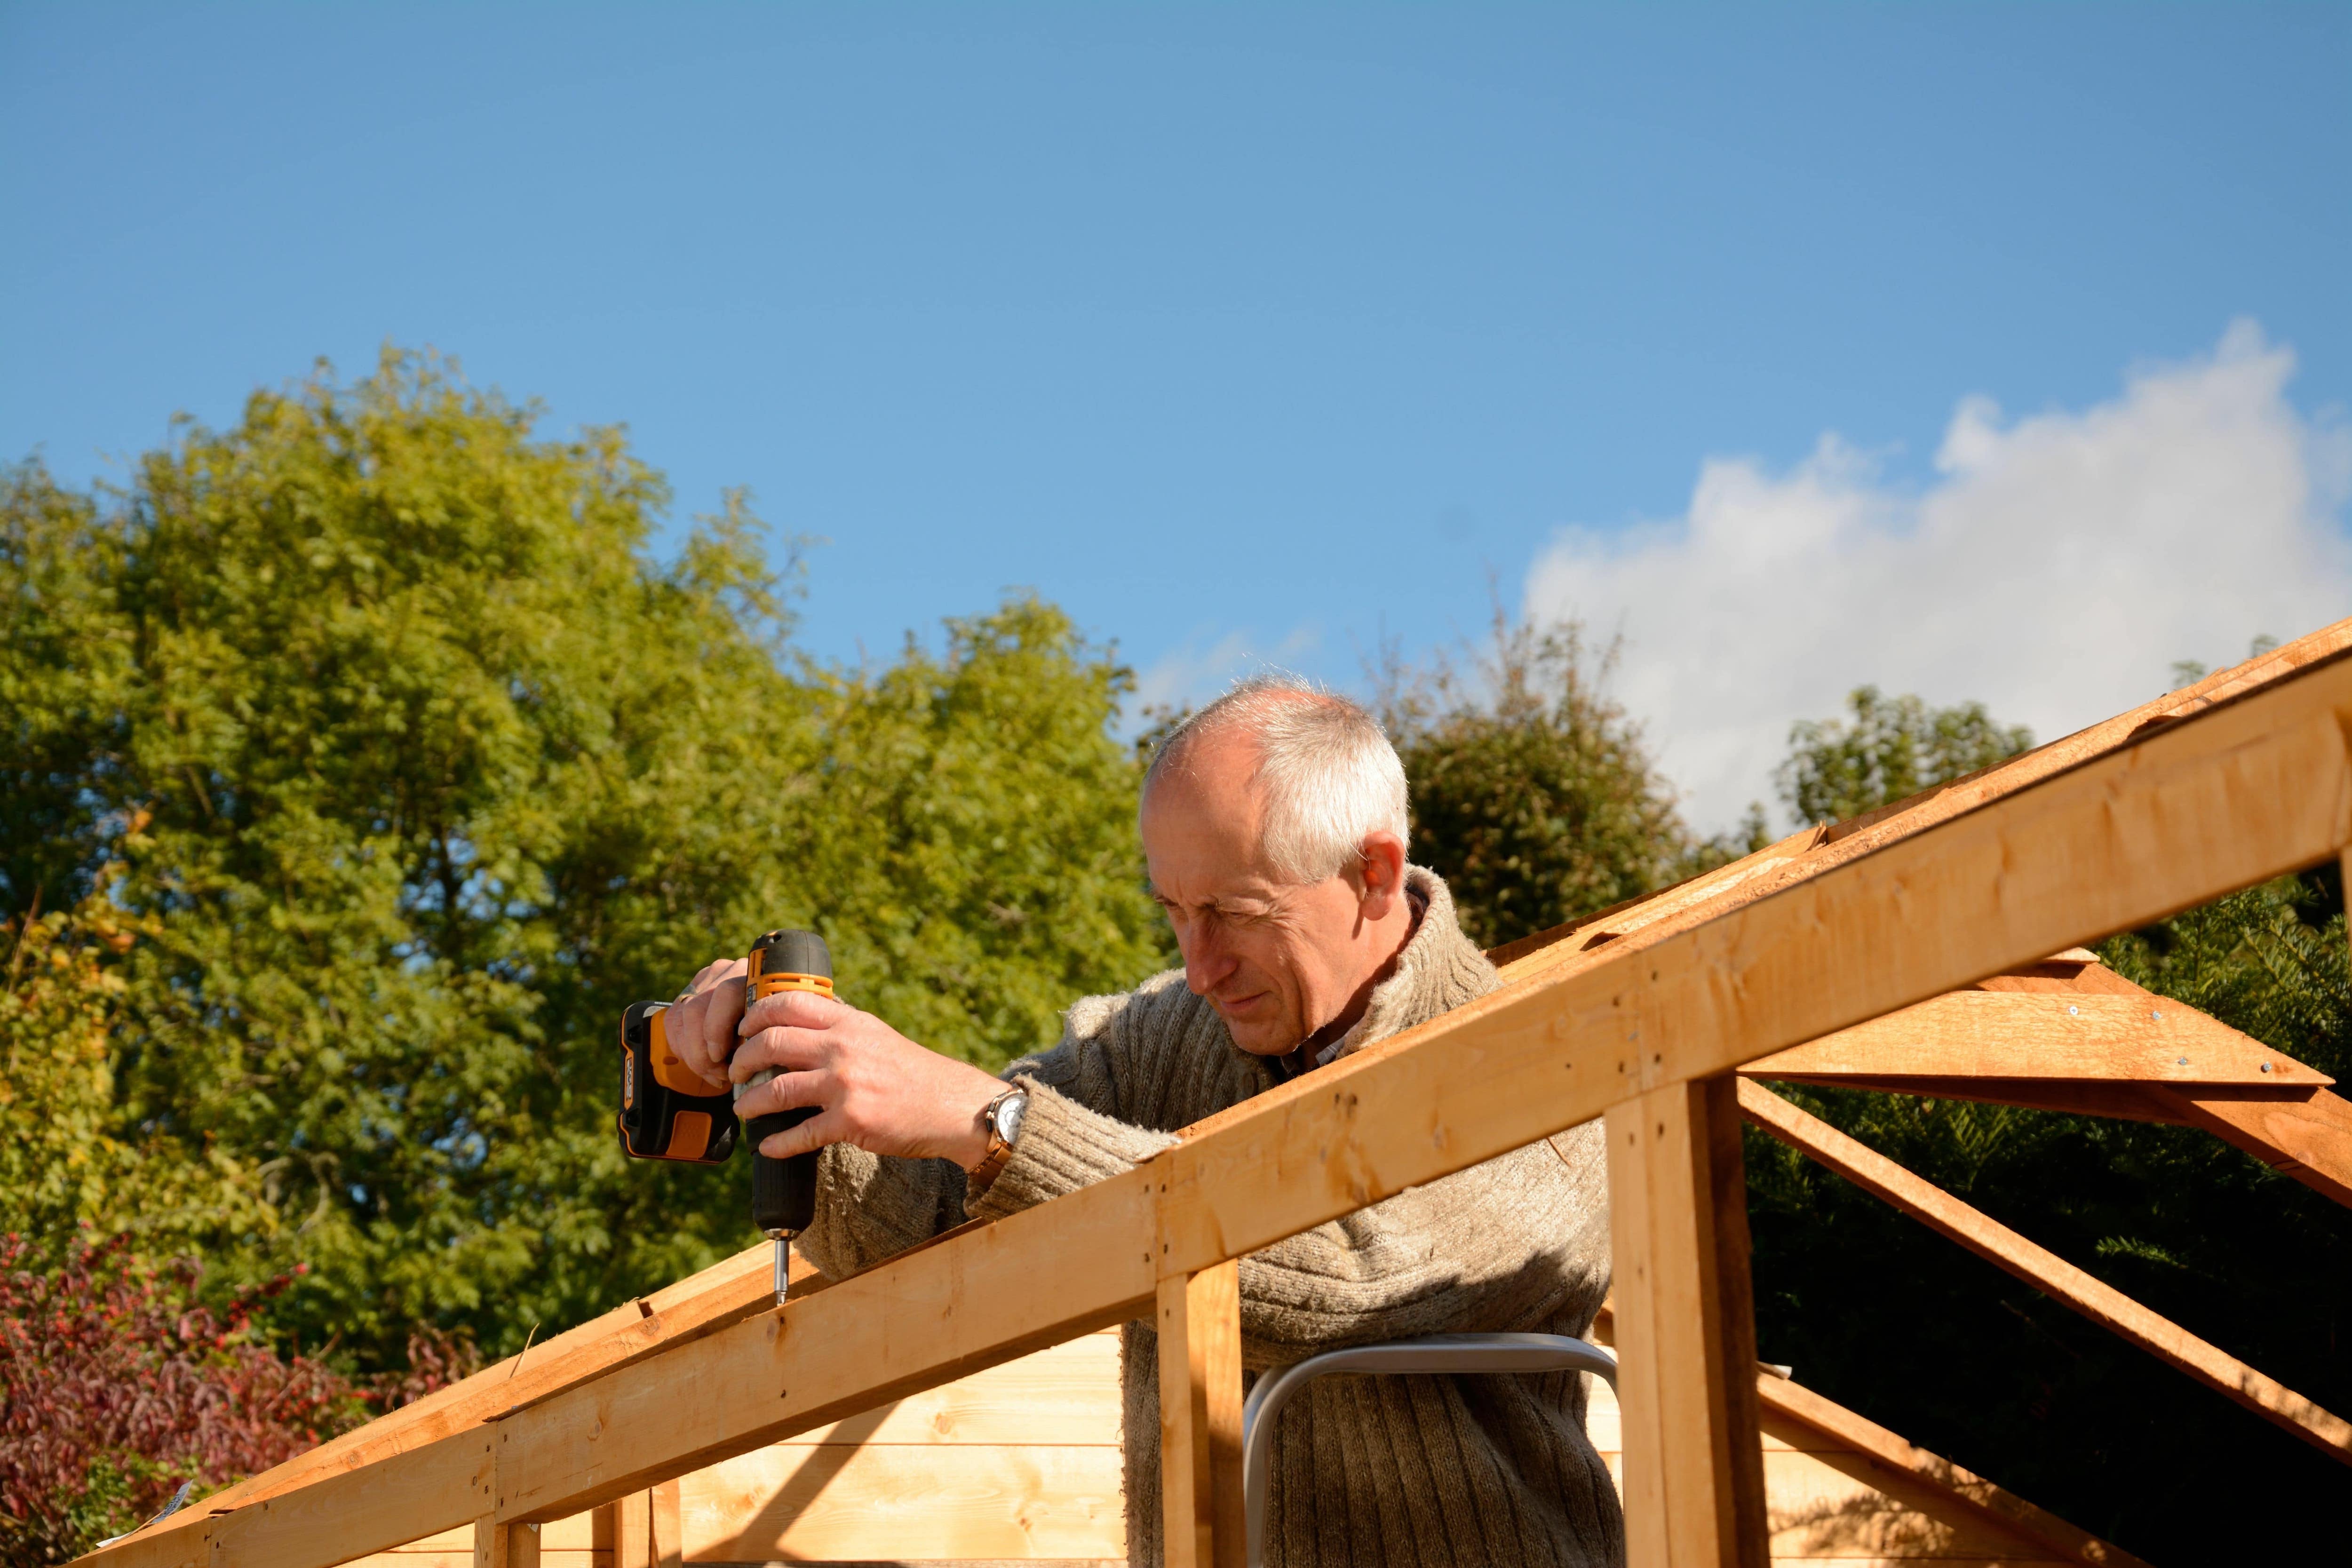
Connect both triangles together. Nail an 8-foot 2x4 plank at the top point of each triangle, connecting the two triangles together. From there, evenly measure space for two additional 8-foot planks (rafters) on either side of the roof.
Cut a 45-degree angle bevel on the edge of an 8-foot plank. This will be the base of the long side of the roof. Repeat for the other side.
Put it all together. Once all four walls frames are complete, get a helping hand to help you stand them upright and screw everything together.
4. Install the Siding

For the siding, we’ll be using polycarbonate sheets. You can order these sheets pre-cut to the measurements you need, or you can cut them on your own using a circular saw or a utility knife.
It’s best to use self-tapping screws with a built-in rubber washer. This will help keep moisture from building up, preventing mold and mildew.
Drill the polycarbonate sheet into place using the roof frame, rafters, and wall frames as anchors.
5. Install the Door and Window

Next, install the door and ventilation window. Before installing your door, test it by fitting it within the frame to make sure it fits properly. If so, move ahead by marking and installing three door hinges, followed by the installation of the door.
Once the door is in place, try opening and closing the door to make sure everything is moving properly. Depending on the door you chose, you may need to also install a padlock to keep the door still when closed.
Continue on by installing the window. Place the window in the frame and make sure it fits. If so, continue on by setting the window aside while you caulk the edges. Press the window firmly into the caulk and screw in the edges to keep it in place.
6. Build Shelves or Bring in Tables

Finally, you can build your own custom tables and shelving or simply bring in small tables to set your plants on. Add finishing touches such as lighting and heating based on your plant’s needs.
Other Greenhouse Options to DIY
Depending on your gardening needs and construction skill set, a different greenhouse option may work better for you. Consider one of the following alternatives:
Greenhouse Kits

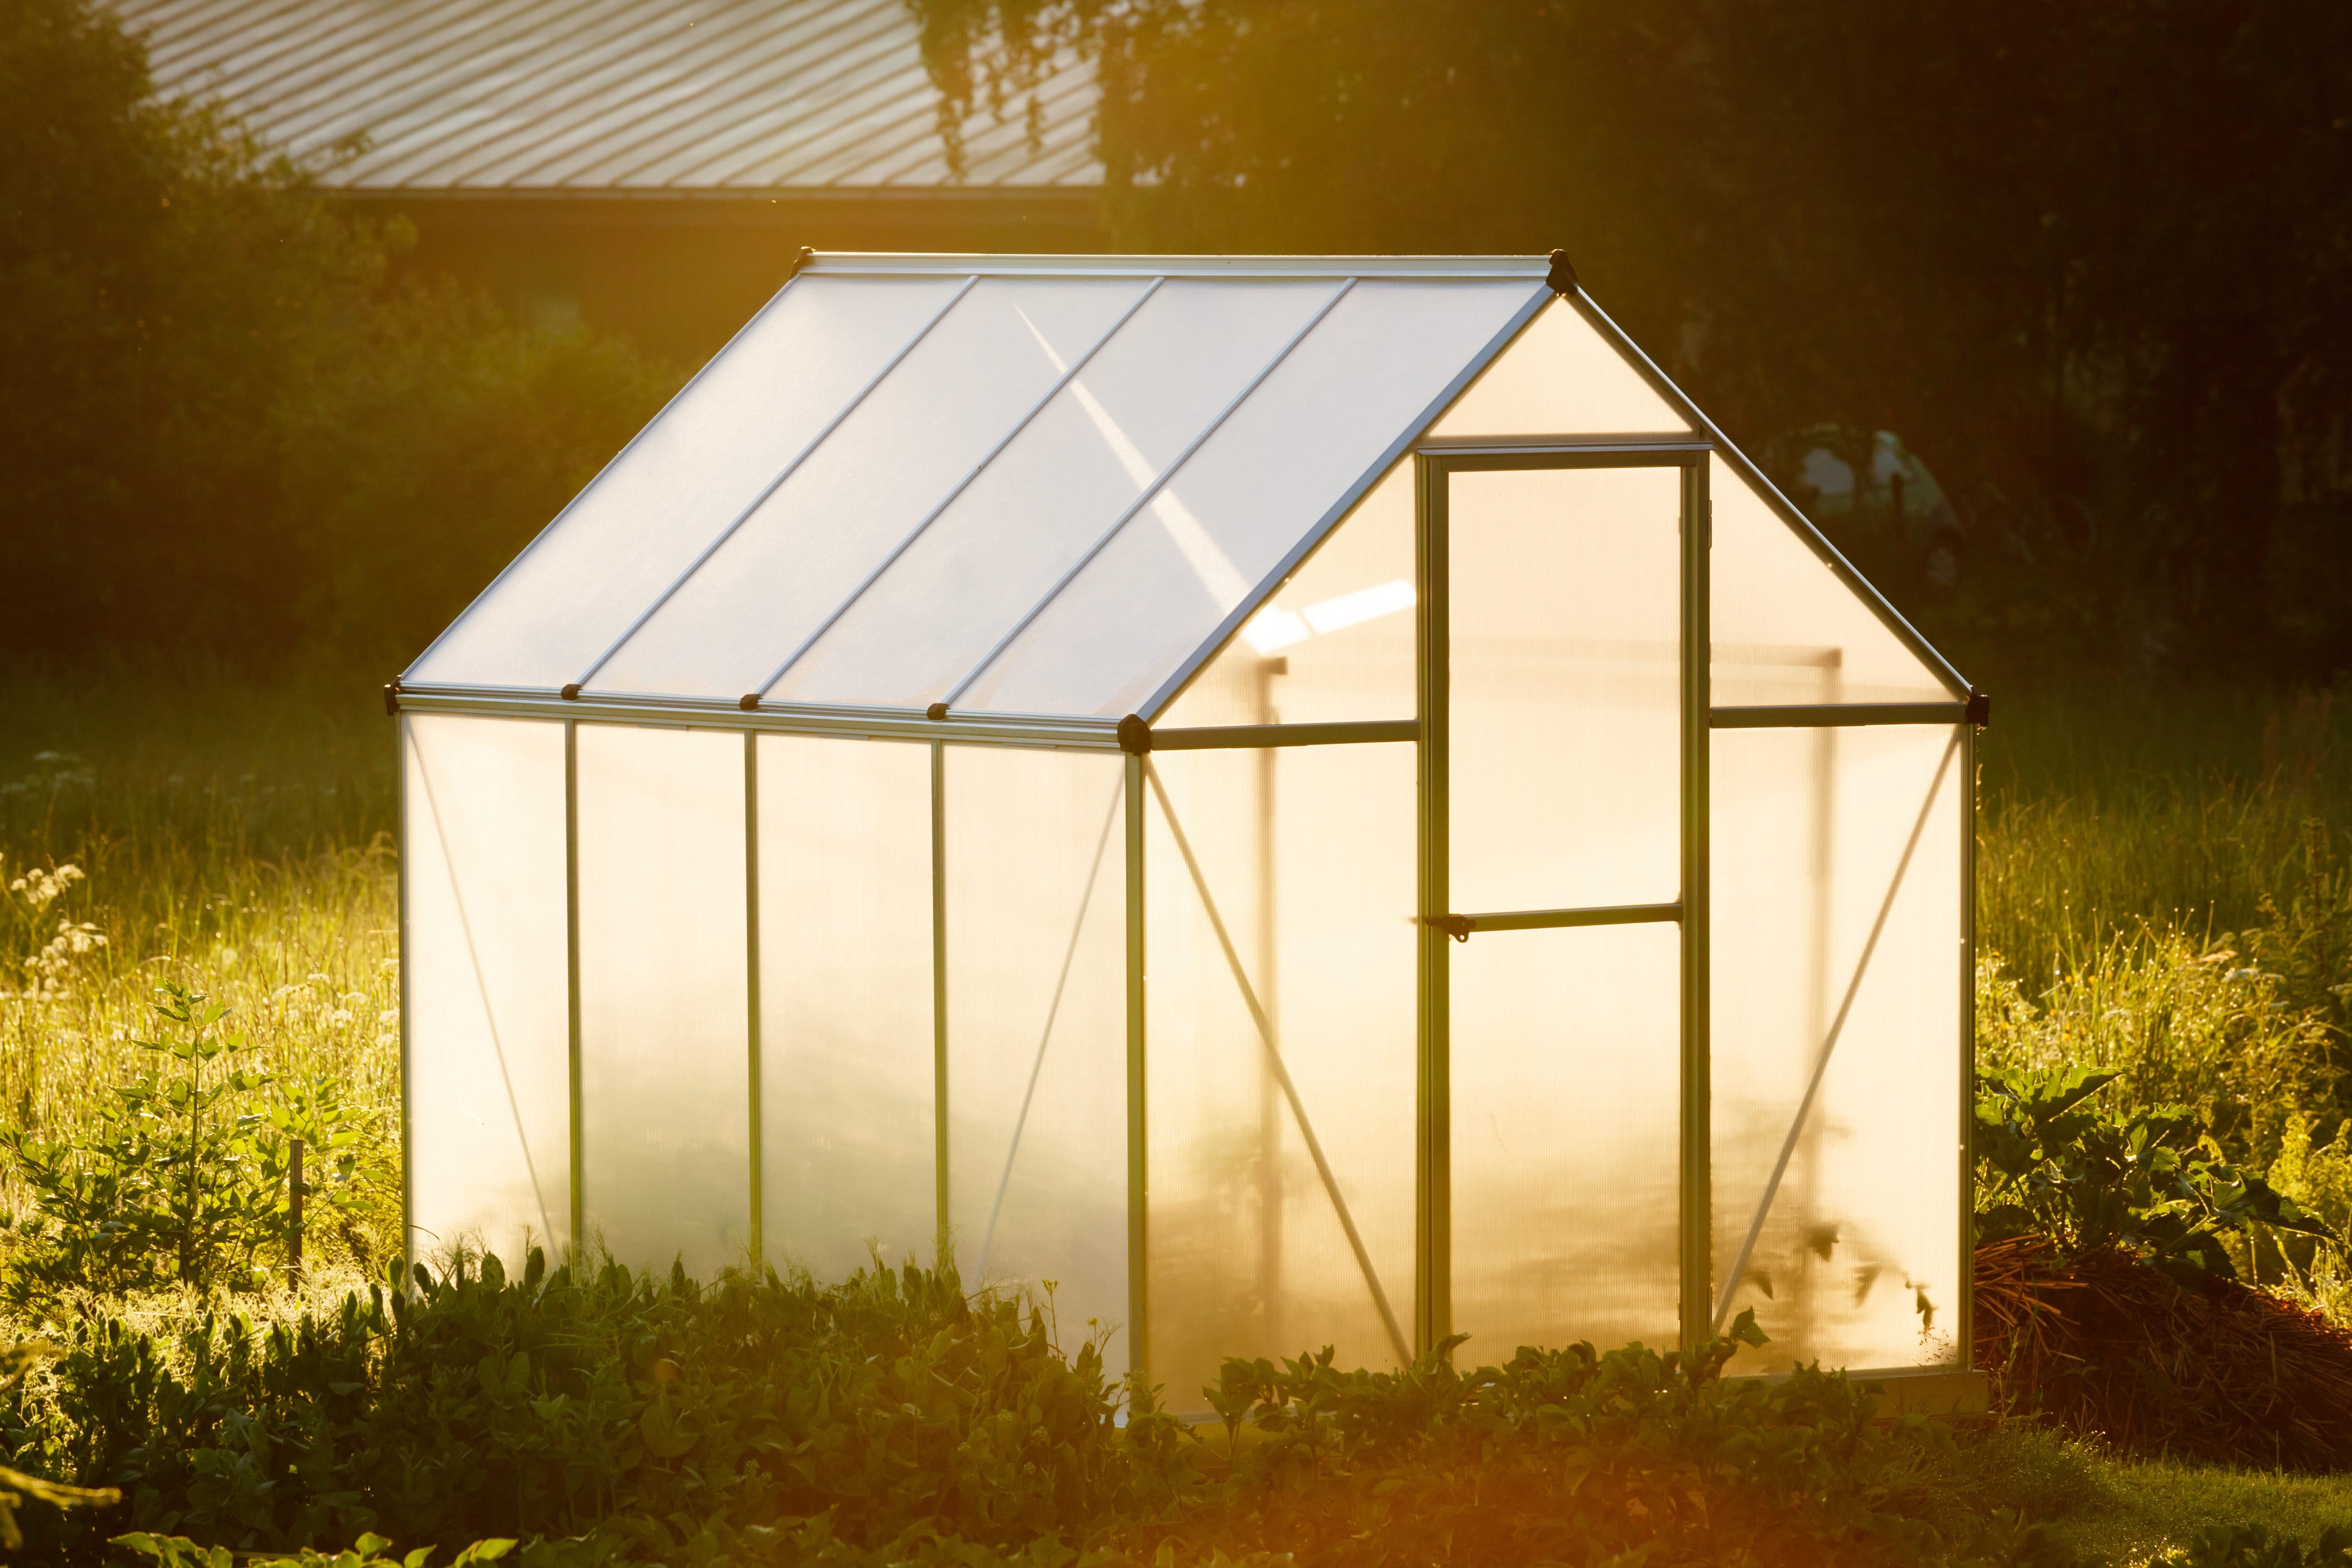
A greenhouse kit comes with everything you need to build a greenhouse. All materials are provided and already cut to size. Simply follow the instructions and have a fully functioning greenhouse in an hour or two.
Glass/Window Greenhouse

Glass/window greenhouses are structurally beautiful, but they require help from an experienced handy-person.
Lean-To Greenhouse

A lean-to greenhouse leans up against one of your exterior house walls, essentially creating the need to only build three greenhouse walls and a slanted roof. This option also typically requires the help of a professional contractor.
Hoop Greenhouse
A hoop house is an arched structure that resembles an airplane hangar (except much, much smaller). This option is quite easy to DIY—all you really need is PVC piping and plastic sheeting. Hoop greenhouses also come in easy-to-install kits.


- Landscapers
- Tree Surgeons
- Gardening Services
- Landscape Architects
- Sod Installation
- Tennis Court Contractors
- Landscape Design
- Retaining Wall Companies
- Grading Companies
- Landscape Rock & Sand Delivery
- Mulch Delivery Services
- Pond Companies
- Artificial Grass Companies
- Shrub Removal & Trimming
- Backyard Design Companies
- Commercial Landscaping
- Koi Pond Services
- Backyard Landscapers
- Trampoline Assembly
- Hedge Trimming
- Pond Services
- Garden Design
- Outdoor Plant Watering
- Putting Greens
- French Drains
- Turf Installation
- Sod Removal Services
- Lawn Repair Services
- Brush Chipping Services
- Hardscape Contractor
- Landscape Rock Removal


