How to Humidify a Room Without a Humidifier
Keep your home moist on even the driest days


Keeping your space at the right humidity level may not seem like a big deal, but when your air gets bone-dry in the winter or in naturally arid areas of your home, the humidity level can really affect your comfort. You can always keep your skin glowing, and breathe a lot easier when your home maintains the right humidity level.
The good news is, we have some cool DIY tricks that you can use to moisten your space without splurging on gadgets. Let’s take a look at how you can humidify a room without using a humidifier.
Why Humidify Your Space?
Again—having the right humidity level in your home can help you feel better in more ways than one. You can also keep your belongings safe from unnecessary wear and tear by balancing out the humidity level.
Health Benefits of Proper Humidity Levels
Maintaining the right humidity level is a game-changer for your health. Balanced humidity keeps your skin from becoming a desert landscape, and it helps your respiratory system stay happy. That means no more waking up feeling parched or dealing with itchy skin.
Protection of Wooden Furniture
Humidity isn't just about making people feel their best—it's a lifesaver for your wooden furniture, too. Proper moisture levels prevent wood from drying, cracking, or warping. Say goodbye to those unsightly cracks or bent wooden pieces and hello to a longer lifespan for your furniture.
Improved Air Quality
Want to breathe a little easier? Optimal moisture levels keep airborne irritants at bay, reducing the risk of allergies and respiratory issues. You'll breathe easier and fresher in a perfectly humidified space.

DIY Humidifier Methods Anyone Can Do
We have a feeling you may already own what you need for many of these DIY humidifier methods.
1. Turn On Your Kettle or Steam Your Next Meal

Want to learn how to humidify the air? You may just need to adjust your cooking routine. Stovetop cooking can significantly improve the humidity levels in your home if you time it correctly. While simply heating a tea kettle won’t be enough to cure dry air from your entire space, having a few things bubbling at once will make a much bigger impact.
In the morning, for example, heat oatmeal while also brewing coffee. For dinner, steam a batch of vegetables and boil water for pasta simultaneously.
2. Air-Dry Your Laundry

Tossing your clothes into a dryer will only contribute more to indoor air dryness. Instead, consider air-drying your next batch of laundry. If you don’t already have one, investing in a clothes rack costs as little as $5. Set these racks close to heat sources so that the combo of hot and wet will create plenty of moisture and dry your clothes more quickly, too.
3. Fill Your Home With Plants and Flowers

Plants are known for their oxygen- and moisture-creating abilities, but not all are right for the job. Fill your space with plants proven to improve indoor air humidity levels, like spider, jade, and rubber plants.
But don’t stop at plants. Flower vases can also add a lot of moisture to a space. When placed next to heat sources, their water will slowly evaporate and humidify the surrounding area as a result. Basically, the more plants you have in your home, the more humidity there will be.
4. Leave the Bathroom Door Open While Showering
Want to learn how to humidify a room for free? This trick is so easy, and you’ll be amazed at how well it works. If you’re trying to target a specific room, leave only that door open, so that’s where most of the excess moisture winds up.
5. Don’t Empty Your Tub Right After a Bath
Leave hot water to cool rather than emptying your tub directly after finishing your bath. As the temperature drops, steam will continue to flow into your bathroom and elsewhere if the door is open. Of course, you won’t want to try this trick with any kids or pets running around.
6. Open Your Dishwasher Right When a Load Is Finished
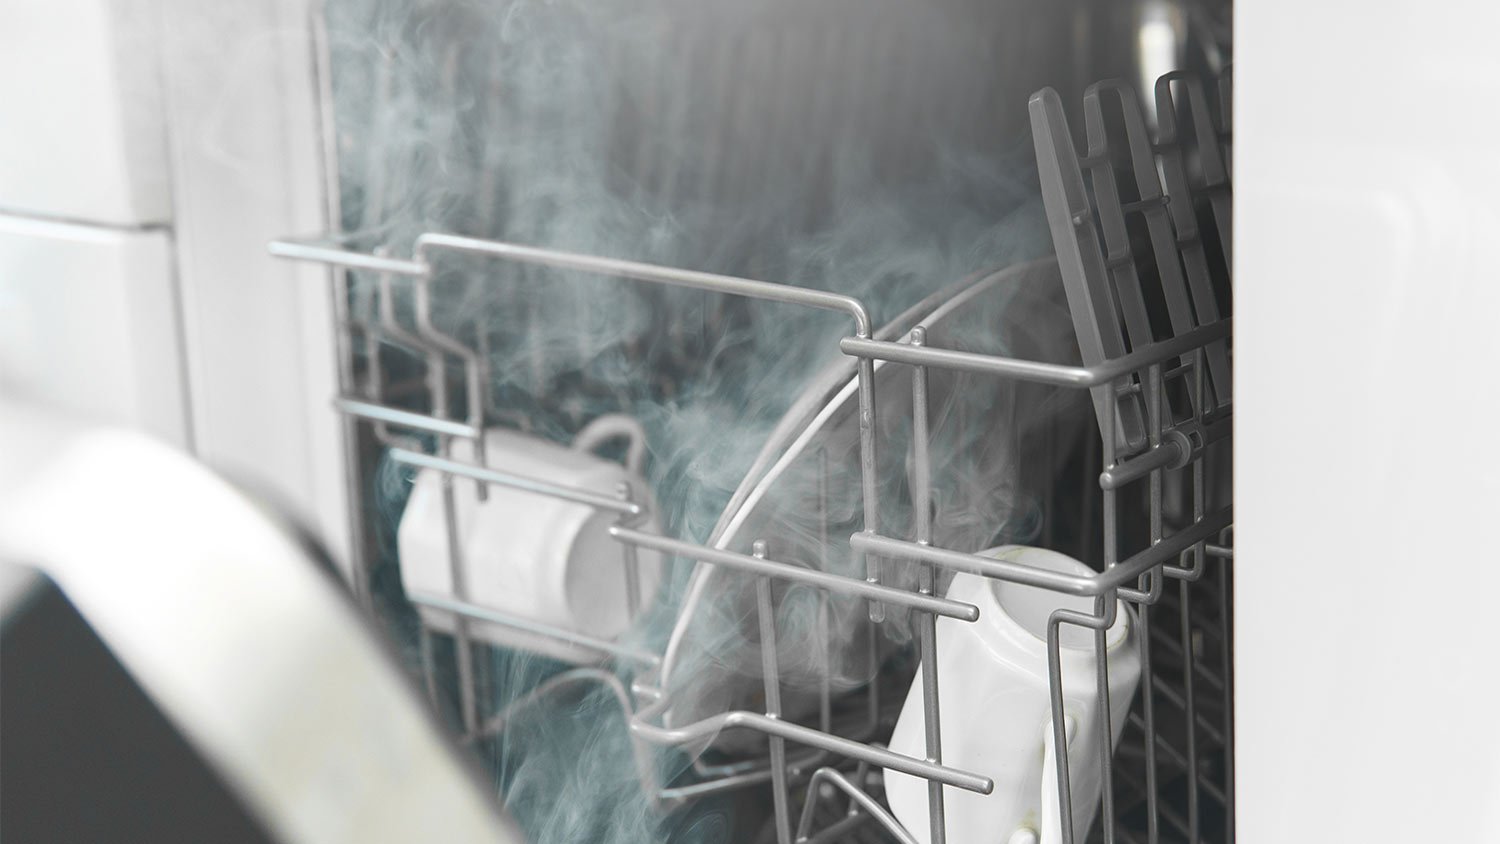
The next time your dishwasher dings to let you know its cycle is over, open it as soon as possible. The outpouring of steam will humidify your kitchen and beyond—and also be a nice little sauna for your face. Many modern dishwashers actually pop open all on their own at the end of a cycle, so you might already follow this trick without even realizing it.
7. Invest in an Indoor Fountain or Water Feature
Water evaporates over time, so bringing water fixtures into your house is a sure-fire way to get rid of dry air. Anything from an indoor fountain to a fish tank will help humidify your space, though their impact will be more subtle and gradual than opening your dishwasher or showering with the door open.
8. Leave Glasses or Bowls of Water Next to the Heater
If you don’t have the budget for or interest in a water fixture, placing glasses or bowls of water near a heat source is a great natural humidifier. Set it on your fireplace mantle or on a table near your furnace to get your desired effect. Just be sure to avoid placing anything directly on the heater to protect the glass from breaking.
9. Make Sure to Seal Every Window and Door Properly
Keeping indoor air shielded from the outside world is the key to controlling moisture levels. If you have a draft but no idea where it’s coming from, odds are your doors and windows aren’t tightly sealed. Luckily, fixing this issue is an affordable project that can cost as little as $20 per unit.
If you can see light coming through a door or window even when it’s fully closed, that’s where your problem lies. Drag lit incense around the area to see which direction the smoke flows—that will show you what needs weather stripping.
How Do These DIY Methods Compare?
See how these different DIY methods compare:
Stovetop cooking: While it adds some humidity, it's not a significant source unless multiple items are cooking simultaneously. Cost is minimal, as it uses existing appliances.
Air-drying laundry: This option is effective for smaller spaces and it only costs around $5 for a clothes rack.
Plants and flowers: How effective this method is depends on the number and type of plants. Cost also varies based on the number and type of plants or flowers purchased.
Leaving the bathroom door open: This method is effective in increasing humidity in a specific room and costs nothing at all. It also helps remove excess moisture from bathrooms.
Leaving bathwater to cool: You can achieve a gradual humidity release with this method at no extra cost, but it does require patience.
Opening dishwasher: If you open the dishwasher, doing so provides a sudden burst of humidity. This is no additional cost if you are already using your dishwasher.
Indoor water features: By installing water features in your home, you can work towards a gradual and subtle increase in humidity. Cost will be based on the type of feature chosen (fountain, fish tank, etc.).
Placing water near heat sources: It won’t cost you more than running the tap to use this method, and it can be effective if you place the bowls of water strategically.
Sealing windows and doors: You can keep humidity from escaping. How much this costs will vary, but it can be as low as $20 per unit for weather stripping.
| Method | Cost |
|---|---|
| Stovetop Cooking | Low |
| Air-Dry Laundry | Low |
| Plants and Flowers | Varies |
| Venting Bathroom Door | Free |
| Leaving Bathwater to Cool | Free |
| Opening Dishwasher | Free |
| Indoor Fountain | Varies |
| Water Near Heat Sources | Low |
| Window and Door Sealing | Moderate |
Safety Considerations
Before you dive into this simple DIY project, let’s go over a few safety precautions. To start, when tinkering with DIY humidity solutions involving water, exercise caution around electrical devices. Keep water sources away from outlets, cords, or any electrical equipment. Avoid spillage or leaks that could lead to electrical hazards. Safety first—always prioritize keeping water and electronics at a safe distance to prevent any mishaps.
While adding moisture to your space is great, too much of a good thing can invite unwanted guests–like mold! Keep an eye on indoor humidity levels using a hygrometer. Aim for a sweet spot between 30% to 50% humidity to avoid mold proliferation. Regularly check and adjust your methods to maintain a healthy balance—this keeps your space comfortably humid without welcoming mold into the picture.
Frequently Asked Questions
Excessive humidity in a room often manifests through visible signs like condensation on windows or walls, a musty or damp odor lingering in the air, peeling wallpaper or paint, and the presence of mold or mildew. Experiencing discomfort due to a consistently clammy or sticky feeling can also indicate high humidity levels.
Using bowls of water for humidity can be an effective way to increase the humidity level in a room, but it's essential to consider potential risks. Placing bowls of water near heat sources might pose a hazard as they could spill, causing damage or creating slip hazards. Moreover, stagnant water can become a breeding ground for bacteria or mold (you really want to get rid of black mold stat) if not changed regularly, potentially negatively affecting indoor air quality. Water bowls can also accidentally spill onto surfaces, causing water damage to furniture or flooring. Regular maintenance and cautious placement can mitigate these risks.
While a hygrometer is the most accurate tool for measuring humidity levels in the home, you can gauge humidity levels using simpler methods. One way is by observing signs like condensation on windows or feeling excessively sticky or clammy indoors, indicating higher humidity. Another DIY approach involves the “hair method”—aka placing a few strands of human hair in a closed container with salt for several hours. If the hair becomes limp, it's likely due to high humidity. These methods offer rough estimations, but lack the precision of a hygrometer for accurate readings.


- Furnace Repair
- Air Conditioning Repair
- HVAC Repairs
- Furnace Installation
- Wood & Pellet Stove Repair
- Dehumidifier & Humidifier Repair
- Heat Pump Companies
- Swamp Cooler Repair
- Wood Stove Services
- HVAC Companies
- Commercial A/C Repair
- Geothermal Installation
- Air Conditioning Installation
- Boiler Repair
- 24 Hour Furnace Repair
- Geothermal Repair
- Heat Pump Repair
- Humidifier Installation
- Thermostat Repair
- Thermostat Installation
- Nest Installation
- Heating & Cooling
- Heating Repair
- Furnace Cleaning
- Furnace Tune-Up
- HVAC Technicians
- Subcontractors
- Furnace Maintenance
- Plumbing & Heating Companies
- Wood Stove Inspection
- Mini Split Installation
- Wall Heater Repair
- Duct Installers
- The Ideal Indoor Humidity Level for Your Home
- How to Measure Humidity in Your Home With and Without a Hygrometer
- How Temperature and Humidity Affect Hardwood Floors and How to Regulate Them
- 14 Preventive Plumbing Maintenance Tips You Should Know
- 11 Home Heating Mistakes You Didn't Know Were Costing You
- Breathe Easy: 10 Tips for Improving Your Indoor Air Quality
- 9 Tips for Preventing Mold After Water Damage
- 14 Home Renovation Tips for a Stress-Free Project
- How to Build a House: Your Complete Guide to the Home-Building Process
- 12 Ways to Keep Your Home (and Yourself) Cool During Extreme Heat


