
A standing seam metal roof is a long-lasting, durable option for your home. Learn how much a standing seam metal roof costs and what can affect the price.
Test your DIY mettle by installing a metal roof


Installing a bathtub liner gives your existing tub a fresh look without the full replacement cost, as long as your tub has no cracks or drainage issues.
Expect to pay $500 to $2,800 for DIY materials or around $6,400 for professional installation, while tub replacement costs $2,000 to $9,400.
You'll need to clean your tub thoroughly, remove all hardware, apply primer and adhesive, then carefully fit the liner to avoid trapping moisture underneath.
Hiring a local bathtub repair professional provides reliable help with proper sealing and adhesive application, preventing water damage and mold from improper installation.
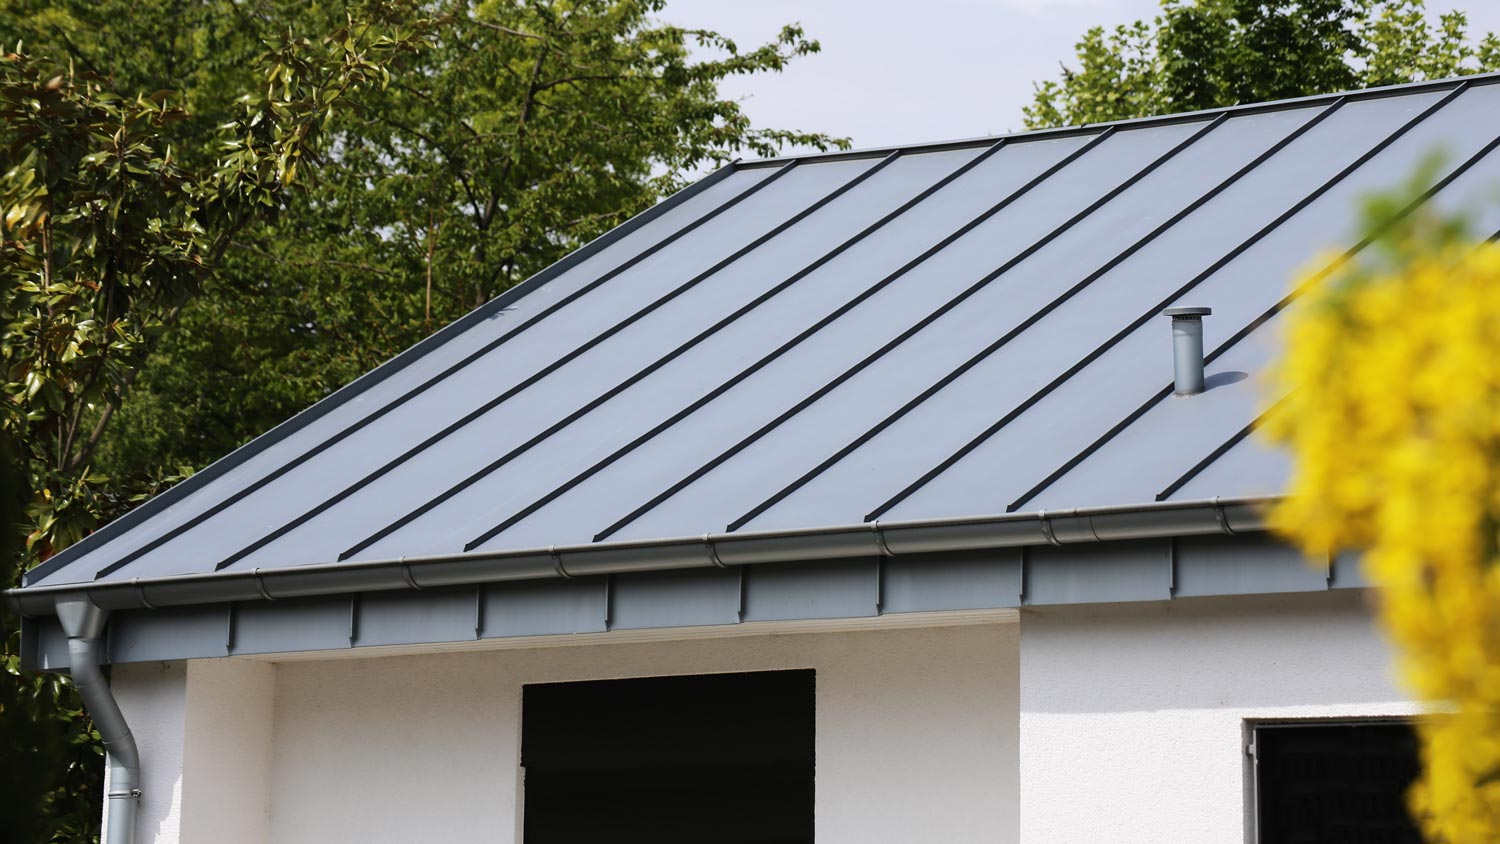
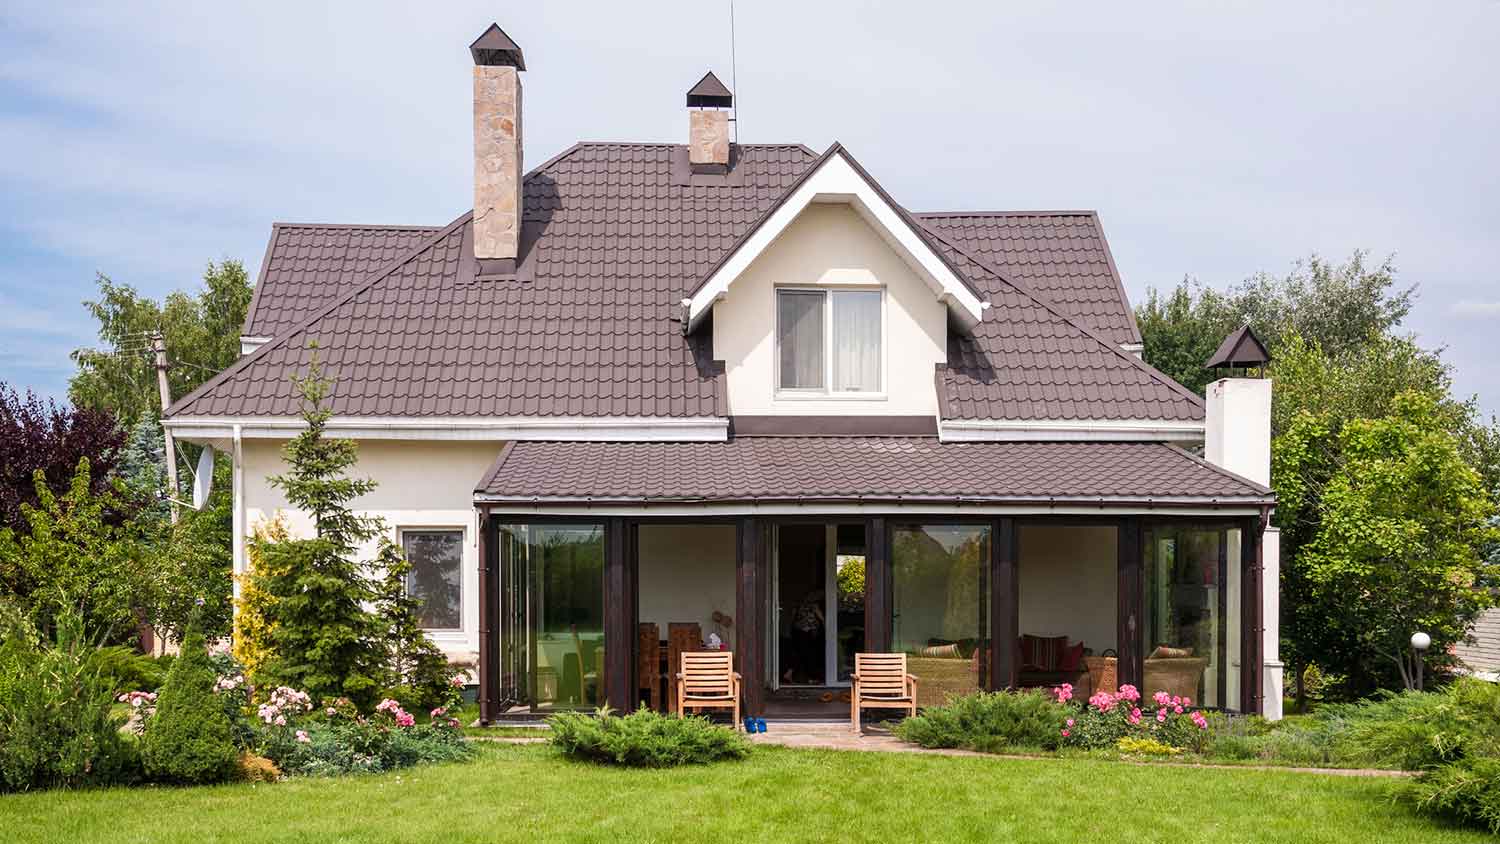
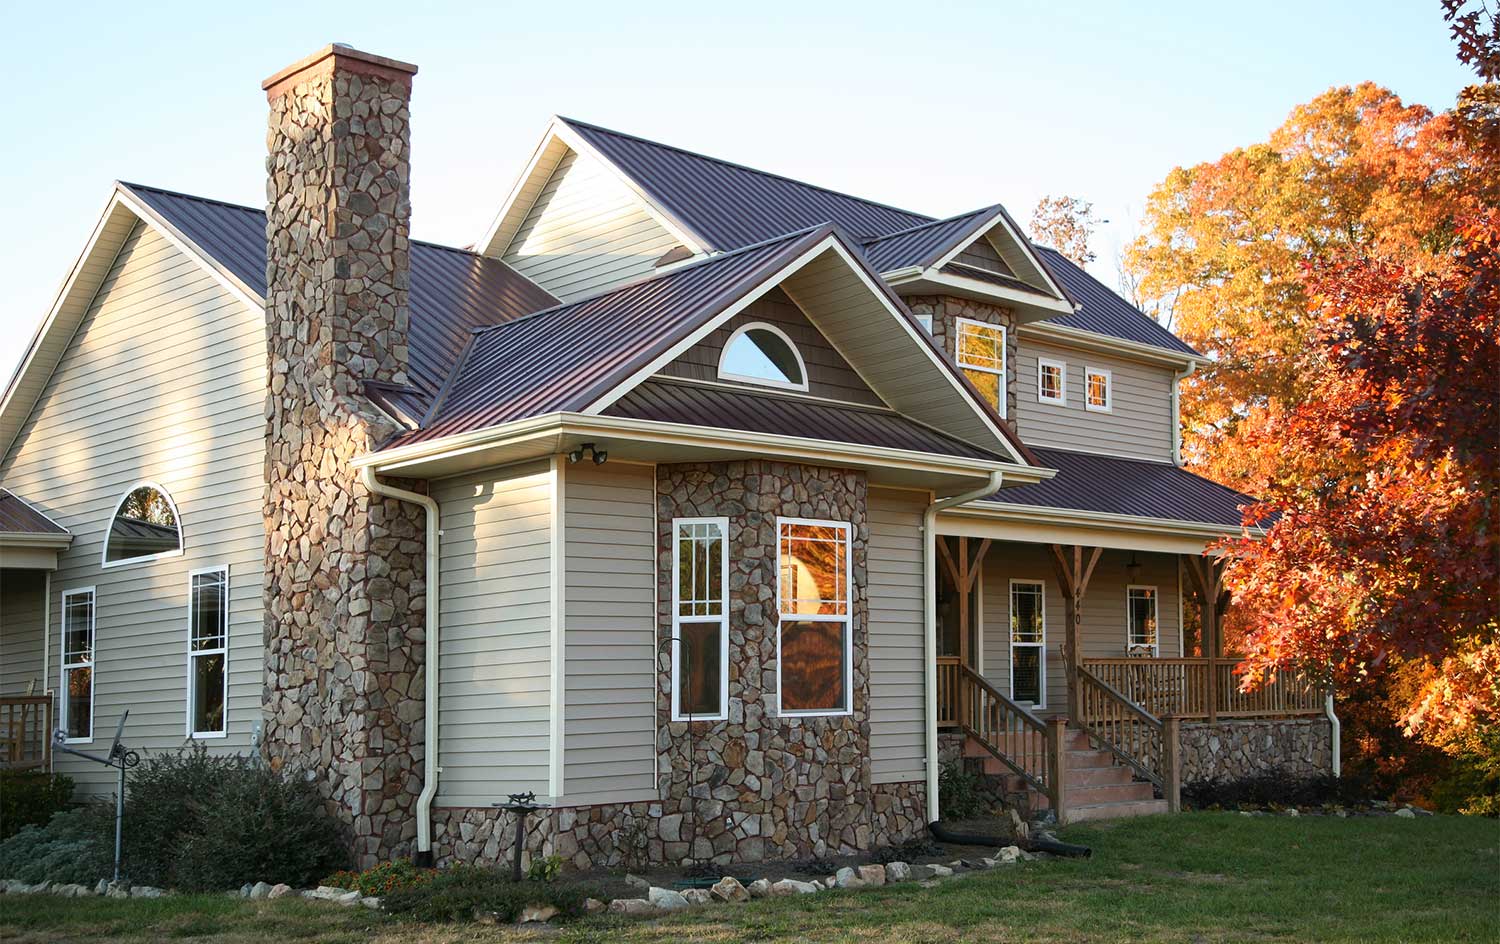
Metal panels are an increasingly popular roofing material because they last longer than asphalt shingles and tend to provide better curb appeal. They’re more expensive to install, so avid DIYers may choose to install their own metal roofing panels. In this guide, we’ll explain how to install metal roofing for a clean, professional appearance and a long-lasting, leak-free roof.
The first step, which is one of the most crucial to get right, is measuring for your metal roof. Accurate measurements will not only save you time and money on wasted materials, but it will also help you get your new roof installed quickly so that your uncovered home isn’t exposed to the elements for too long.
Start by measuring the length and width of each roof slope and multiplying to get the square footage. You want to avoid cutting panels and using partial pieces as much as possible, so instead of adding up the areas, aim to purchase panels separately for each slope. Order 10% more than you think you need for each slope to avoid unnecessary trips to the home improvement store in the middle of the installation.
Use the measurements at the top of your roof to order ridge caps, the sides to order gable-end flashing, and the bottoms of each slope to order drip edge flashing. For these measurements, too, measure and order materials separately to avoid unnecessary gaps that using cut-offs can create.
Once you have your measurements and all of your materials, you can rip off your old roof. Take your time to ensure you remove all nails and screws, as these can interfere with the installation and dent your new metal roof as you install it. Remove moss from your roof decking and any other debris that could interfere with the installation.
Install your drip edge flashing at the bottom of each roof slope using roofing nails and a hammer. Use your tin snips to cut the flashing to the proper length. At the ends of your roof, extend the drip edge one inch beyond the end of the roof deck. Cut the flashing at the seam, fold down the top edge, and then fold back the front edge. This creates a clean look at the gable ends.
If you’re not using gable-end flashing to finish your roof, install drip edge on the sides of each slope, as well.
Once your drip edge flashing is installed, you can lay down the underlayment. This should extend to the edge of your roof deck on the sides of your roof and lap over the drip edge at the bottom of each roof slope.
You can install this using plastic round cap roofing nails and a hammer if you’re using roof felt as an underlayment. Follow the manufacturer’s directions to get the proper nail pattern. If you’re using an ice and water shield, peel off the adhesive backing and adhere the underlayment directly to the roof deck.
Furring strips under a metal roof are strips of wood that elevate your metal roofing panels over your roof decking. This can increase your home’s energy efficiency and also reduce the risk of expansion and contraction leading to leaks. Screw 2-by-4 material down to your roof deck using wood screws along the edges of each slope and perpendicular to the rafters below, spaced out 2 feet on center.
Use your chalk line to snap a guide line for the first panel. The line should be perpendicular to the fascia board at the bottom of your roof slope. Take your time to get this line perfectly square, as the rest of your panels will depend on the first one you install.
Place two screws extending from the ends of the fascia board and install a guide line along the bottom of the roof slope. This will help you line up panels so that they’re flush along the bottom edge as you work across your roof. Install this 2-1/4 inches from the end of the roof deck to allow for a 2-inch overhang on your metal roof.
Install the first set of foam closure strips along the bottom edge of each roof slope, making sure that your panel will lay in the right position once it’s set in place on top. Hammer these into the furring strips directly above your drip edge flashing. For greater protection against water and insects, you can use your caulk gun to lay down a bead of silicone caulk over your closure strips before you lay your panel on top.
You’re now ready to install your first panel. If your roof slope is longer than your panels, begin at one of the bottom corners of the slope. At the bottom of the slope, line up the bottom edge of the panel so that it sits 1/4-inch above the guideline you set. This will create a 2-inch overhang for your metal roof for proper water disposal, and the 1/4-inch gap ensures your panels don’t move the guideline as you work. Take your time to line up the side of the panel with your 90-degree chalk line, as well.
If you plan on installing gable end flashing, line up the outside edge of your panel so that it’s flush with the side of your roof slope. If not, overhang the panel by 2 inches.
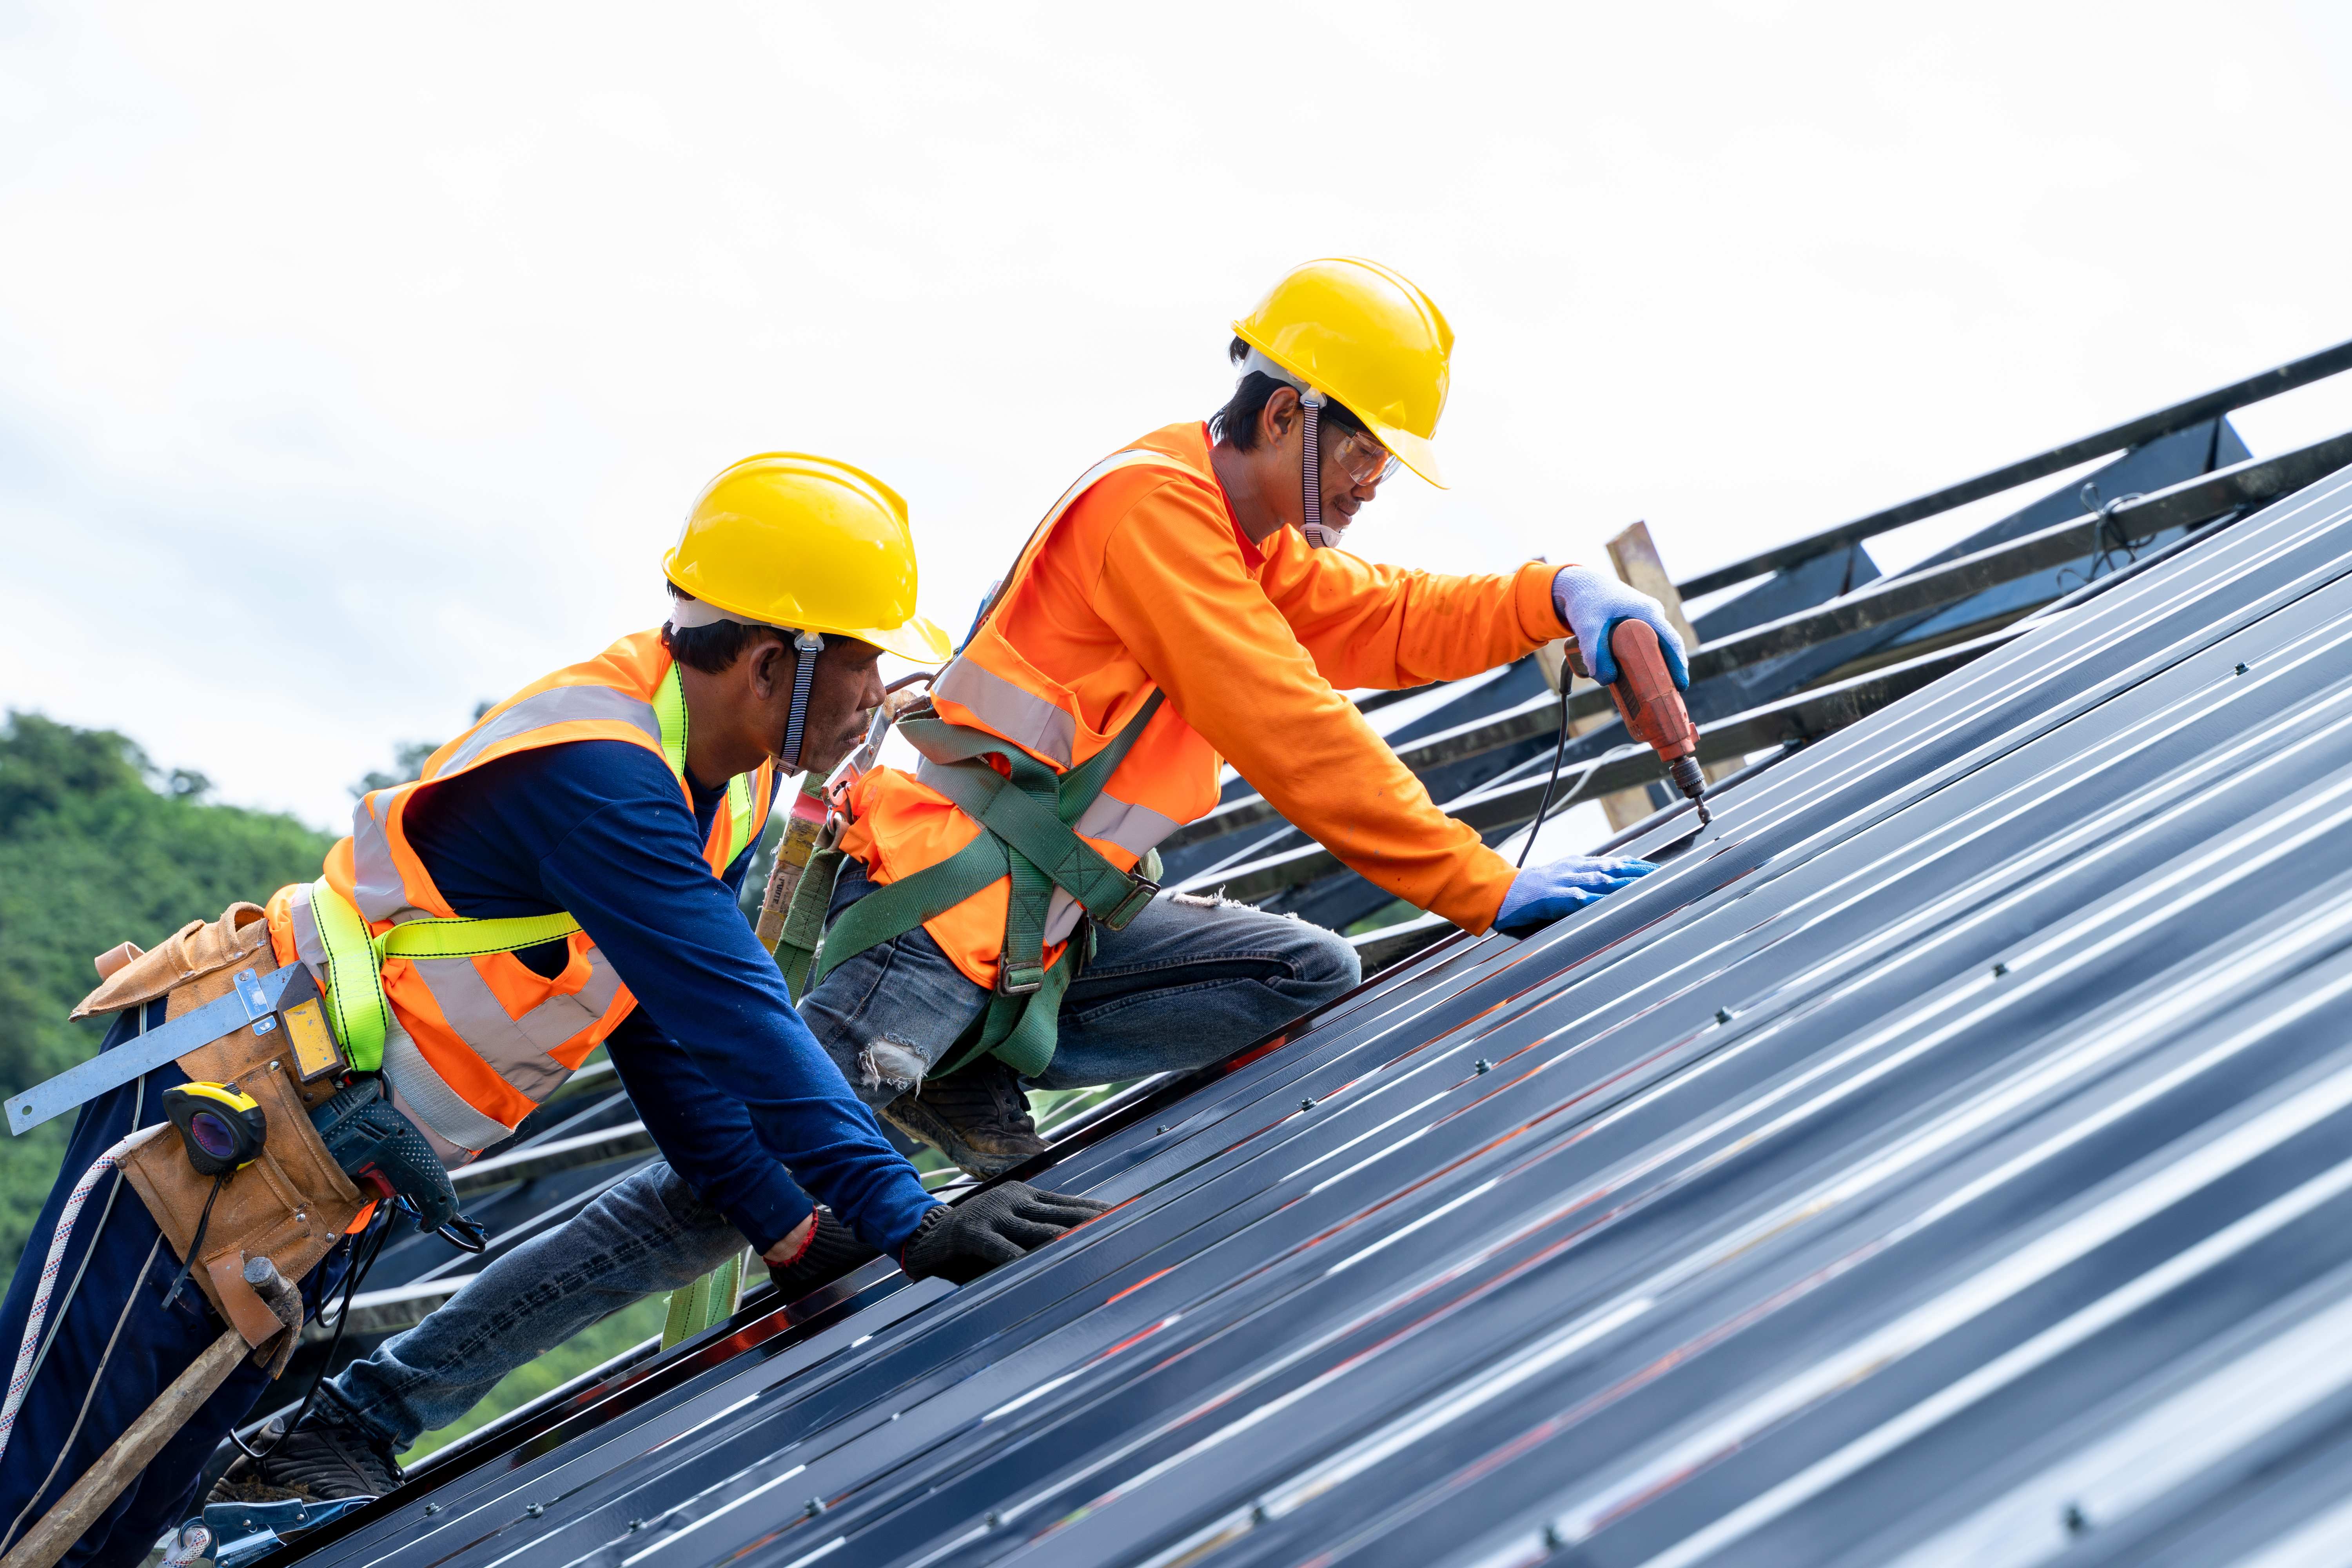
Have a friend or two hold the first panel in position while you screw it down to your furring strips. Begin by placing screws vertically just inside the channel along the edge of your roof slope. Follow the manufacturer’s directions for the proper screw pattern.
Continue screwing in vertical lines across the panel, again following the manufacturer’s directions for screw pattern and distance. At the inside edge of the panel, use two vertical lines of screws on the last flat portion of the roof, with one line just inside each of the last two channels.
One benefit of metal roofing is that the rest of the panels fit into place after the first one is installed. Use the first metal panel as a guide to install the rest of the panels horizontally across your roof, overlapping one corrugation channel between each. Install the entire bottom row of panels before moving up the slope. Cut the panel to size at the opposite end of the slope using your aviation snips.
Once you have the bottom row of panels installed, nail down another row of foam closure strips along the top edge of the panels. Your next row will overlap the foam, creating a better seal. Work your way up the roof, moving horizontally first and then vertically.
With the bulk of your metal roof installed, you can install finish flashing on the gable ends. Cut the ends of the flashing according to the manufacturer’s directions using your aviation snips. Apply a strip of butyl tape to the inside edge of the flashing, and then use gasketed metal roofing screws to screw the top side of the flashing and then to secure the side of the flashing.
Finally, you can install the ridge cap on your roof ridge. Follow the manufacturer’s directions to cut the ends of the ridge cap properly for a clean look at the ends of your gable. Use gasketed metal roof screws to screw the ridge cap down into the channels of the roofing panels below on both sides of the ridge. When joining two lengths of ridge cap, overlap them by at least 6 inches.
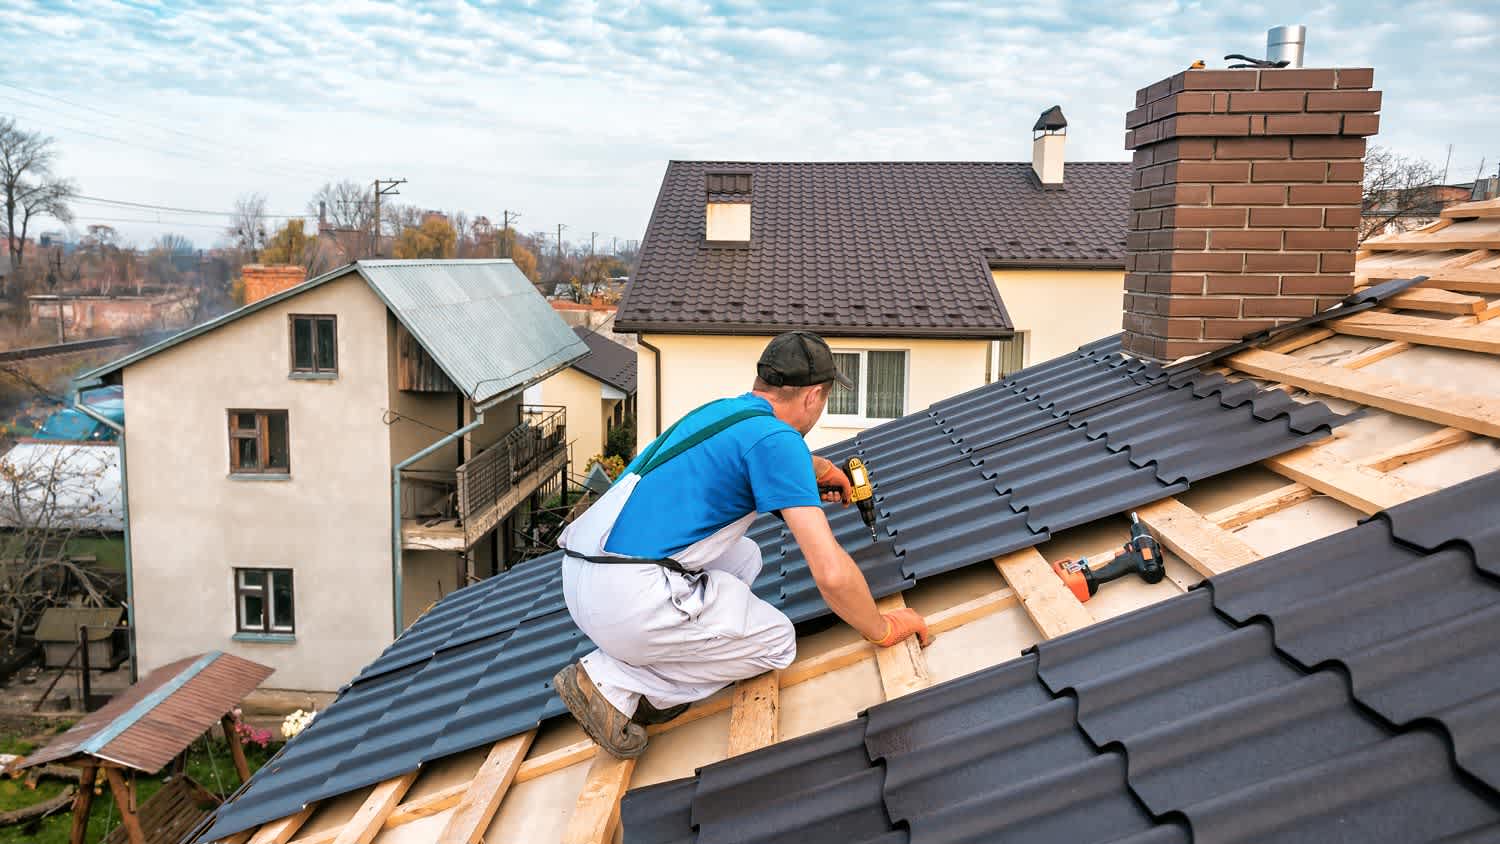
Installing a metal roof is challenging work, and it’s easy to make mistakes that can lead to premature roof leaks, reduced home energy efficiency, and even pest infestation. It’s best to hire a professional metal roofing company near you for the installation, but if you do DIY, there are a few key things to keep in mind as you work to avoid issues in the future.
Install panels in the proper orientation: One long side of the panel will end right after one of the corrugation channels curves back. You should install this edge along the edge of your roof slope. The other end will have a flat piece extending beyond the channel.
Don’t over-tighten the roofing screws: It’s tempting to ramp down the roofing screws as tight as you can get them, but this can cause the rubber washer to splay and tear, which will lead to roof leaks over time.
Use sealant as a secondary waterproofing material: Silicone caulk is a great way to seal seams, but caulk fails over time and shouldn’t serve as the primary way you maintain a waterproof barrier on your home. Proper metal roof installation is the best way to avoid leaks, so don’t rely too much on sealant.

Professionals can install a metal roof in one to two days, in most cases, leaving your home unprotected for a minimal amount of time. DIYing the work is likely to take about a week, even with help. Plan your roof replacement during the driest month of the year to reduce the risk of it raining directly on your exposed roof decking.
Your roof is the most important part of your home for protecting your living space from the elements. While DIYing your metal roof installation is possible, it’s best to hire a professional when there’s so much on the line. Even minor mistakes can lead to roof leaks and expensive interior water damage. Leaks increase the risk of mold growth and poor indoor air quality, pest infestation, and reduced home efficiency, which can increase your heating and cooling bills over time.
DIYing your metal roof installation costs $5,700, meaning you’ll save over $5,000 on labor. However, repairs and roof replacement costs could end up costing you even more than you’d save if something goes wrong. Additionally, working on a roof is inherently dangerous, even with the proper safety equipment, so consider hiring a pro for the longest-lasting results, peace of mind, and personal safety.
D1 Roofing delivers outstanding service from beginning to end, backed by a strong warranty and expert teams. I highly recommend them for their excellence in meeting and surpassing expectations with unmatched communication. Choosing D1 Roofing was flawless decision
This place took $25,000 for a flat roof job with a five-year warranty and never returned to fix the leaks that were caused by their work. These people are not professionals and should not be doing this type of work. They incorrectly changed the pitch of the roof, and caused more damage than...
The technician was very professional and friendly. He answered all my questions and was very thorough. He left the fireplace area very clean . He inspected from the roof and advised me as to other work that might need to be done. There was no pressure there. I was very satisfied with the...
 Supreme brick & chimney
I am really impressed with their timeliness and turnaround. Mitchell came out, and we decided to move forward with their pricing. Our roof was on within a week, and we could not be happier with their team! Amazing company, great prices and honest, dependable craftsmanship. I highly recommend...
Manuel Calvillo is the best option in the area for roofing and you won't be disappointed.
They damaged multiple items on my property, including a marble slab used as a table top, tried to hide it, and refused to pay or replace. Arrived day one without a ladder to access roof & delayed a day. Left a mess in back yard; didn't wear face masks; no show by owner to property to see damages
I've hired Gary/Cherokee Roofing for two different homes, work quality, responsiveness, and completion have been great both times. And the prices quoted were very competitive. I would definitely hire again.
Lyle did a great job removing asbestos shingles from our front porch roof. They worked together with our roofer to make sure that the new roof was able to be installed on the same day that Lyle removed the asbestos shingles.
 Lyle Environmental
Bradley Builders did a good job replacing the roof on our front porch. They color-matched the existing shingles on the rest of the house and installed a metal ridge roll since we live in a historical neighborhood. They did the job while we were out of town. When we got back, everything was...
 Bradley Builders, Inc.
I would absolutely recommend this business. They offer a variety of services, including: painting, roofing, and refinishing wood flooring. I hired them to refinish the original hardwood flooring in my home built in 1874. The job was quite challenging, as the floors were extremely aged and...
From average costs to expert advice, get all the answers you need to get your job done.
A standing seam metal roof is a long-lasting, durable option for your home. Learn how much a standing seam metal roof costs and what can affect the price.
Metal shake roofs offer a long-lasting alternative to asphalt shingles. Learn what metal shake roofs cost and what factors affect how much you’ll pay.

While a steel roof can cost a significant amount, it’s a hardy roofing option with great curb appeal. Learn all the factors that influence how much a steel roof costs.
Wondering who to hire for metal roof installation? Learn which roofing contractor you need, how pros work, and what affects price. Start here.
A metal roof increases your home value, energy efficiency, and curb appeal. Learn about the ROI you can expect when choosing metal over other materials.
In dire need of a new metal roof but not sure how to hire? Learn how to find a reputable metal roofing pro to get the job done properly the first time around.