
How much does it cost to paint a room? Learn what you’ll pay to give your space a makeover, depending on room size, paint type, the pro you hire, and more.
It’s time to brush up on your DIY skills

Changing up the interior paint colors in a room is a great way to transform your space to better fit your style. No matter what stage of the DIY or homeowner journey you’re at, equipping yourself with the knowledge of how to paint a room will suit you well throughout your entire life. Once you’ve picked the perfect color to complement your home’s unique style, use these tips to learn how to paint a room like a pro.

Any job done right starts with preparation. Handling these steps beforehand will make the entire job easier for you and any right-hand painters you may call in to help you with the task.
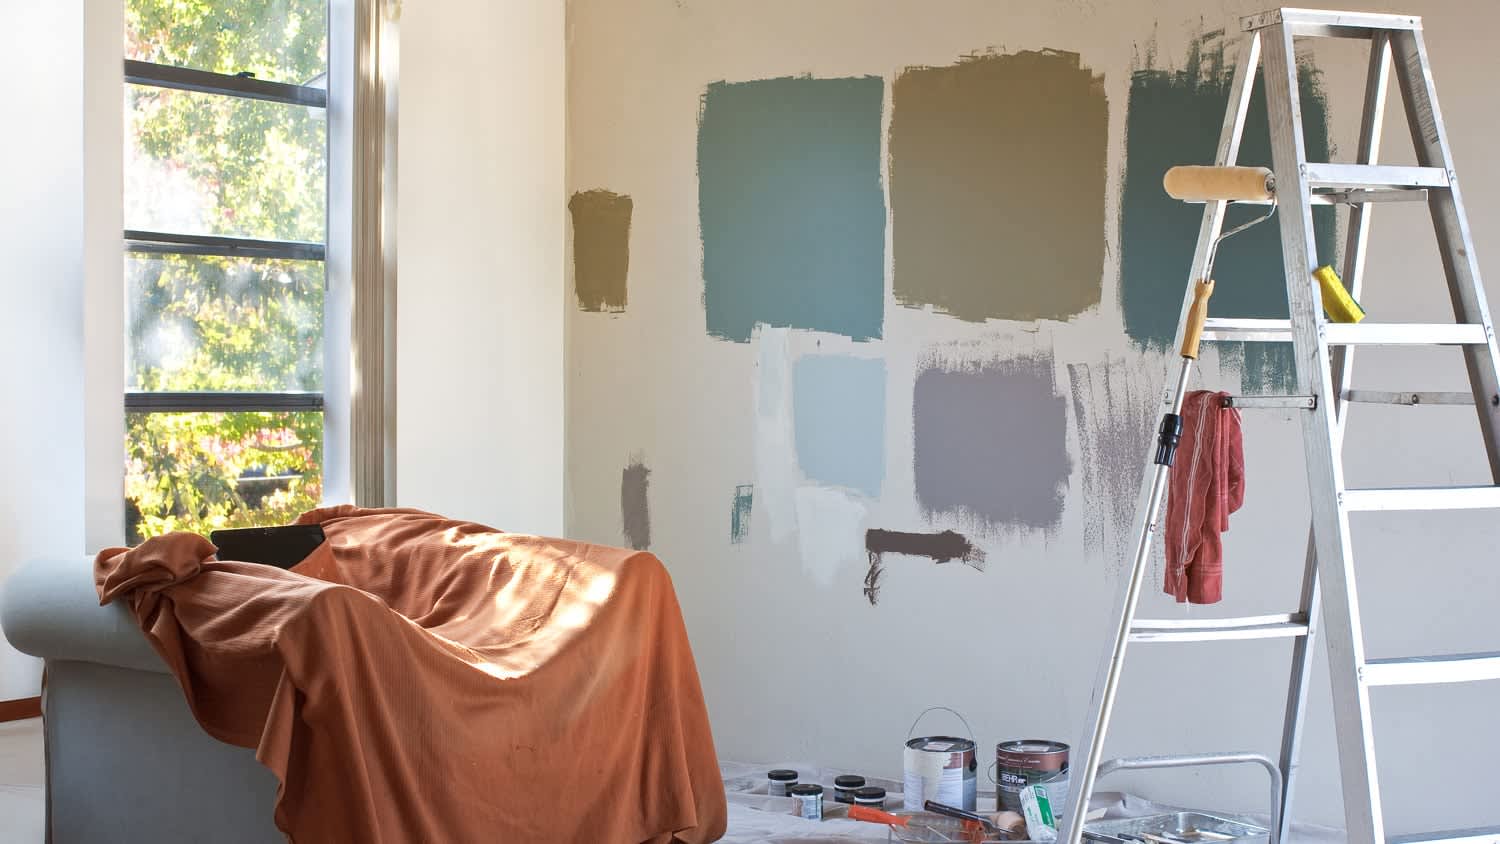
Before you bust out your artist’s smock, there’s a fair bit of prep work that you need to do to protect the existing space from paint drips and splatters.
Move and cover furniture: Move lightweight furniture out of the room. Move heavier furniture to the center of the room and cover it with a drop cloth.
Apply painter's tape: Cover door knobs and hardware. Next, shut off the circuit breaker and unscrew light switches and outlet covers. Cover the switch plates with tape, and keep the screws and covers in a designated place for easy access once you’ve finished the project.
Cover ceiling lights and fixtures: While the circuit breaker is still off, wrap any large ceiling fixtures with a plastic sheet. If you have a ceiling fan, remove the blades before covering it. If you have recessed lights, mask them with painter’s tape. A portable work light or light plugged into another room can make up for lost light.
Cover the floor with a drop cloth: Tape it down with painter’s tape so it stays in place.
Pro tip: If you have limited supplies, save your drop cloths to cover the floor and use plastic sheets to cover any furniture. Plastic tends to be more slippery and harder to walk on.
After your furniture and floors are covered, turn your attention to the walls. While it’s exciting to envision how your room is going to look once the paint is actually on the walls, you also shouldn’t start painting without prepping the walls first.
It may not be the most fun part of the project, but a good prep job on the walls will make your actual painting process go much smoother and help your paint last a long time.
Patch holes or cracks with spackling paste: Remove any nails and fill in small cracks, dents, or holes with spackling paste. Fill larger holes and cracks with joint compound. Be sure to allow your paste or compound enough time to fully dry before sanding it down (about 24 hours for joint compound and two hours for spackling paste). Skim coating your walls should make them as smooth as possible.
Wash the walls: Use a mixture of warm water and mild soap to remove buildup, dust, pet hair, and any other particles that would prevent the paint from fully sticking.
Mask off the ceiling with painter’s tape: Tape over crown molding to protect it from ceiling paint and wall paint. If you don’t have molding, paint the ceiling and allow it to fully dry, then apply painter’s tape to the ceiling where it meets the wall. The tape will protect your freshly painted ceiling while you paint your walls.
Mask off window frames, door jambs, frames, and trim: Tape up anything else you want to protect.
These aren’t steps you should skip. If you don’t have time for all the prep work on top of the actual task of painting, it may be time to throw in the drop cloth and call in a local interior painter to handle the job for you.
Pro tip: Use shorter strips of painter’s tape when masking off a given area to allow the tape to go on straighter and avoid tangling.

Paint primer is an inexpensive base coat that adds protection and durability and creates a good surface for the new paint to adhere to. Apply primer to the wall with your roller in even coats and allow it to dry before applying your paint.
To apply primer, follow these steps:
Dampen your roller or brush, as it’s difficult for dry materials to absorb primer; you can use water for latex primer or paint thinner/mineral spirits for oil-based primer.
Apply the primer to the outer edges of the wall first, working in 2- or 3-inch-wide bands all the way around; a paintbrush works well for this.
Brush primer on any areas that need extra attention, such as patches in drywall.
Use a 9-inch roller with a 3/8- or 1/2-inch roller cover to prime the rest of the wall, working in 3-foot sections.
Apply a second coat if necessary after the first coat has fully dried.
Once the area is completely dry, sand down any bumps with fine-grit sandpaper.
Clean the wall with a damp cloth or sponge and allow it to fully dry before continuing with your painting.
Pro tip: Not all primers are created equal, so research ahead of time to get the best coverage for your particular walls.
Pros strongly recommend applying a primer whenever possible, as priming gives the room a flawless finish. Here are a few of the times when it’s especially important not to skip over this step:
If your new paint color is lighter than the existing color of the wall, use a primer to create a neutral shade to paint over. In this case, priming can potentially save you time and money because you won’t need to add multiple coats of paint.
Porous surfaces such as new drywall, wood, or paneling are absorbent and may require multiple coats of new paint. Add a primer if you want to use fewer coats. Alternatively, if a previous painter covered the walls in glossy or oil-based paint, it can be difficult for the new paint to adhere to the old paint. A primer allows the paint to bind to the walls more easily. Plus, primer hides any unwanted sheen caused by the old paint popping through.
Grease and stains can show through new paint, and certain rooms may be subject to more stains than others, such as playrooms or kitchens. Additionally, certain odors, such as cigarette smoke, can be difficult to cover. Using primer in these instances can help, though you may need a more heavy-duty primer.

Once you’ve prepped the room and walls, you can start cutting in, a painting technique where you use your paintbrush to paint a straight line along the edge of areas that would be difficult to reach with a roller. This includes trim, crown molding, ceiling lines, and baseboards. Professional painters often skip masking off these areas because they’re so adept at cutting in, but beginner DIYers should tape these areas off to avoid any accidents.
Here’s how to do it:
Load up your paintbrush: Dip the bristles of your paintbrush into the paint can and tap off excess paint.
Paint a 2-inch straight line parallel to the tape: Start about an inch away from the masked-off area and carefully work your brush closer to the tape edge. You only need to paint about 2 inches of wall because the roller will cover the rest.
Feather the paint: Once you reach the edge of the area you’re cutting in, feather the paint outward (away from the taped-off edge) to easily blend your brush line with the roller paint.
Paint the wall immediately: This ensures that the brush strokes blend with the roller strokes.
Pro tip: Apply gentle pressure when cutting in, as too much force can cause excess paint to seep under the areas you have already masked off.
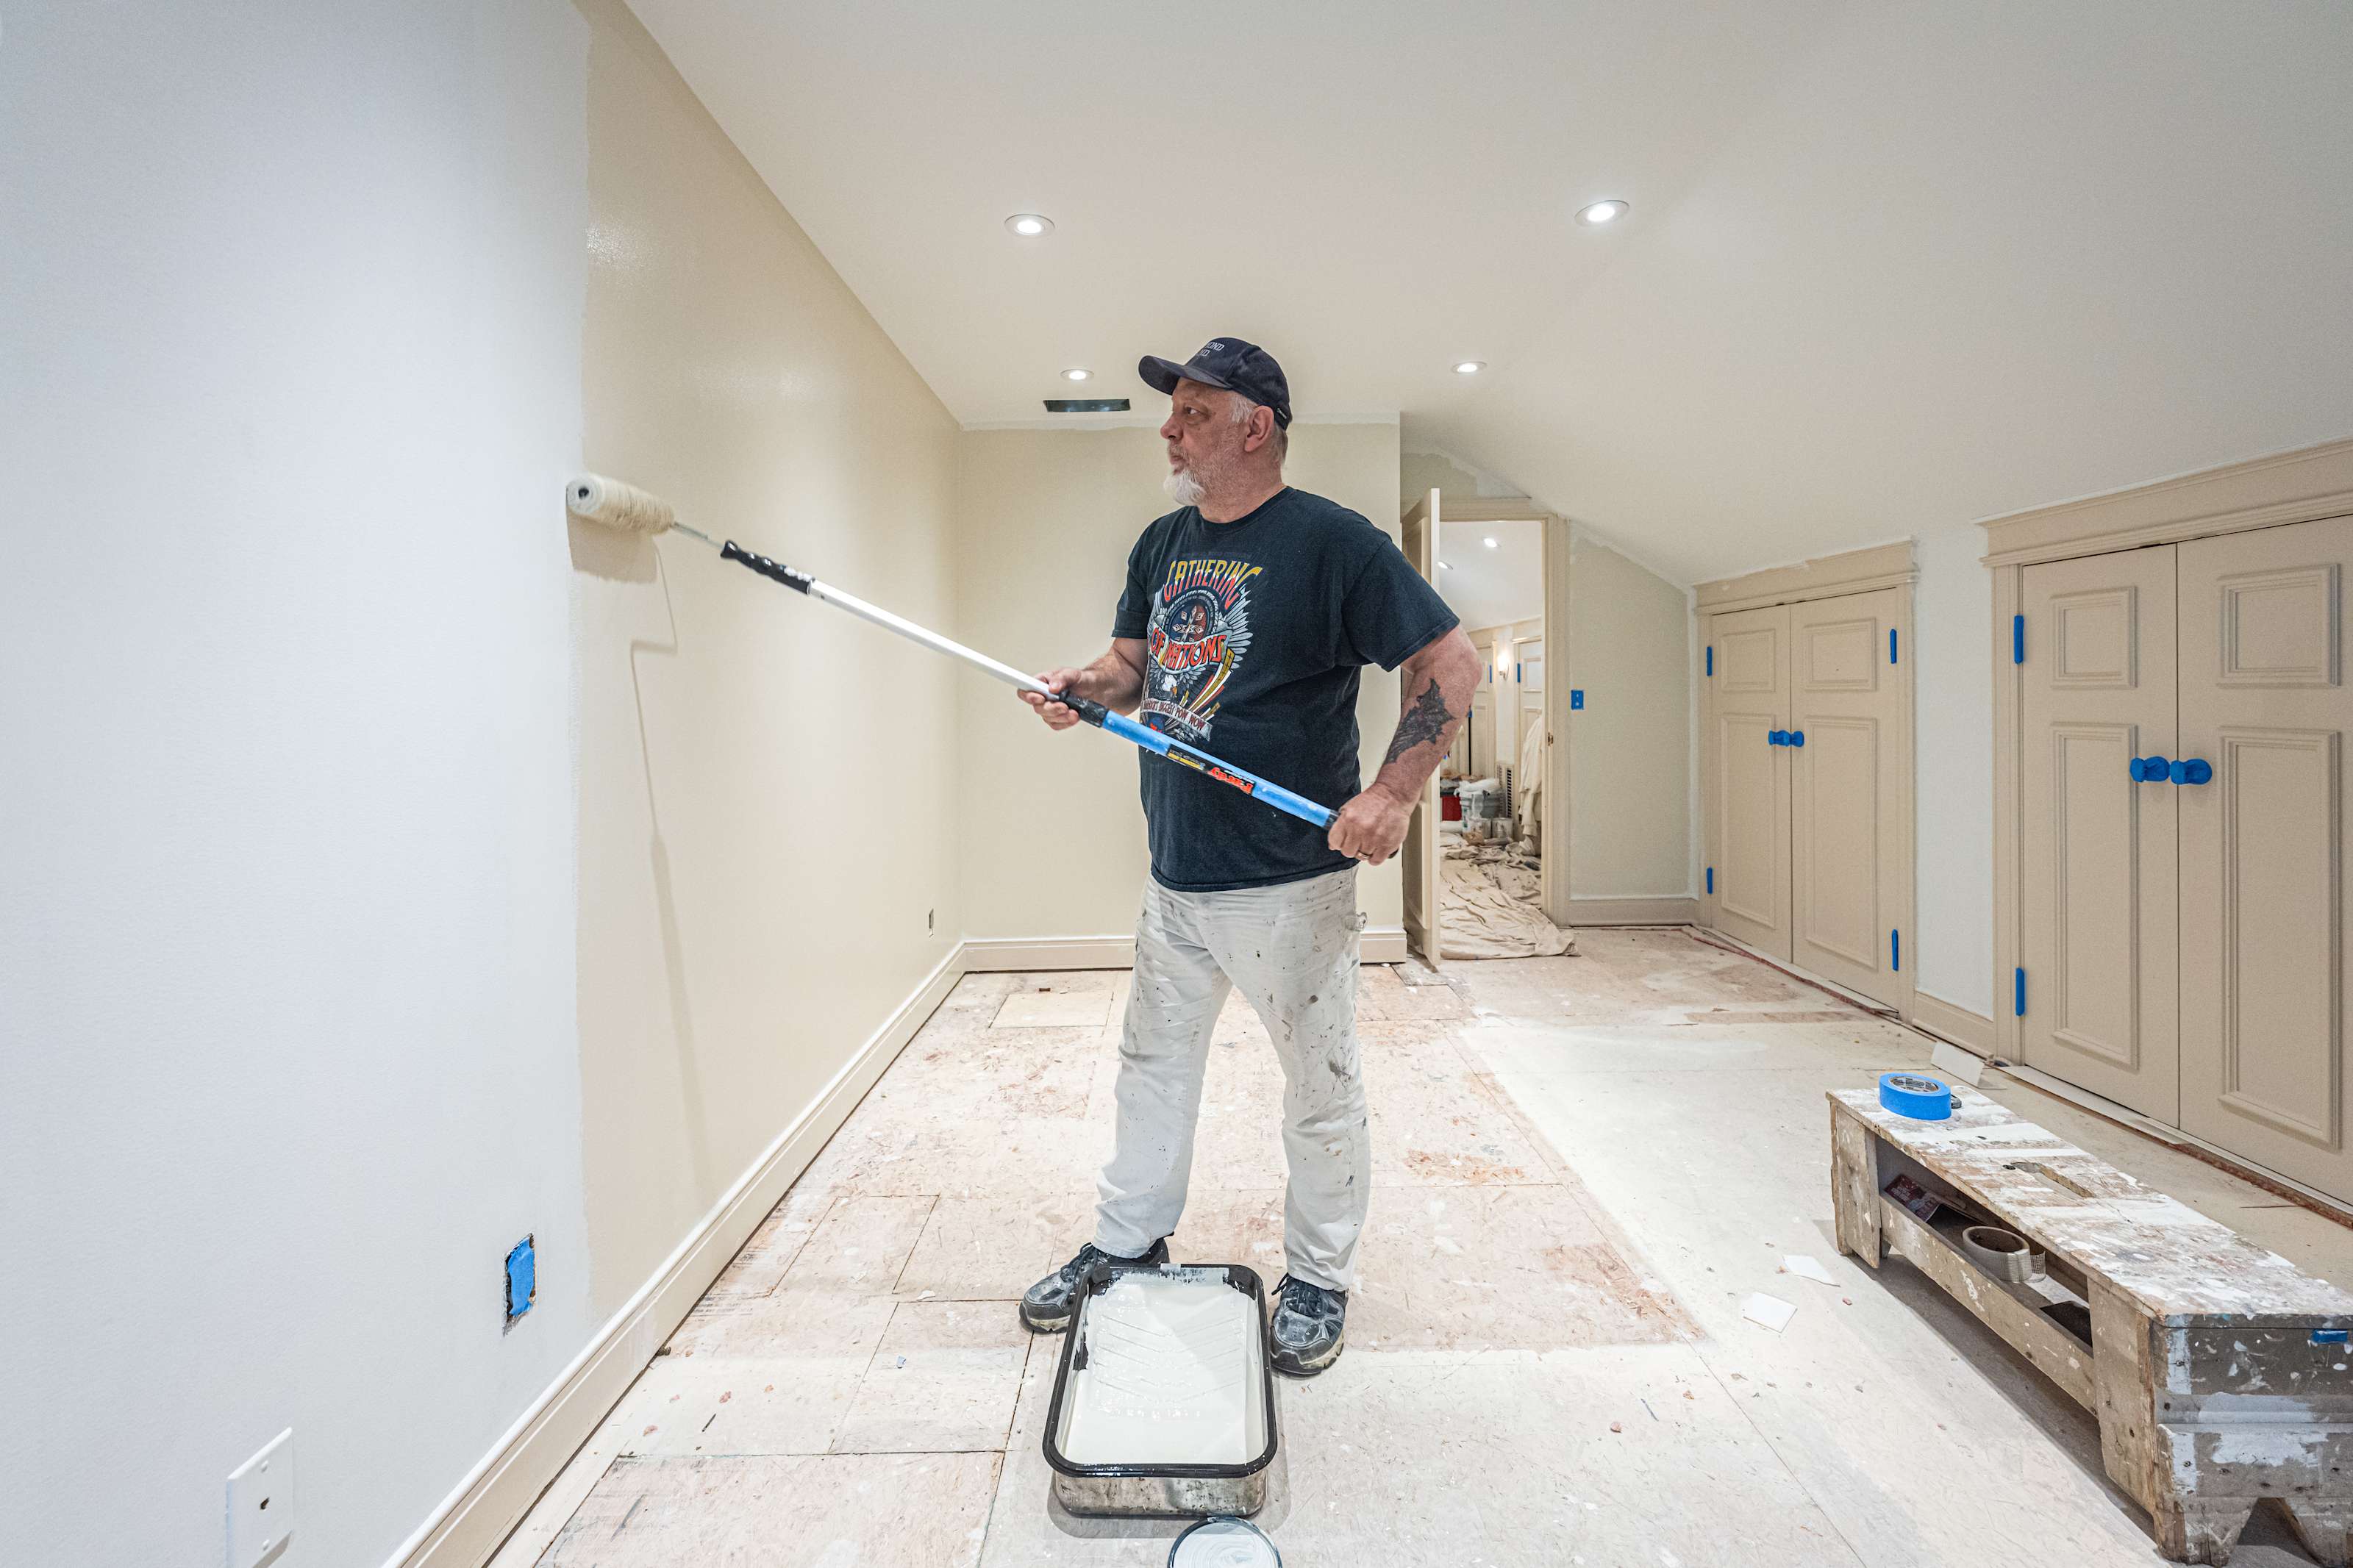
Learning how to paint a room with a roller can take a bit of practice, but it goes fairly quickly once you get into a rhythm. You will want to work from top to bottom, starting with the ceiling and using your extension pole for hard-to-reach areas.
Mix the paint and pour it into the tray: Pour the paint into the paint tray’s reservoir without overfilling it.
Lightly dip the roller into the reservoir and pull back: Roll over the divots in the tray a few times to remove any excess paint. Your paint should still evenly cover the roller.
Roll the paint onto the walls in an “M” or a “W” motion: This painting technique helps blend the roller lines. Work in 3-foot sections at a time.
Reverse: Once you have finished in one direction, go back over it in the opposite direction until the area is fully covered.
Roll over any cut-in areas: Overlap the paint with the area you have already cut in for a smooth finish.
Repeat the process for all walls: Use your new painting prowess to finish the first coat all the way around the room.
Allow the paint to fully dry: Don’t touch the walls for at least an hour, and leave a minimum of four hours in between coats.
Apply a second coat (optional): Repeat the same method until the paint is blended and you have a smooth finish.
Learning how to paint a room for beginners may take a bit of time, but once you get the hang of this method, you can confidently conquer more painting projects in the future.

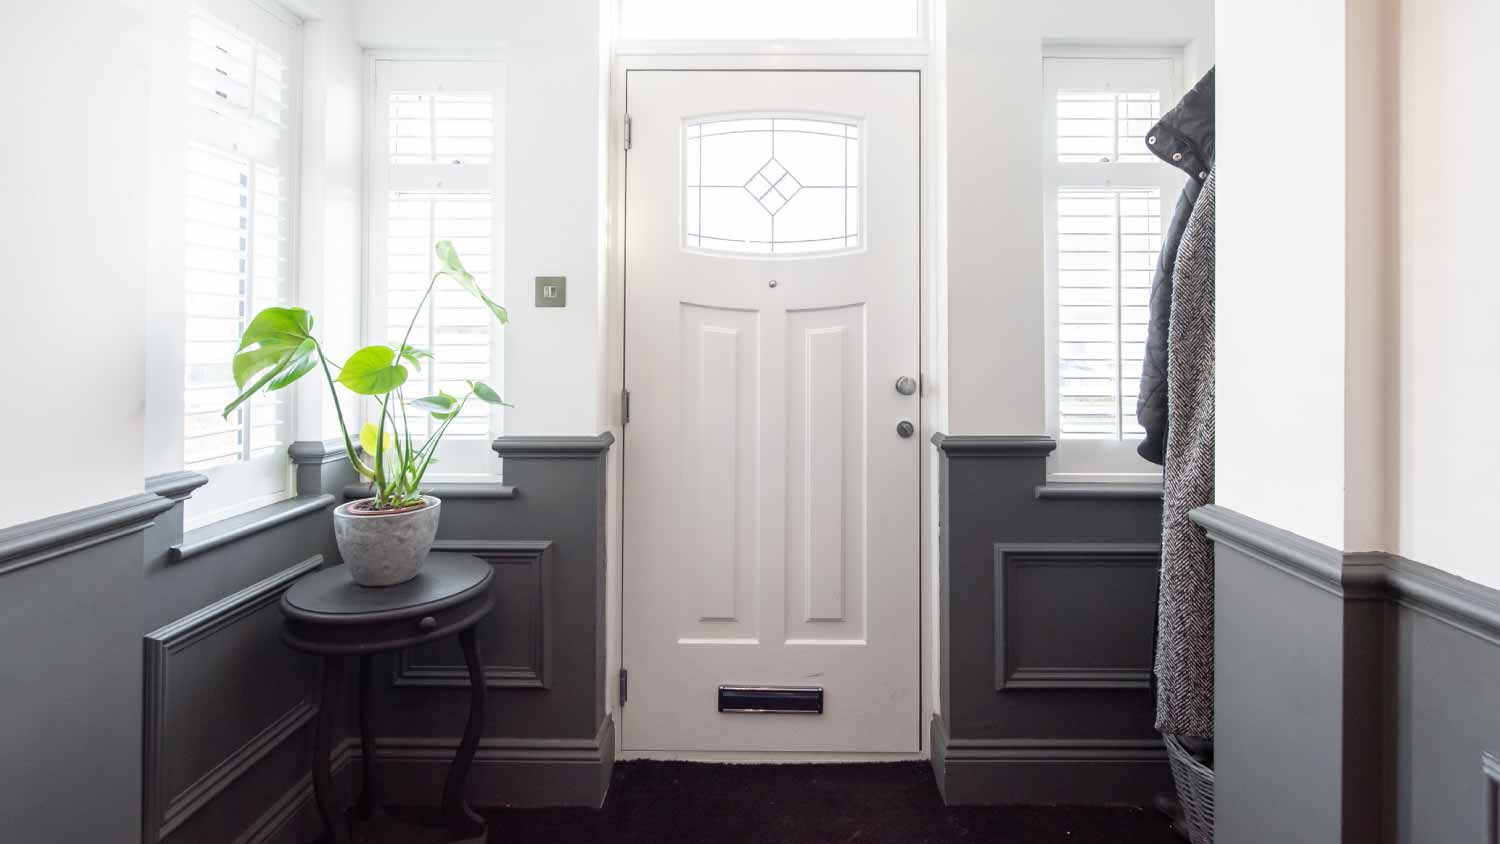
After your paint is completely dry, consider adding a fresh coat of paint to the trim. Taking the time to paint the trim can give you that professional-looking appearance you’ve always wanted.
Tape off the edges of the trim.
Lightly dip your brush into your paint and swipe it over the paint tray’s divots to remove excess product.
Slowly and carefully run the brush along the trim.
The final step in learning how to paint a room is learning how to clean up afterward. After investing money in supplies, it’s important to properly clean them so you can use them again for future painting projects.
Start by cleaning your paint roller and other tools with warm, soapy water until the water runs clear. Double-check which type of paint you used before cleaning.
If you used a water-based paint (latex) and your house is on a public sewer system, you can rinse your brushes in the sink. If you used an oil-based paint, however, you will need a paint thinner when cleaning to avoid damaging your pipes.
After rinsing, dry all metal tools completely with a rag to prevent rusting.
Pour any remaining paint from the tray into the can, and then rinse out the tray with warm, soapy water.
Store the paint can in a cool, dark area off of the floor so the can doesn’t rust if it’s exposed to moisture.
To dispose of water-based paint, you can use a special paint hardener or cat litter to dry it out and then throw it away with the lid removed.
If you used an oil-based paint, check with your county to locate a paint recycling facility to dispose of the unused paint.
Important: Depending on your location and the type of paint you used, there are certain local regulations for disposing of paint properly, so always check with your county first before throwing out old paint.
If you’re planning on continuing the painting project within a day or so, you can wrap your brushes and roller covers tightly in cling wrap so they don’t dry out. Store clean, dry brushes in wax paper wrapped with a rubber band so they retain their shape.
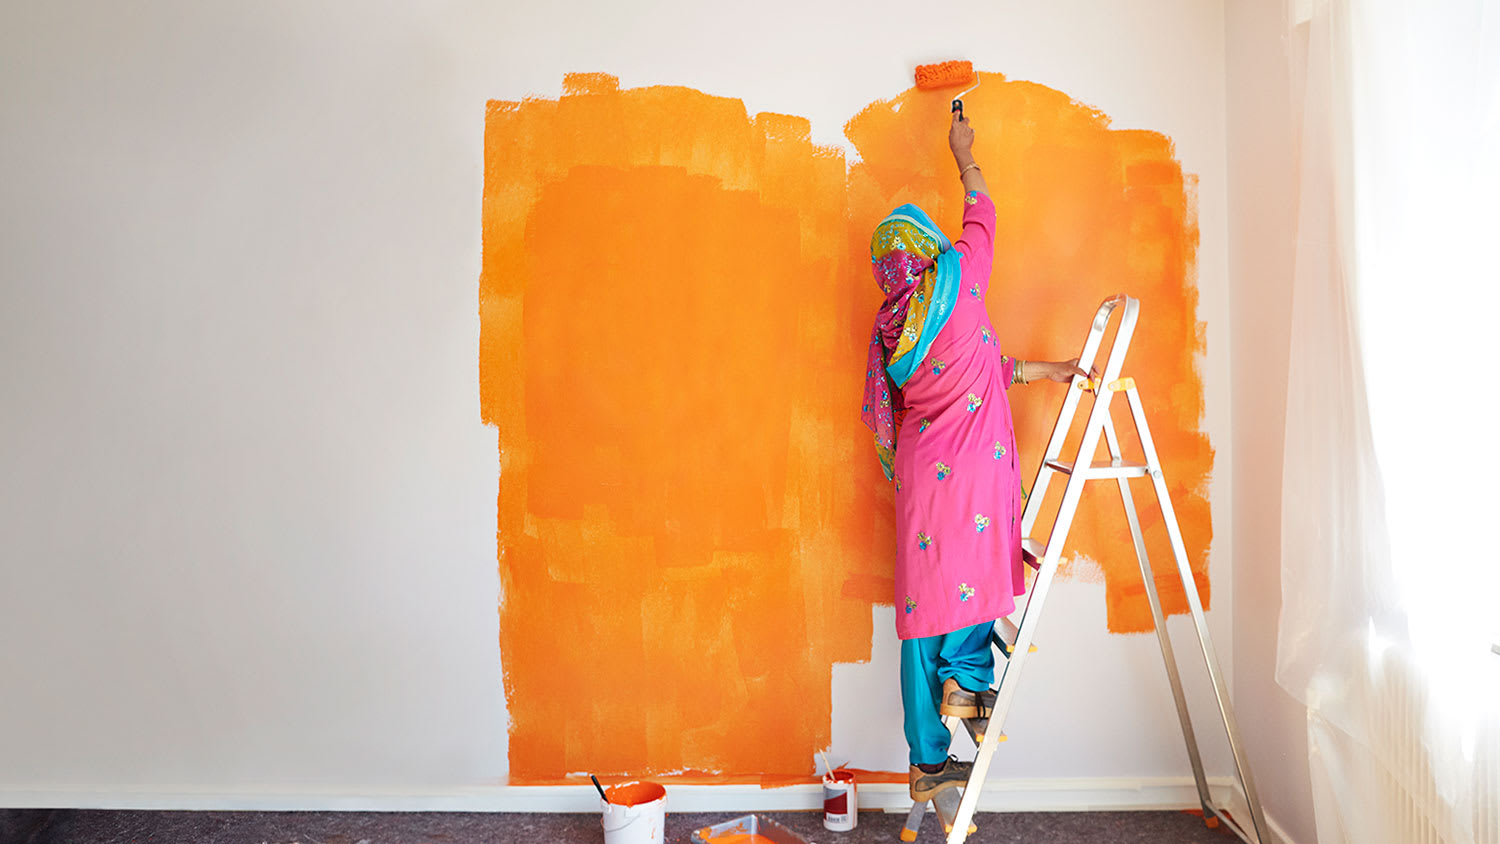
This DIY is truly a no-brainer. It’s one of the most commonly DIYed home improvement projects out there, and most people can learn how to paint a room quickly and complete the project in a long weekend (or a week for longer projects). Given the wide variety of paints and tools available, this can be a budget-friendly project or a high-end one that adds class and sophistication to your home.
However, some people may be limited by time or the physical demands of painting. While it isn’t incredibly labor intensive, it does require standing, focus, stretching, potentially climbing a ladder or step stool, and holding up a roller or brush for long periods of time.
If, for any reason, these requirements aren’t conducive to your abilities, you can typically call in a local wall painter without having to drain your wallet. The average cost to hire an interior painter ranges from $2 to $6 per square foot.
Caroline Gilbert contributed to this piece.
Custom Paint Jobs LLC is the go-to choice for all your painting needs. They painted both the interior and exterior of my house flawlessly. Their work speaks for itself!
Beginning with the estimate, Larry and Peyton were super helpful in getting my new condo's interior re-painted. Not only was the job well done, but also done in a super timely manner as promised.
 Five Star Painting of Plain City and Powell
From average costs to expert advice, get all the answers you need to get your job done.
How much does it cost to paint a room? Learn what you’ll pay to give your space a makeover, depending on room size, paint type, the pro you hire, and more.

From modern grays to bold jewel tones, there are various color options when painting a living room. Use this guide to find the best paint color for your space.
If you’re looking at bare walls and wondering how long it takes to paint a room, we’ve got you. Keep reading to learn how much time interior painting takes.
If you’re painting your home and wondering, “How much paint do I need for my project?” there’s a simple math equation you can do to find the answer.
Whether you’re painting an accent wall or overhauling your entire interior, you’ll want to consider the space’s lighting before committing to a paint color.
The right paint color can brighten and enlarge the appearance of any room. Read our guide to the best paint colors that make a room look bigger.